
Drawing lesson · 14 drawing steps
How to draw a snow globe
Draw a snow globe with a Christmas tree inside. Follow fourteen drawing steps, with enlarged pictures for building the star and free worksheets to keep beside you.
MediumA centred tree, small star and base overlap require several placement and cleanup decisions.
You will practise: placing nested tree layers inside a circle and removing its hidden lower arc.

Let’s draw together
Build one part at a time.
Follow the pictures at your own pace. The enlarged star pictures show where to place each point, how to join them and which guides to erase.
You’ll need
Plain paper and a pencil. Bring crayons or colored pencils if you’d like to color your picture.
Leave room for the whole picture. Draw the guides lightly with a pencil, then use an eraser when the lesson shows you. Your lines do not need to be perfectly even.
Drawing with a child? Read one instruction aloud, then give them time to try it.
Prefer paper?
Each free 8-page PDF has all 14 drawing steps and a practice page. No email or signup is needed.
Draw your snow globe in 14 steps.
Orange marks are new. Gray guides are temporary. Black lines stay.
1Start with a large circle.
Leave space below for the base. Keep the bottom curve light; it will be hidden.

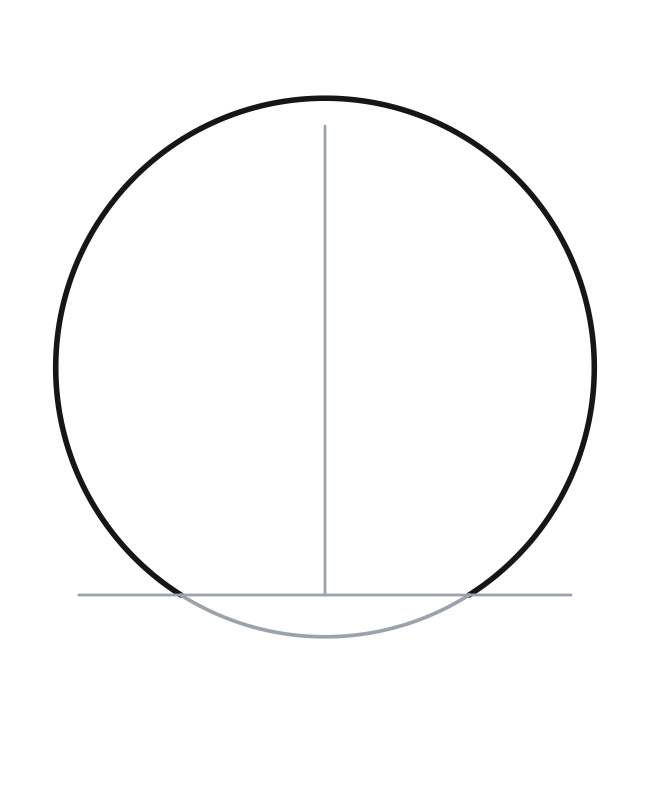
2Add light placement guides.
Draw a gray center line. Add a low horizontal guide for the top of the base.
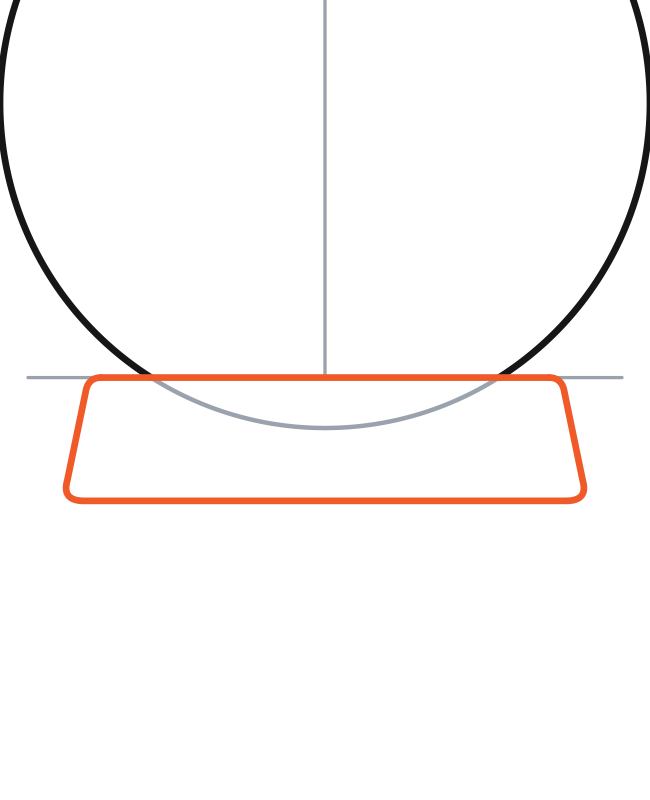
3Draw a short, wide base.
Draw its top across the guide. Round the corners and make the bottom wider.
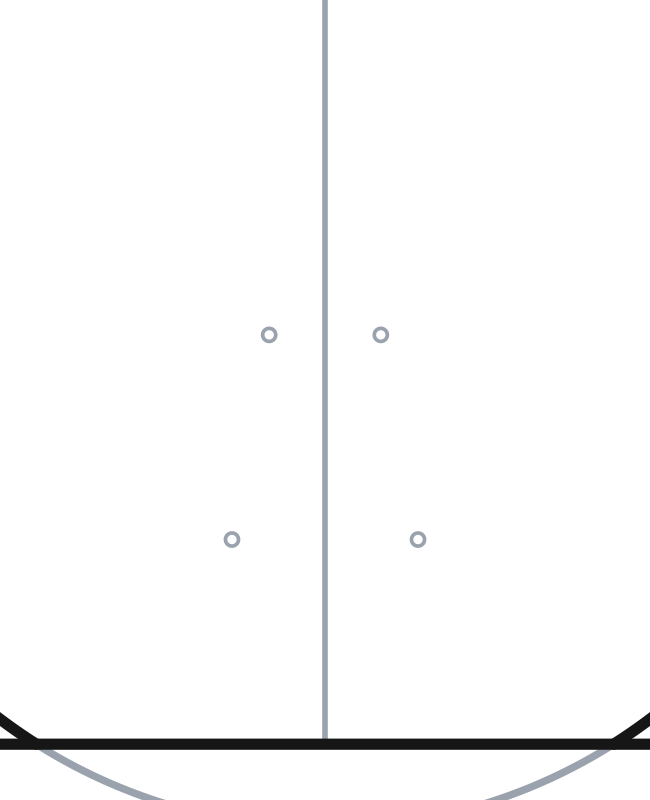
4Mark where the tree layers start.
Add two pairs of light gray dots. Place the higher pair closer together.
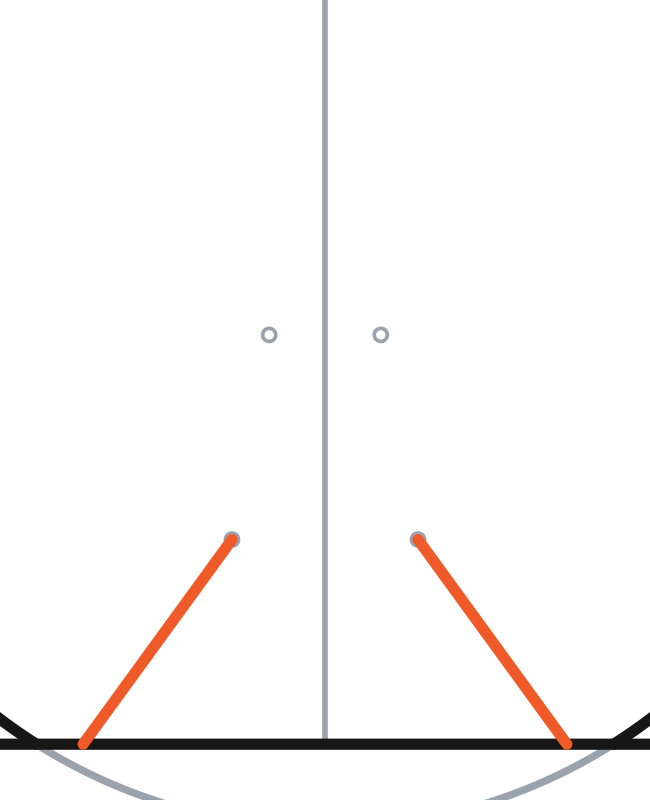
5Make the widest tree layer.
From each lower dot, slant outward to the base. The base edge closes the bottom.
6Add a smaller layer above it.
Start at the higher left dot. Go down, across the lower dots, then up to the right dot.
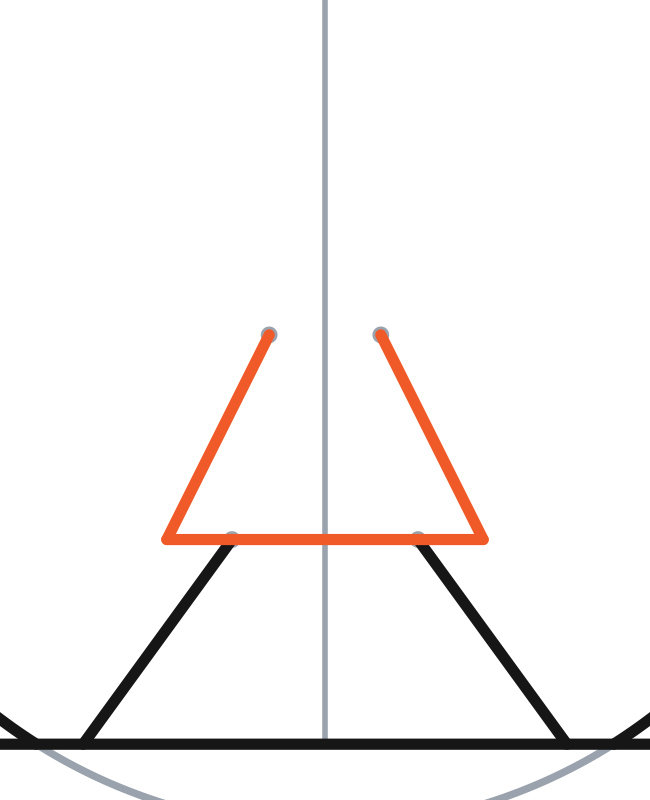
7Finish the tree with a triangle.
Start on the center guide above the layers. Join both sides with a line across the higher dots.
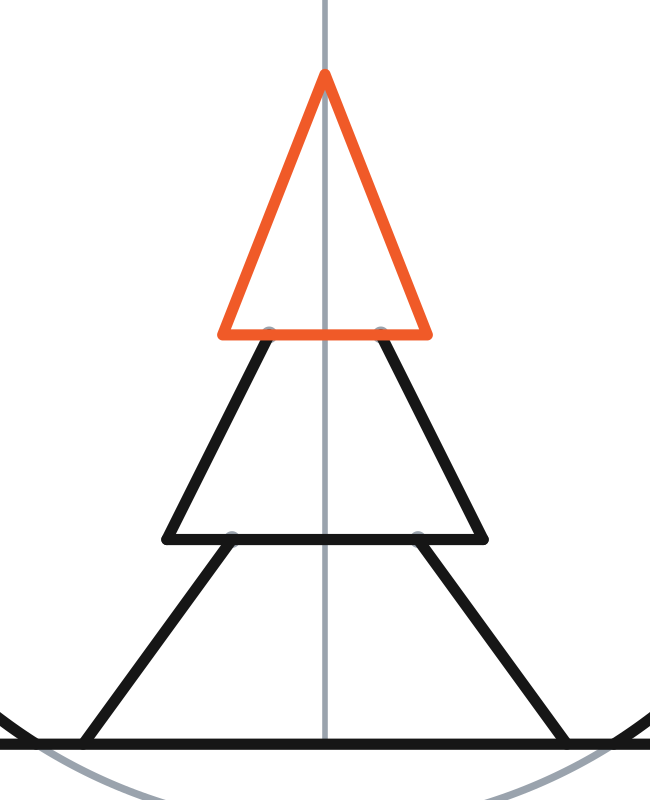
8Build the five-point star.
Place light guides, join the tips and inward turns, then erase only the guides shown below.
Centre a small star above the tree tip, using the long centre guide. Make the star about half as wide as the top tree layer at its base. Put the star’s bottom inward turn on the tree tip. Use the enlarged pictures below to build the star. Draw the box, oval and placement marks lightly; they are temporary guides. Dark lines stay, and orange lines show what to add.
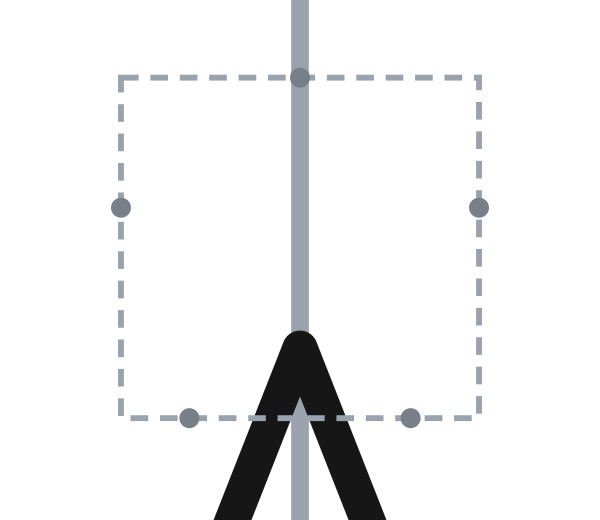
A. Place the five tips
Lightly draw a nearly square box around the existing centre guide. Mark its top middle, both sides a little above halfway down, and two bottom points slightly in from the corners.
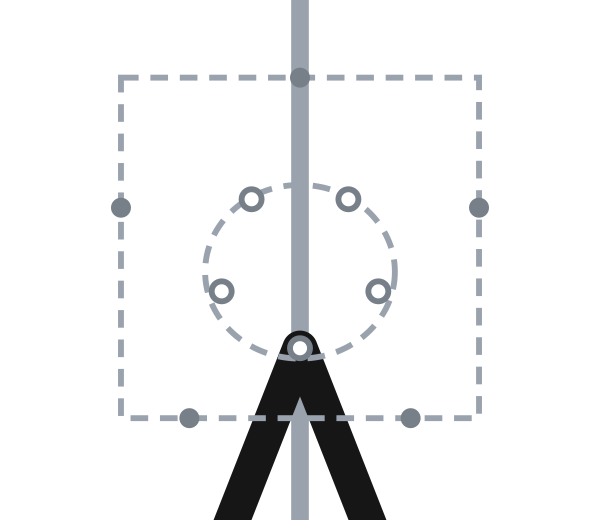
B. Place the inward turns
Draw a light oval inside the box, about half as wide and half as tall. Mark two turns just outside its upper sides, two near its lower sides, and one at its bottom middle. Each turn sits between two outer tips.
C. Join the right half
Start at the top tip. Join the upper-right turn, right tip, lower-right turn and bottom-right tip. Then join the bottom-middle turn. Keep each line between its two marks; do not cross the middle.
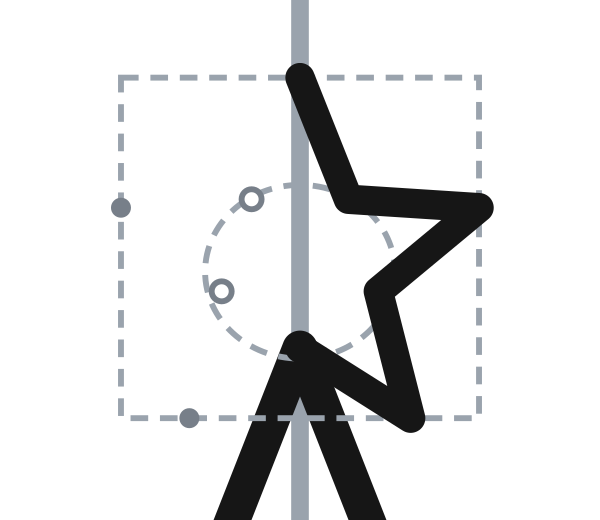
D. Join the left half
From the bottom-middle turn, join the bottom-left tip, lower-left turn and left tip. Continue through the upper-left turn to meet the top tip. You now have five outward points.
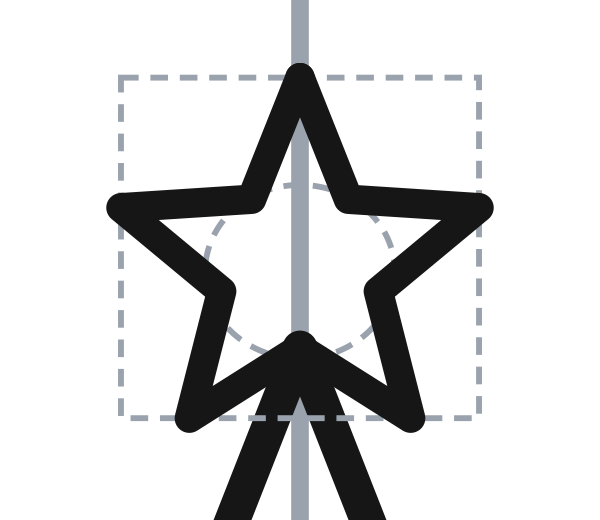
E. Erase only the star guides
Erase only the new box, oval and star placement marks. Keep the star outline and the original long centre guide. The centre guide and other globe guides stay until step 13. If a line misses its next point, erase just that short line and reconnect the two marks before removing the guides.

Check: Count five outward tips. Small differences in the angles are fine; the outline should be closed.
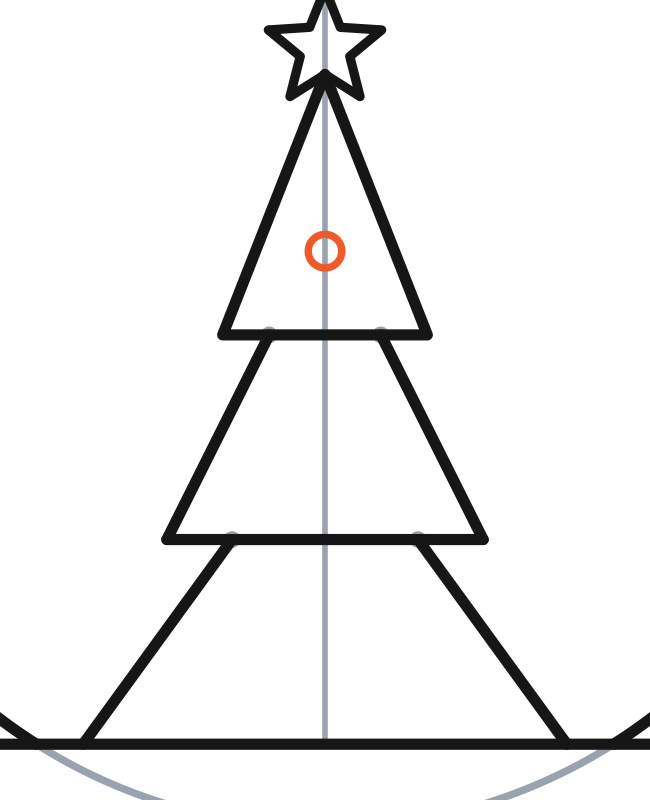
9Draw one round bauble.
Make a small circle inside the top layer. Keep it away from the edges.
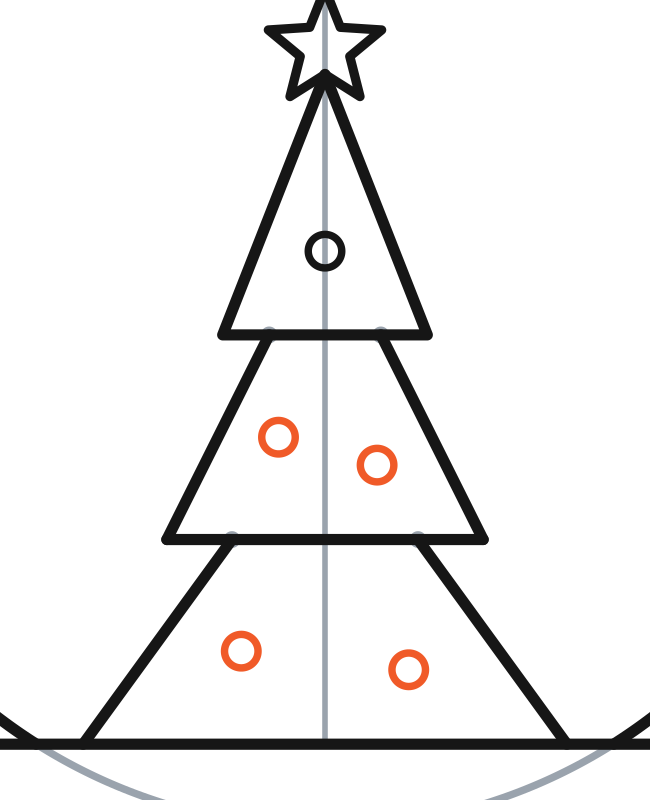
10Add four more baubles.
Draw two small circles in each lower layer. Keep every circle inside the tree.
11Scatter a few snow circles.
Draw tiny circles inside the globe. Leave space around the tree and the globe edge.
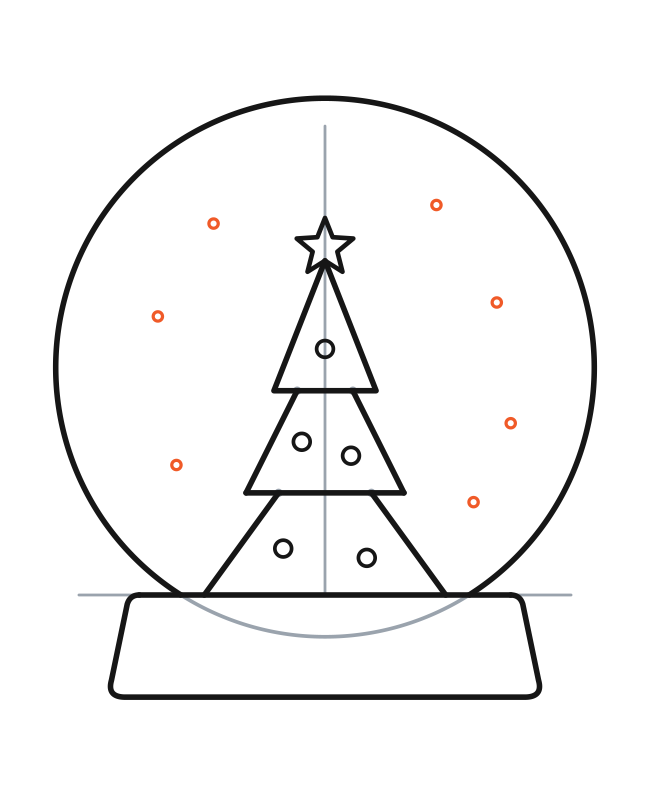
12Add one line across the base.
Join the two sides with a horizontal line below the top edge.
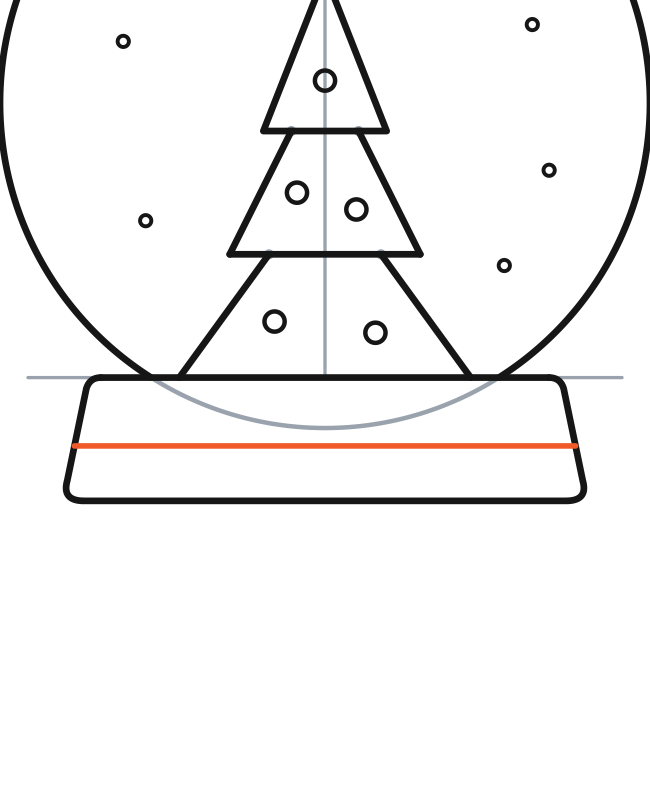
13Erase only the gray marks.
Remove the guides and the hidden bottom curve. Keep the black top edge of the base.
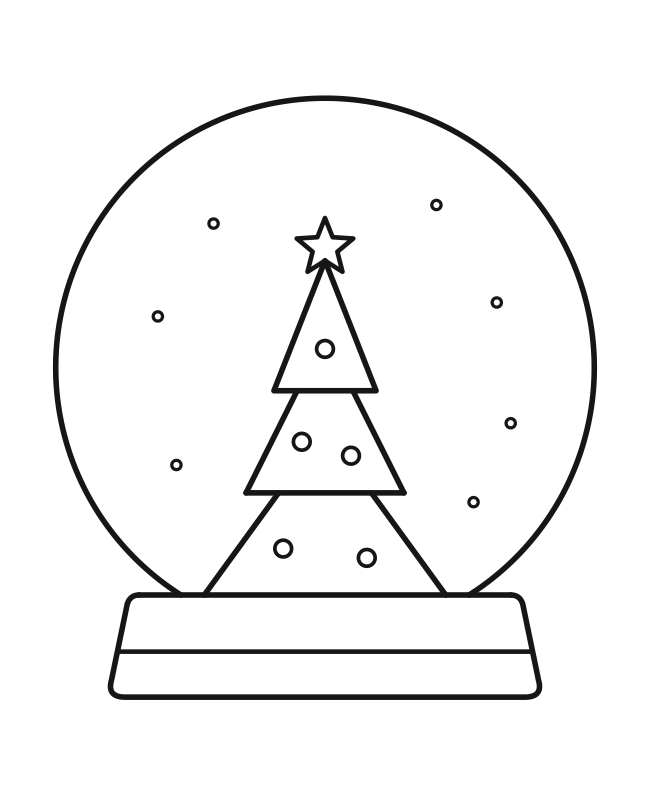
14Check the outline and joins.
Keep the base top, three tree layers and star. Check that the gray marks are gone.
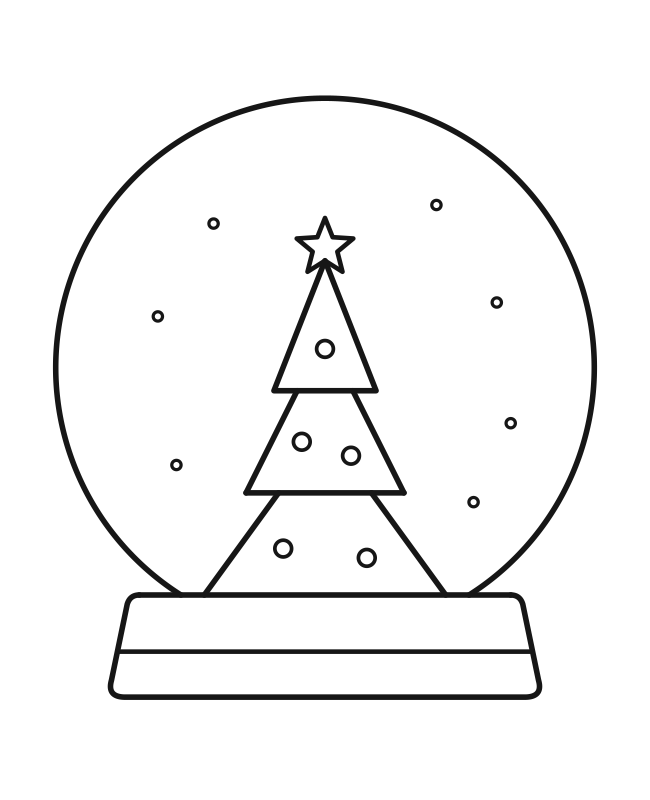
Make the finished picture your own
Keep the line art, or choose your own colors. Leave the snow circles white if you color the globe.
Print your drawing worksheet
Keep all 14 drawing steps beside you, then use the full practice page for your own drawing. Both free 8-page PDFs contain the same lesson. No email or signup is needed.
Printing help
Choose US Letter for 8.5 × 11 inch paper, or A4 for 210 × 297 mm paper. Print at actual size on matching paper. If your printer needs more margin, choose “Fit to page.”
Read the full printing guide → View the printable pages ↗
For your next coloring break
Free pages · No email needed
Choose a free winter page
Pick a penguin, polar bear or snowman page and make it your own with color.
Free winter coloring pagesOptional paid book
Cute & Merry Christmas
Explore Christmas characters, patterns and snowy scenes in a coloring book. See the printable and paperback options.
Explore the Christmas book