
Picture lesson · 22 steps · Free worksheets
How to draw a flower
Build a six-petal flower around a small centre, then add a curved stem and two pointed leaves.
MediumShared petal edges and a narrow curved stem need coordinated joins and guide cleanup.
You will practise: repeating petals around a centre and giving a curved stem two sides.
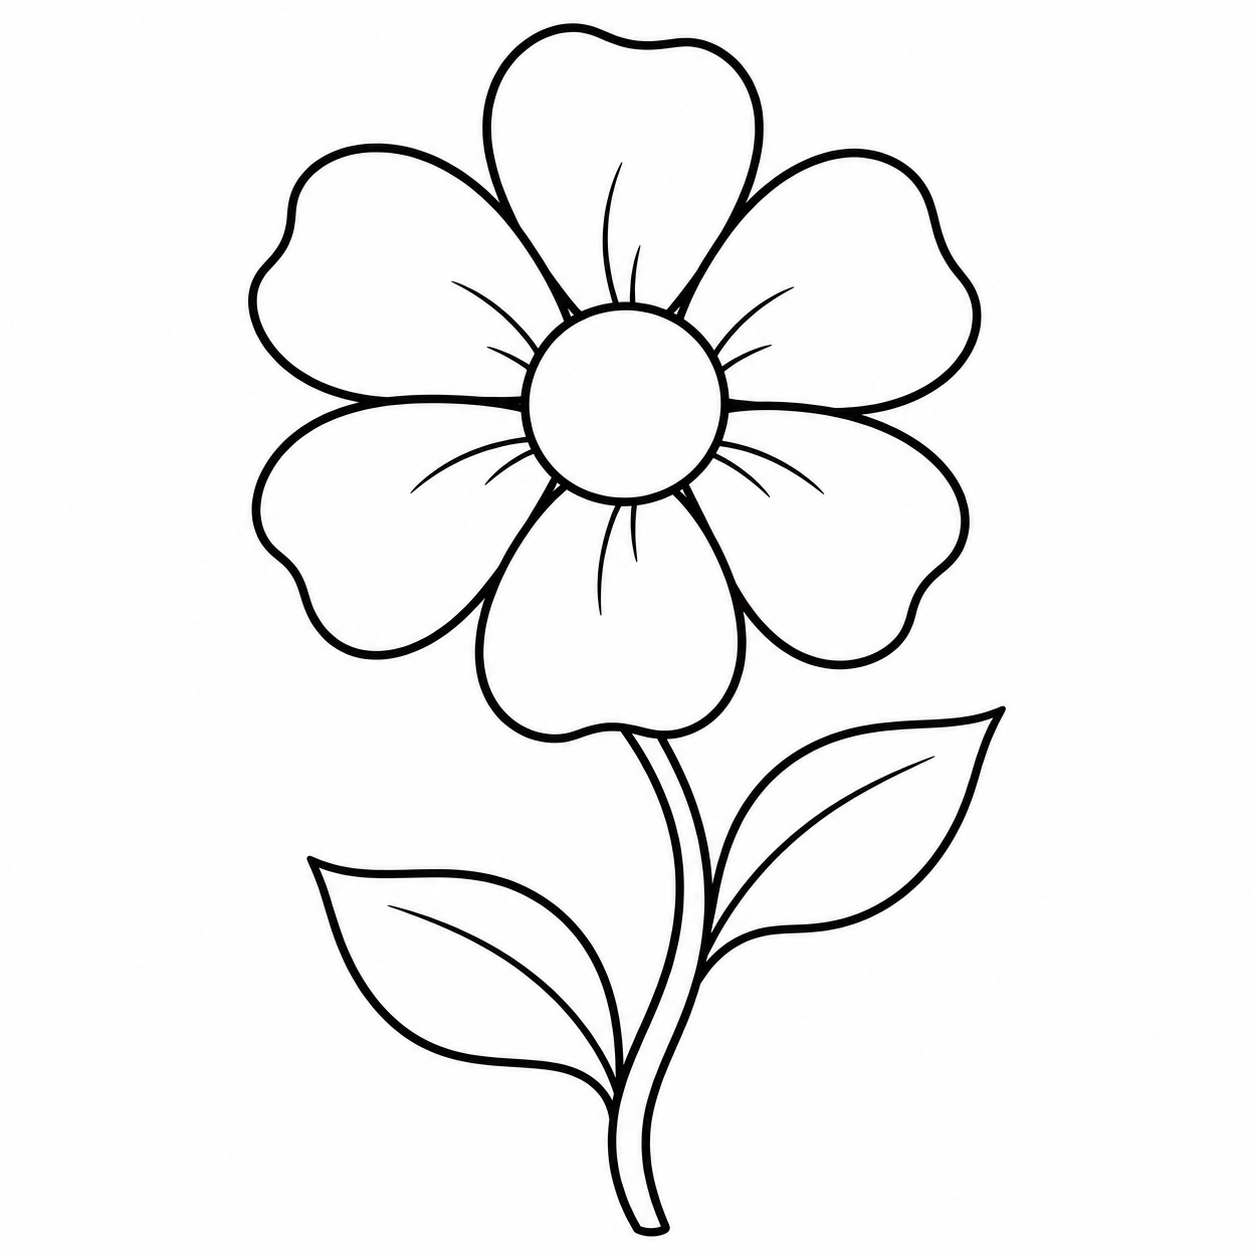
One picture at a time.
You’ll need plain paper and a pencil. Keep an eraser nearby for the light guides.
Look at the finished example, leave room for the whole drawing, then follow one step at a time. Drawing with a child? Read the instruction aloud and give them time to try it.
Start with step 1 ↓Follow the pictures at your own pace. This lesson has written steps; there is no video to play.
Draw your flower in 22 steps.
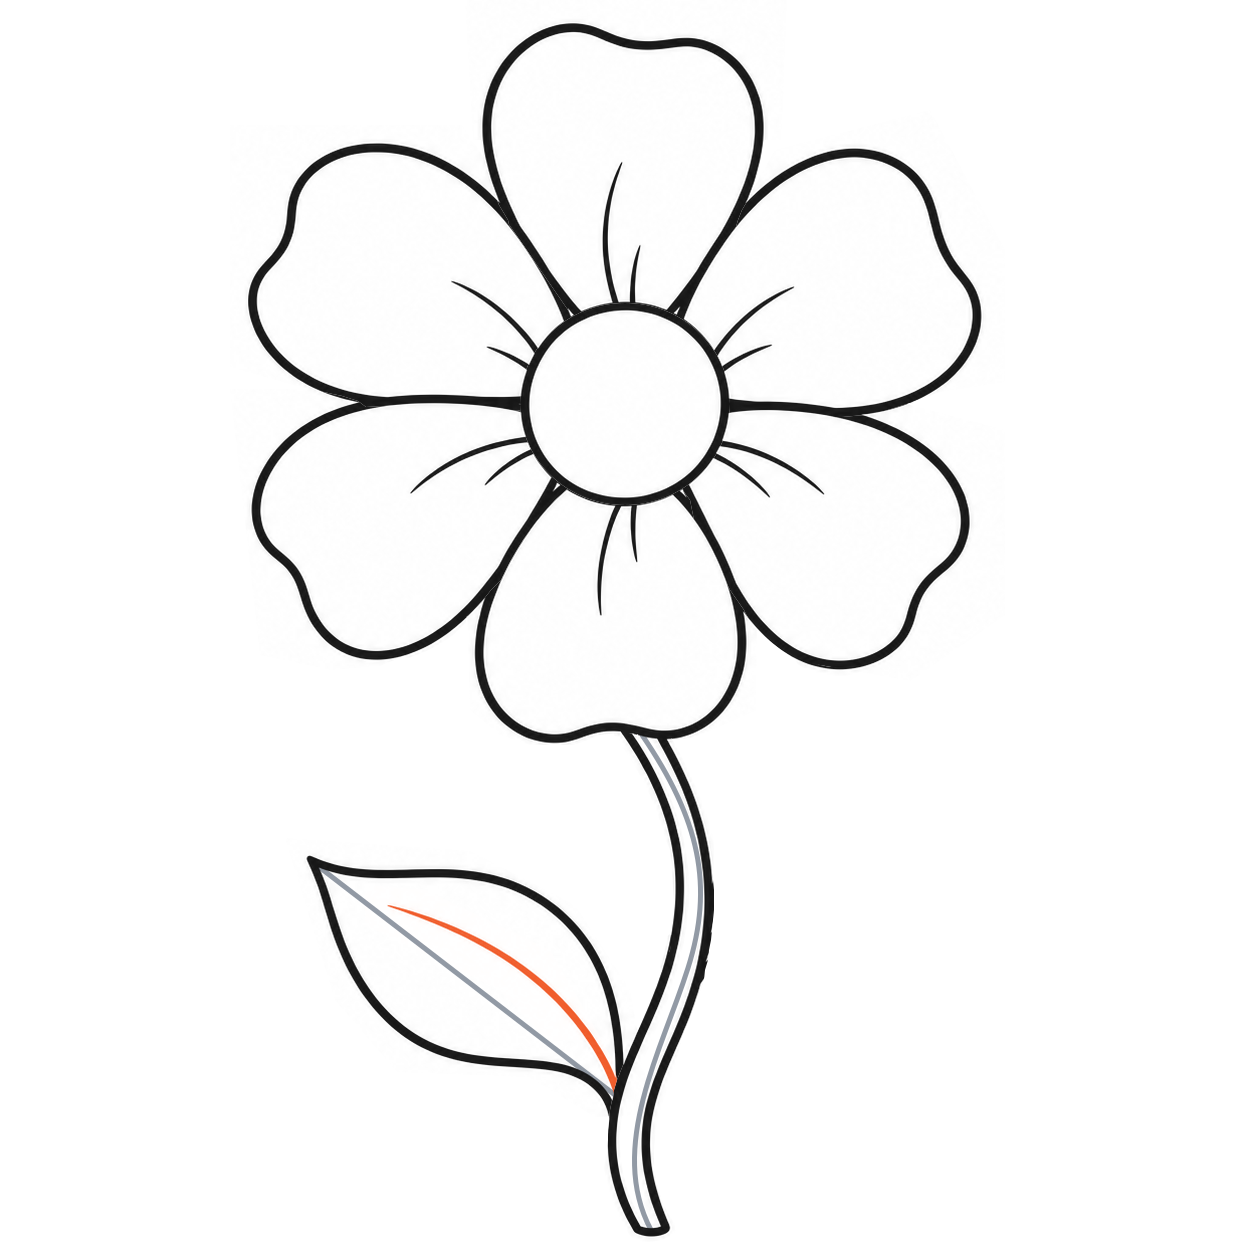
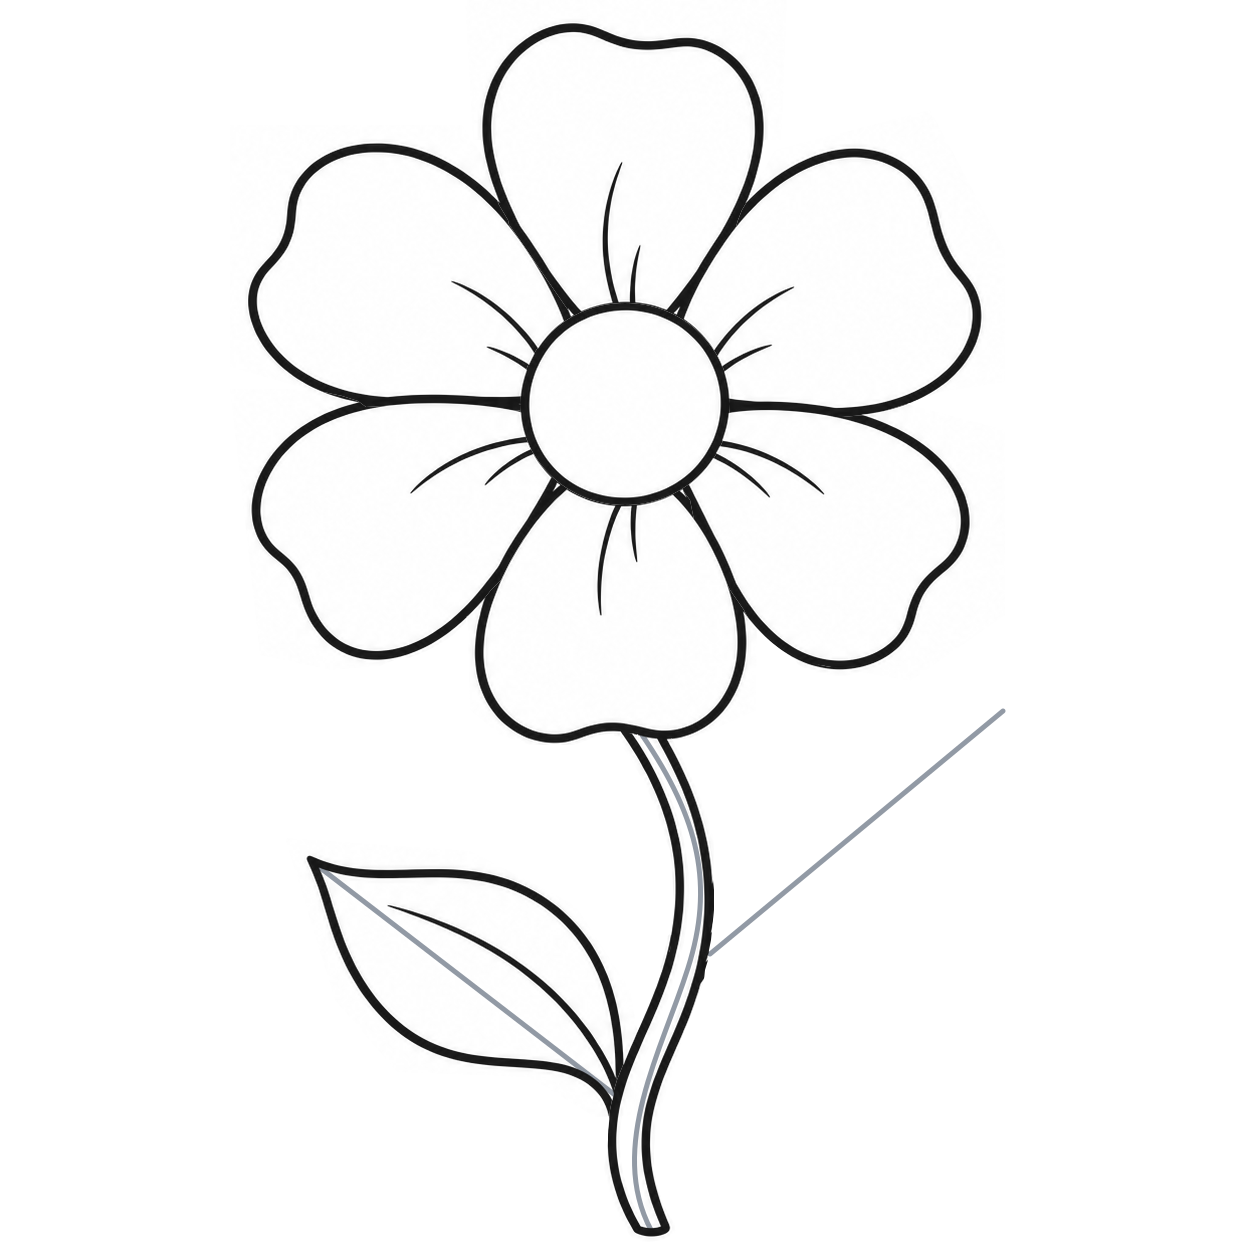
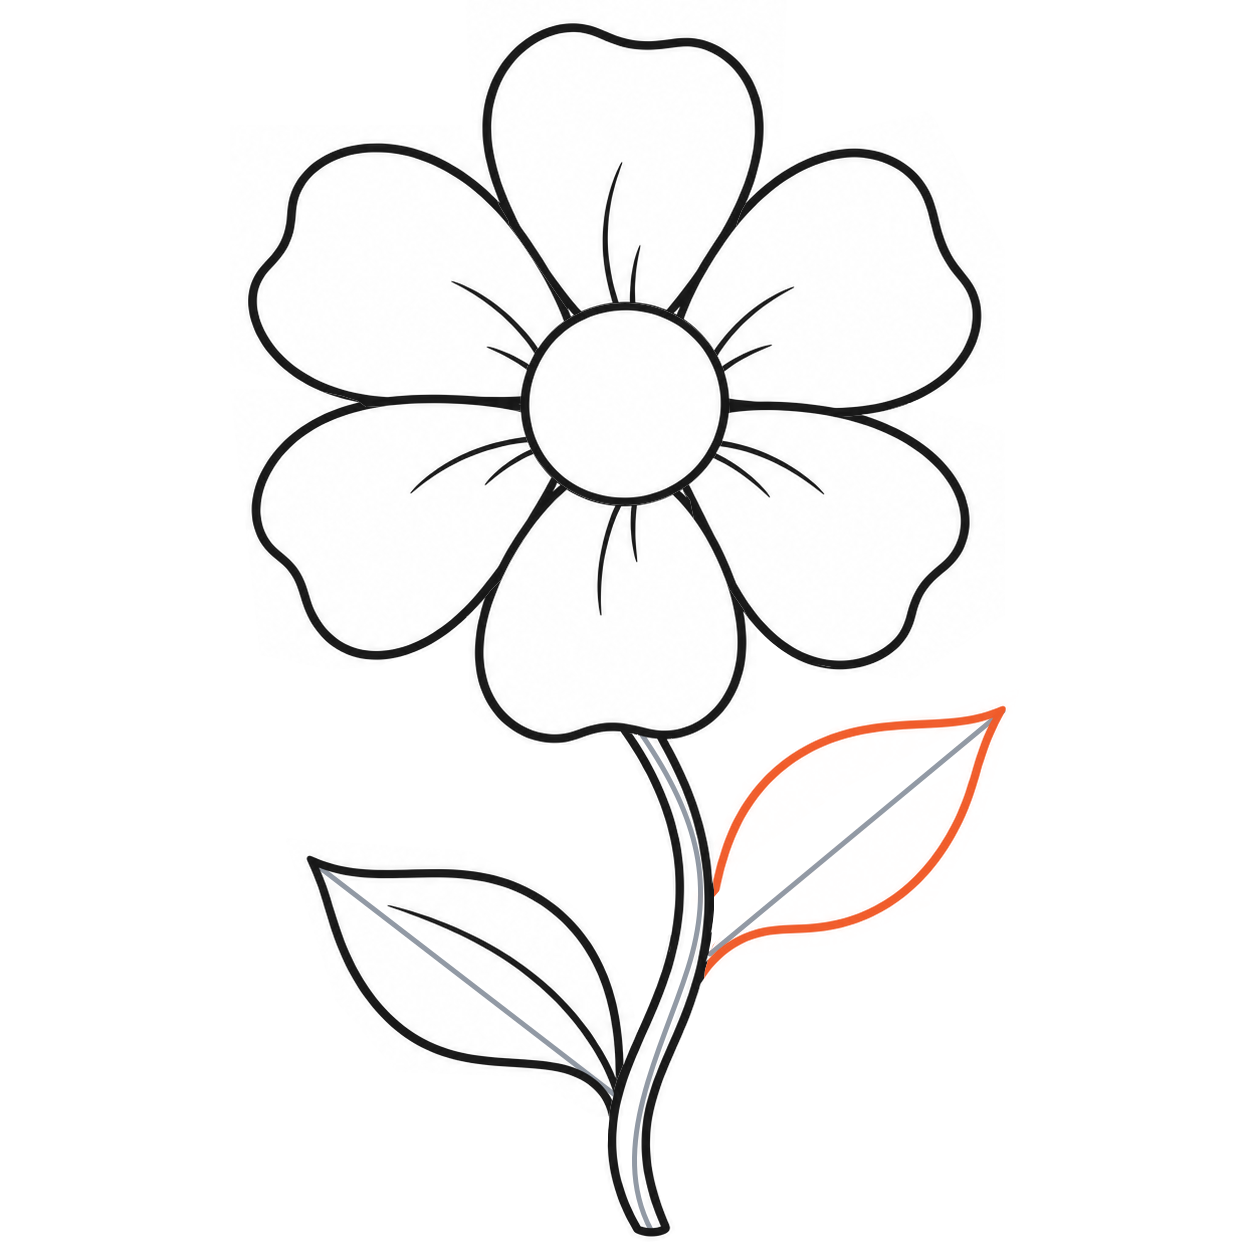
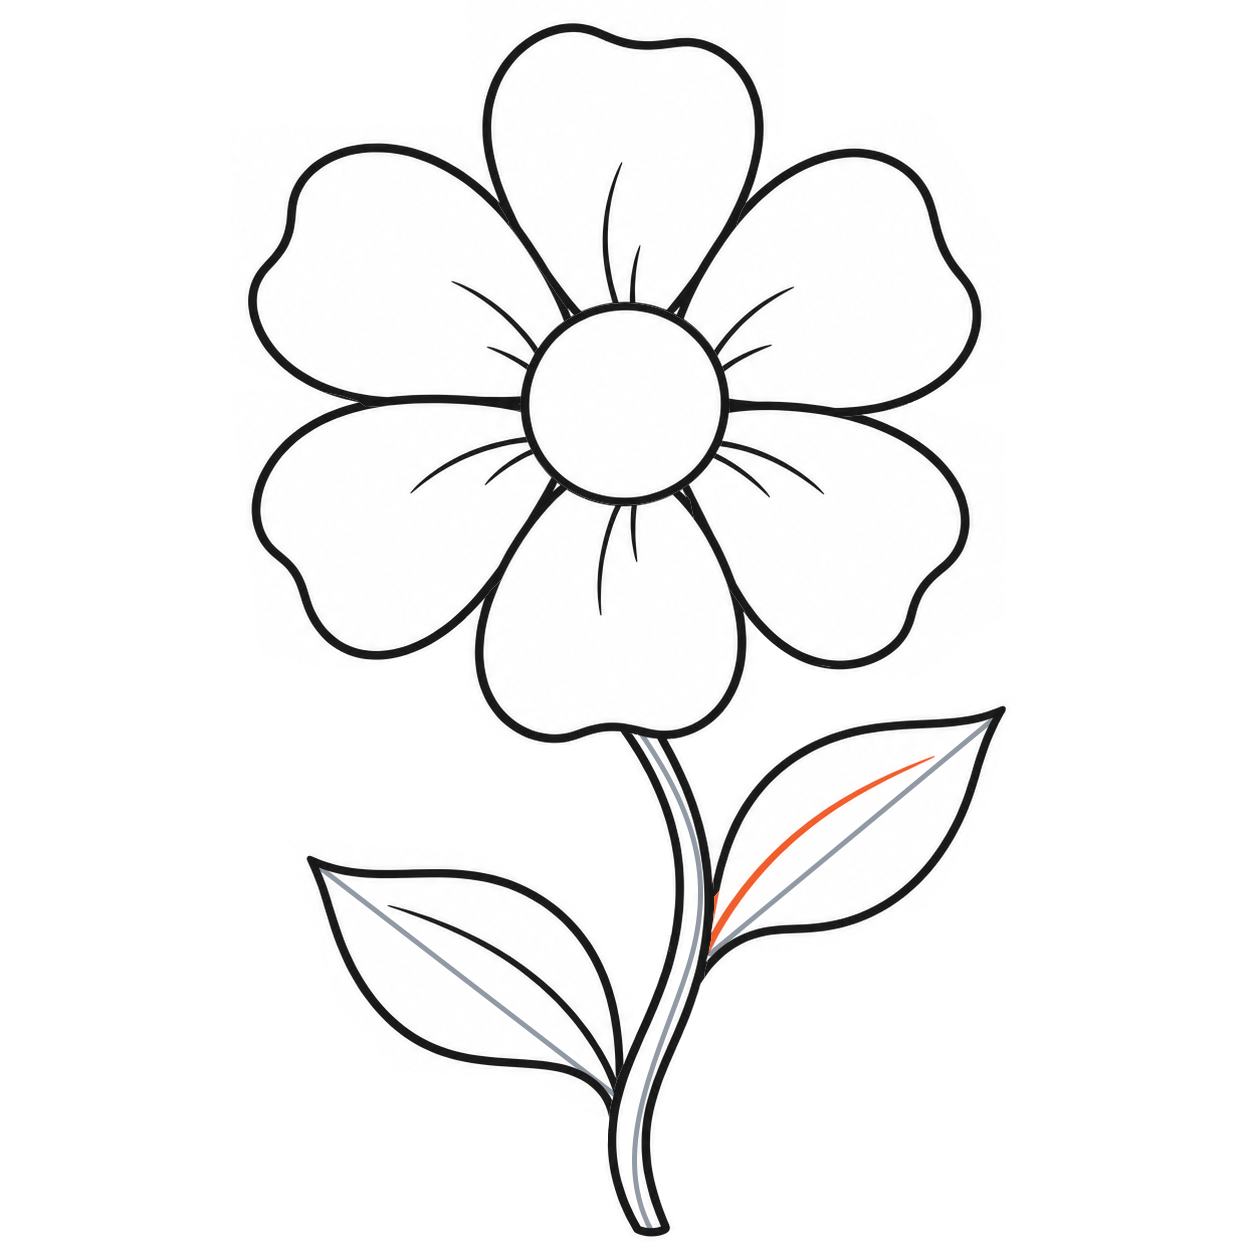
Orange shows new lines. Black lines stay. Gray marks are temporary guides; erase them only when the instructions say to. Use your pencil for every step.
Every picture keeps the same scale and position so you can compare shapes, sizes and joins. Open any picture for a closer look. Use your browser’s Back button to return to the same step.
1Place the flower centre
Draw a round centre in the upper third of the page. Leave about two centre-widths on each side and more room below for the stem.
Check: Keep the centre much smaller than the whole flower.
 Enlarge step 1 ↗
2Mark six petal directions
Draw six light spokes from the circle: up, upper right, lower right, down, lower left and upper left. Let each reach roughly one to one-and-a-half centre-widths beyond the circle.
Check: Leave six spaces around the centre; these gray spokes will be erased.
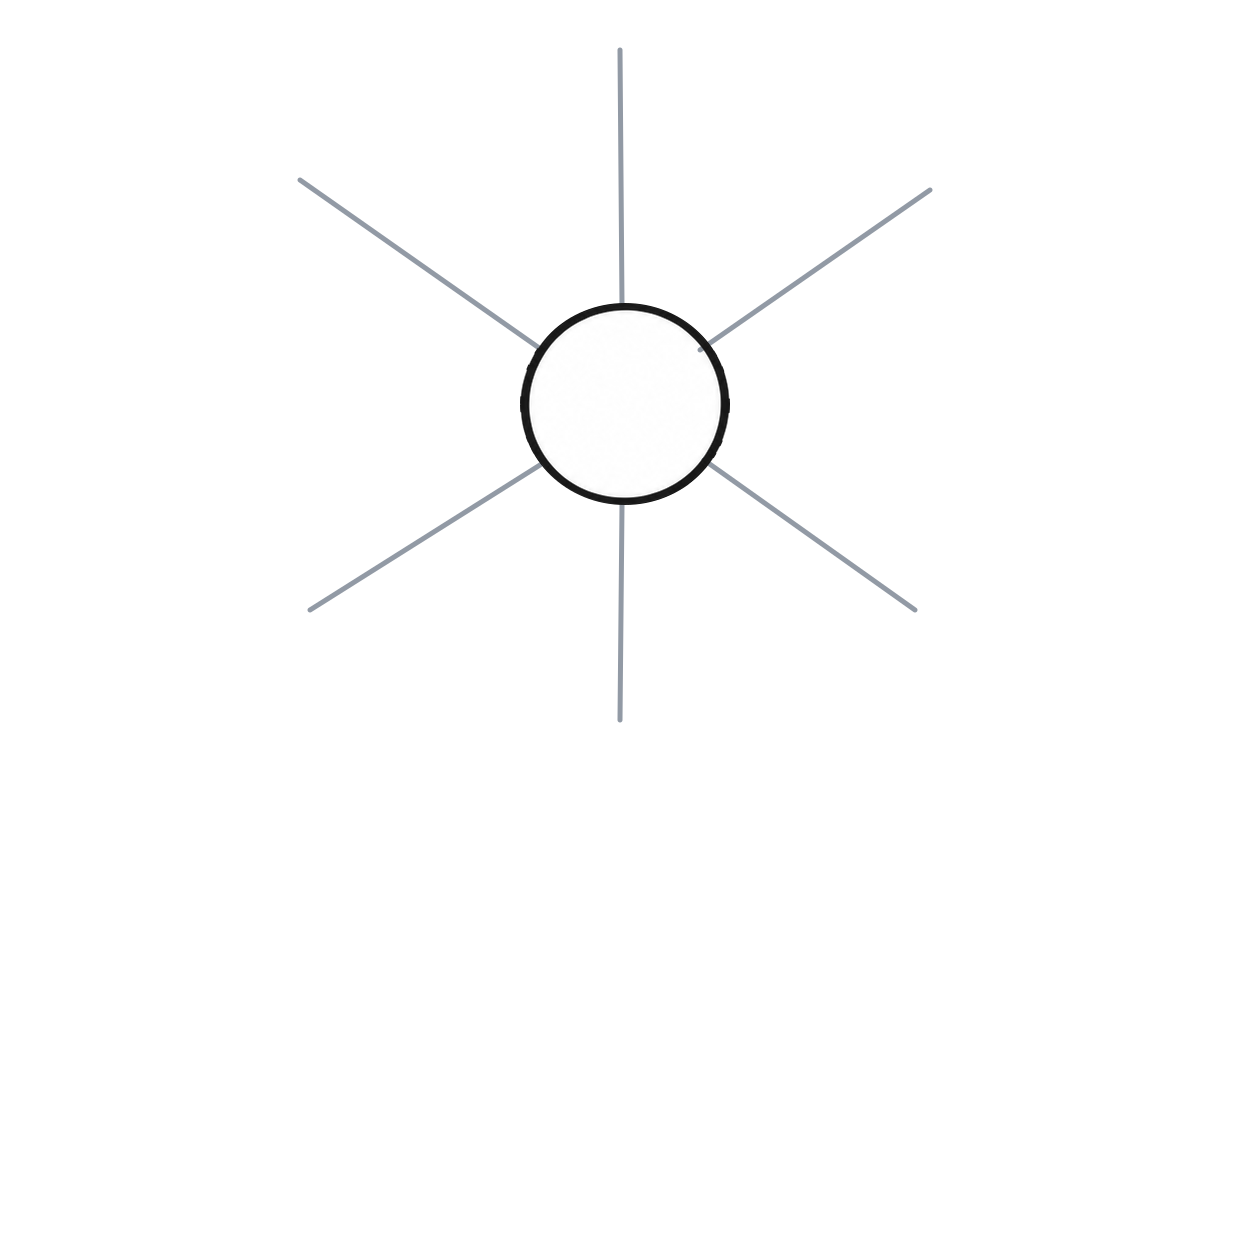 Enlarge step 2 ↗
3Plan the first petal with an oval
Around the top spoke, draw a light upright oval. Make it a little wider than the centre and about one-and-a-half centre-heights tall. Its lower end touches the centre.
Check: The spoke runs through the middle of the oval.
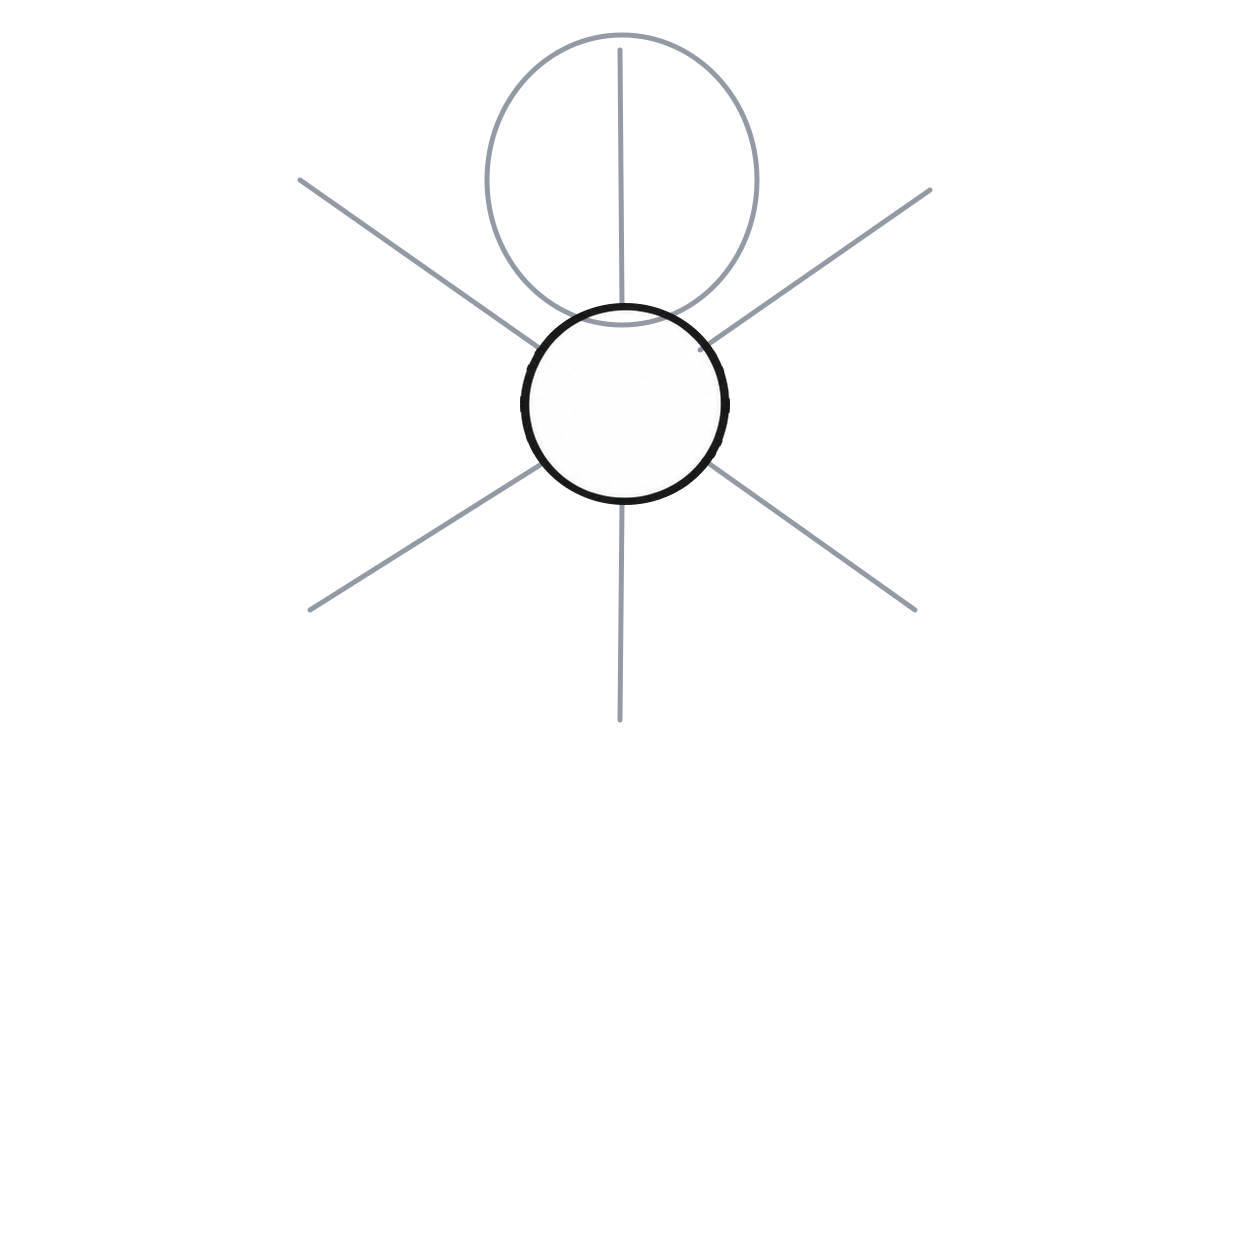 Enlarge step 3 ↗
4Round the first petal
Start at the centre’s upper-left edge. Bow outward along the oval, round the top with a shallow dip, then curve down to the upper-right edge. Stop at the centre; do not cross it.
Check: Join both petal sides to the centre.
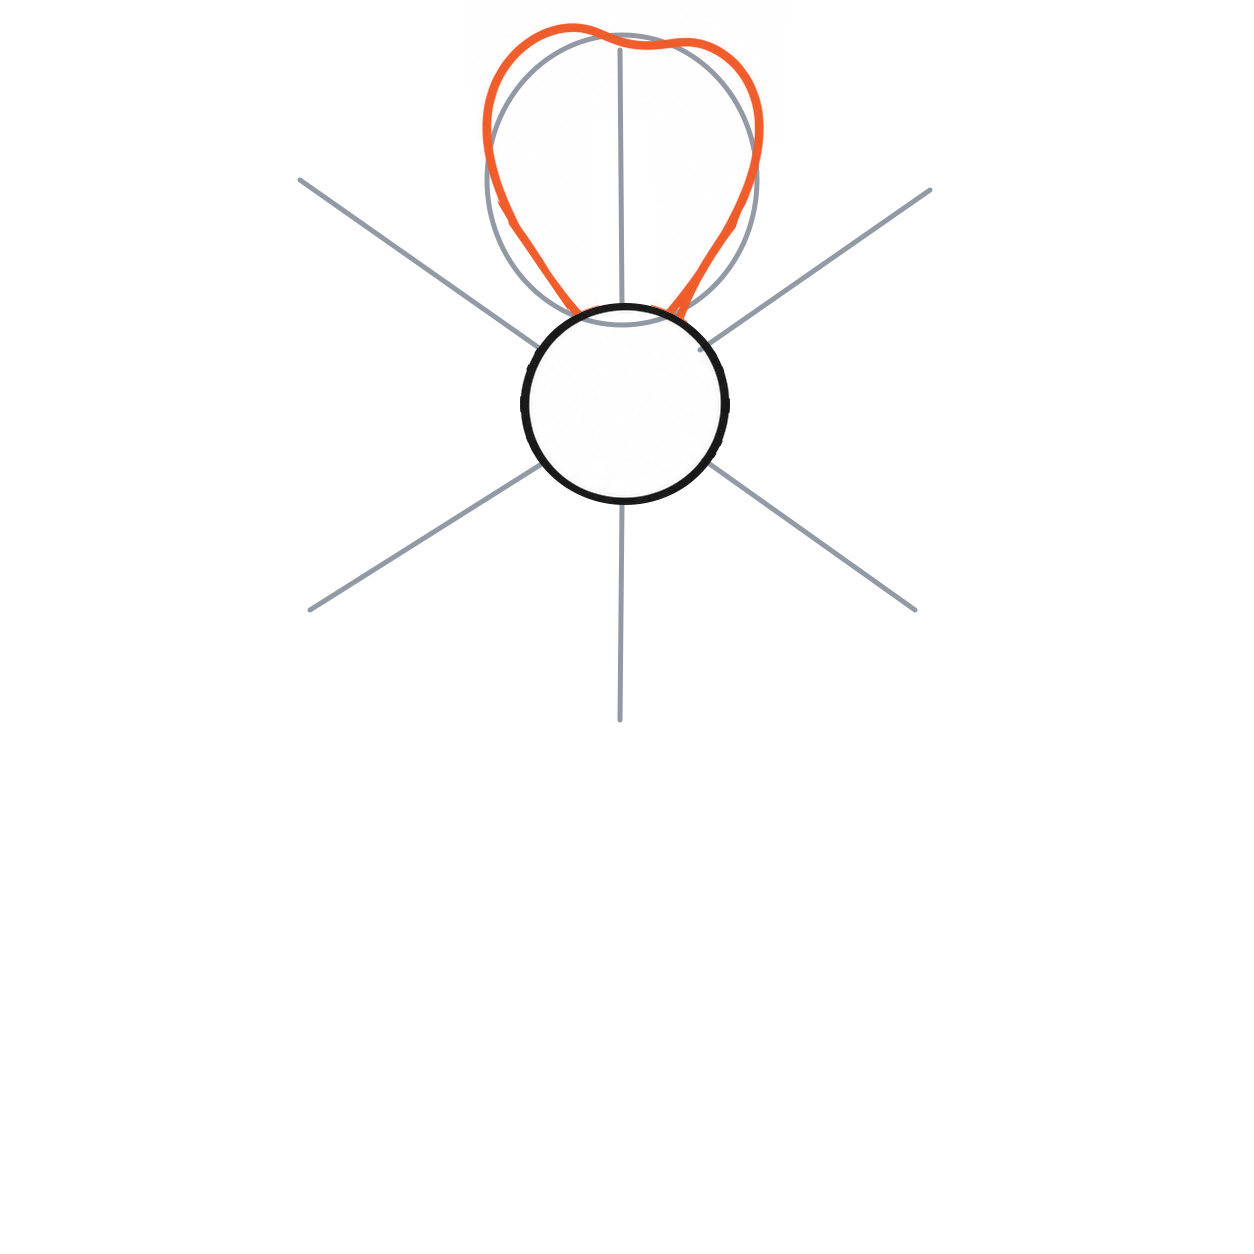 Enlarge step 4 ↗
5Add two small petal creases
From the petal base, draw one short curve toward the middle and a shorter curve beside it. Taper both to a stop well before the rounded tip.
Check: The two creases stay inside the petal.
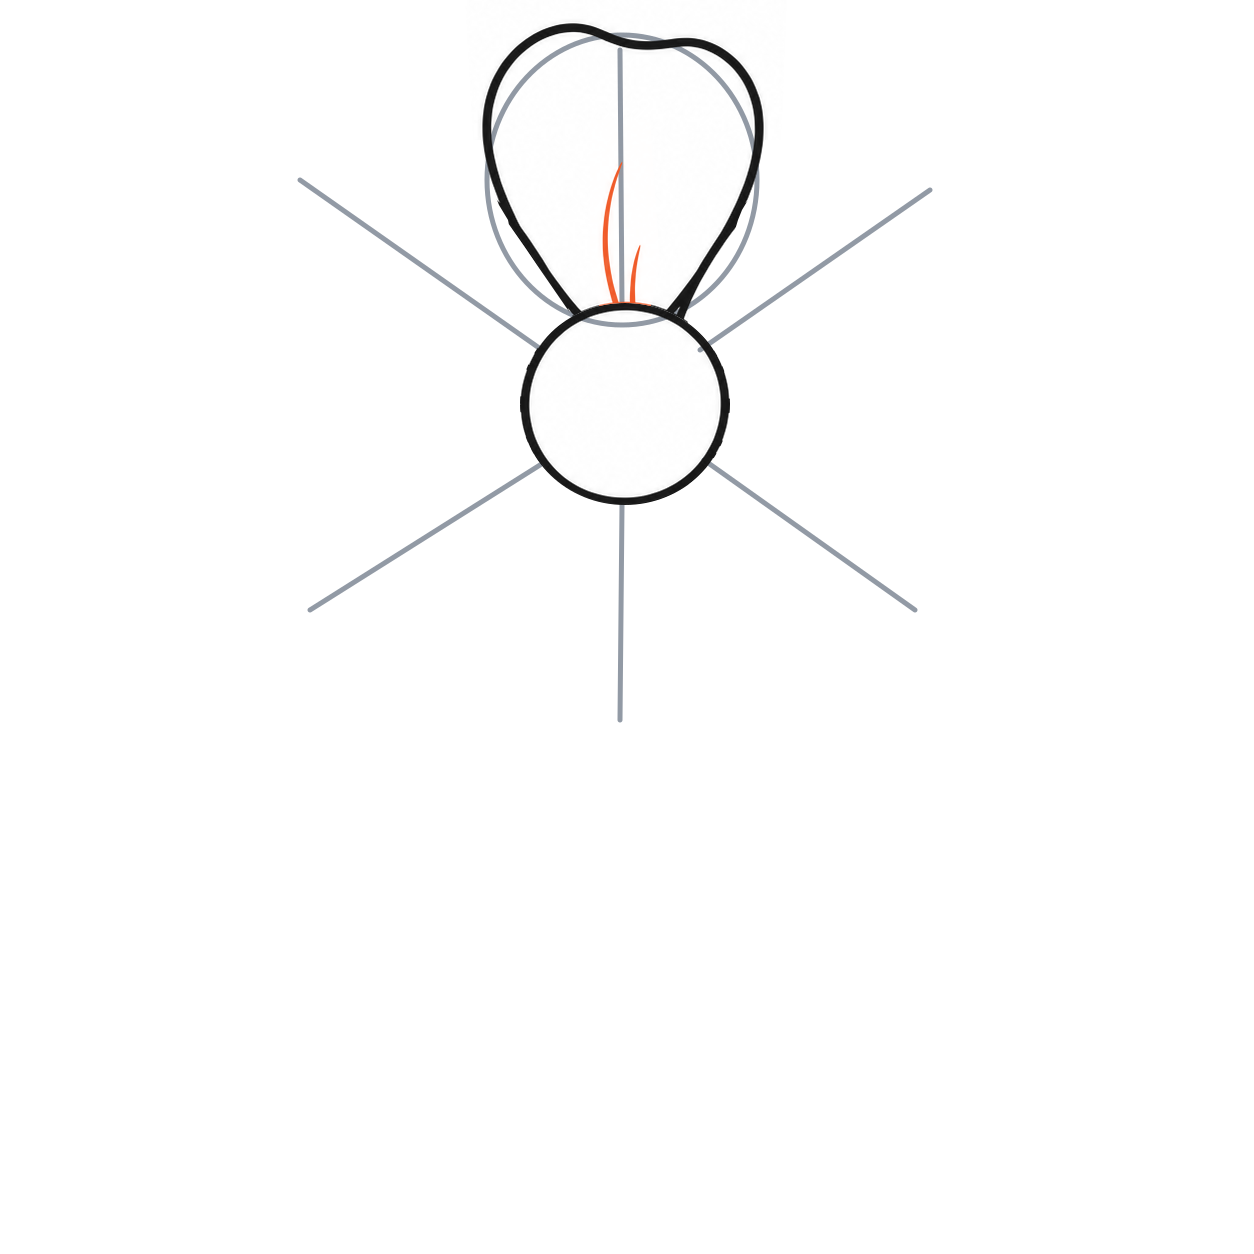 Enlarge step 5 ↗
6Build the upper-left petal
Start partway down the first petal’s left side. Curve out around the upper-left spoke, round its broad tip, and return to the centre’s left edge. The black sloping edge is already shared.
Check: Draw the new outer curve; do not retrace the shared black side.
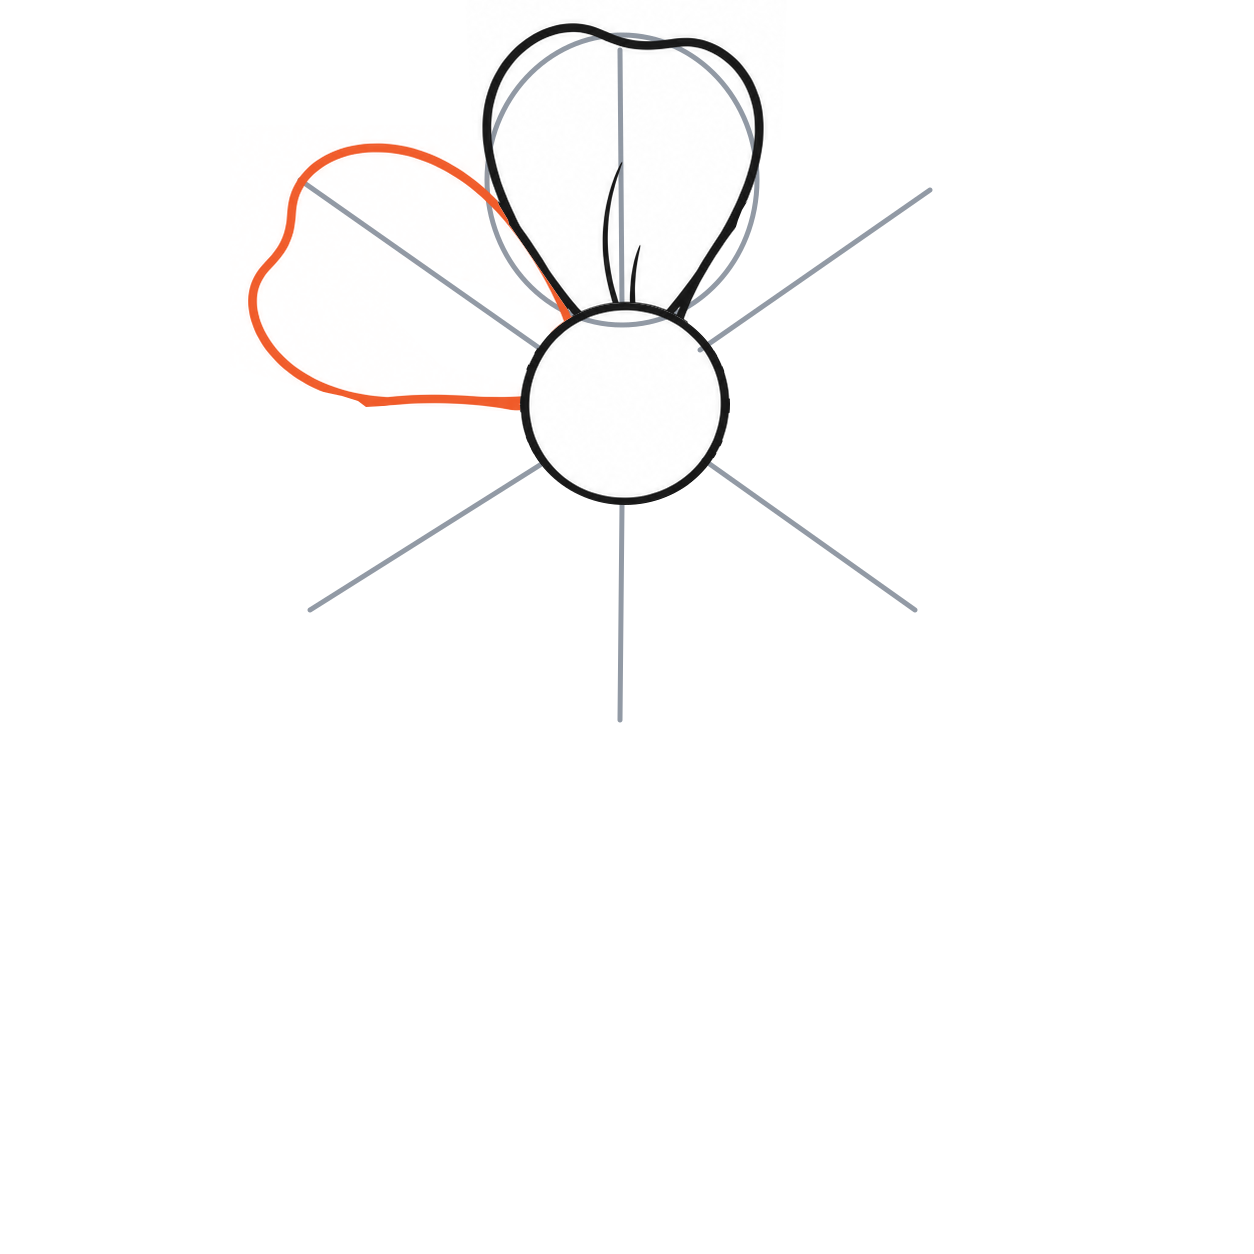 Enlarge step 6 ↗
7Build the upper-right petal
Repeat around the upper-right spoke. Start partway down the first petal’s right side, bow outward, then join the centre’s right edge. Keep the existing shared side.
Check: Leave room under this petal for the lower-right petal.
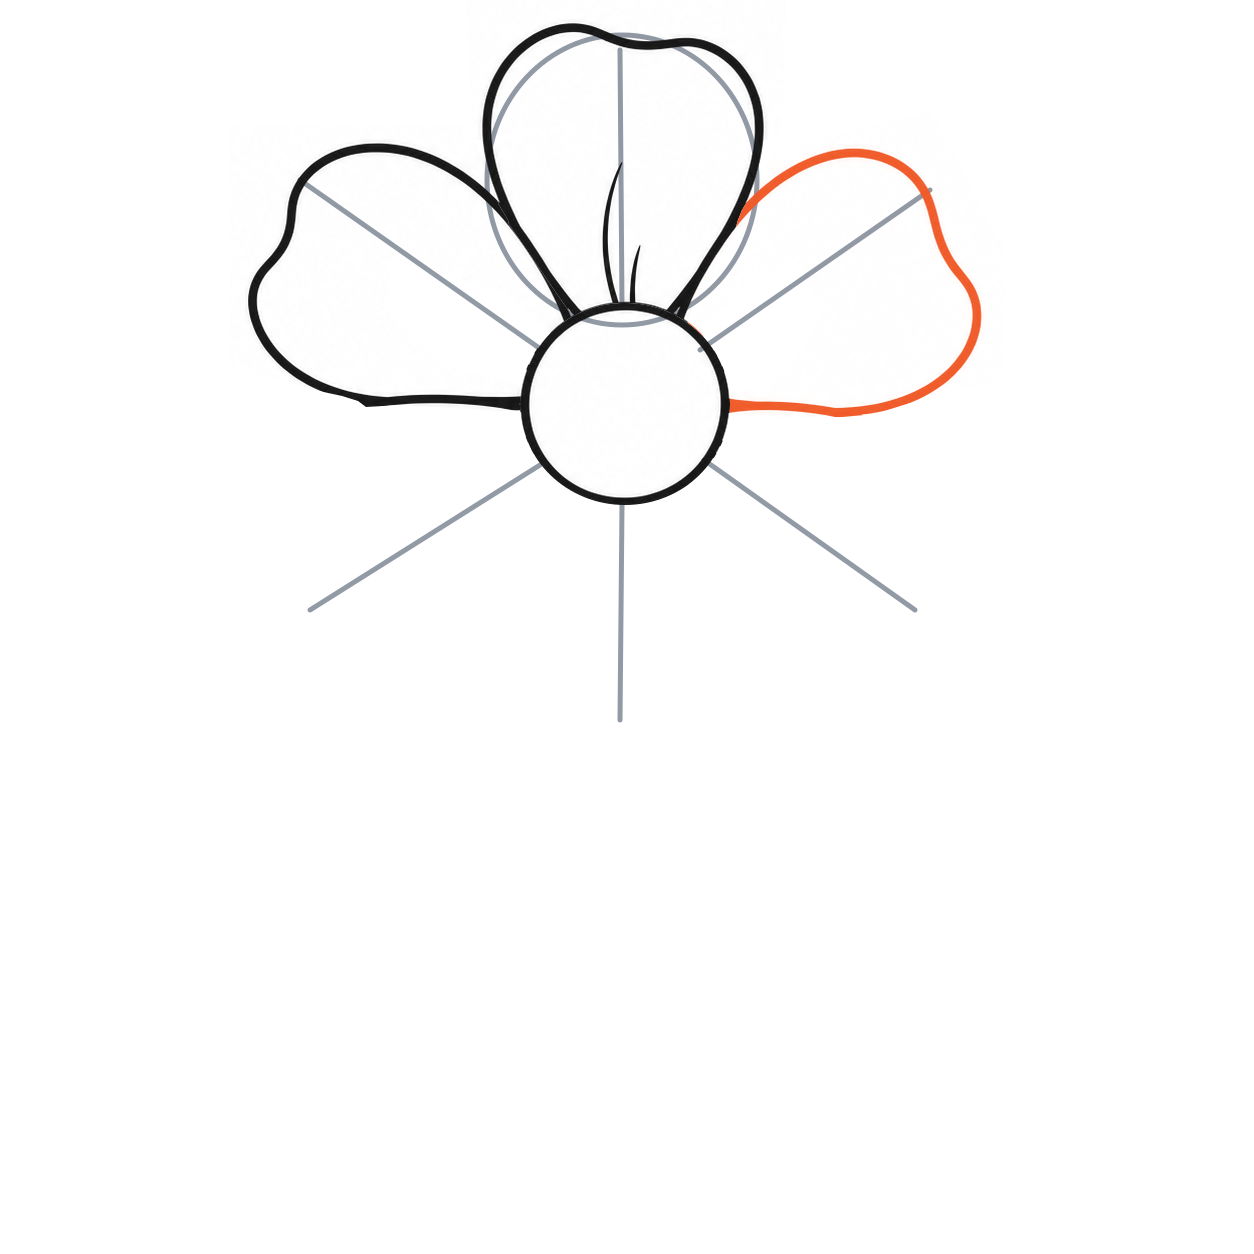 Enlarge step 7 ↗
8Build the lower-left petal
Start at the outer lower corner of the upper-left petal. Curve down around the lower-left spoke, round the tip, then rise to the centre’s lower-left edge.
Check: The upper edge is already black; add only the outer and lower curve.
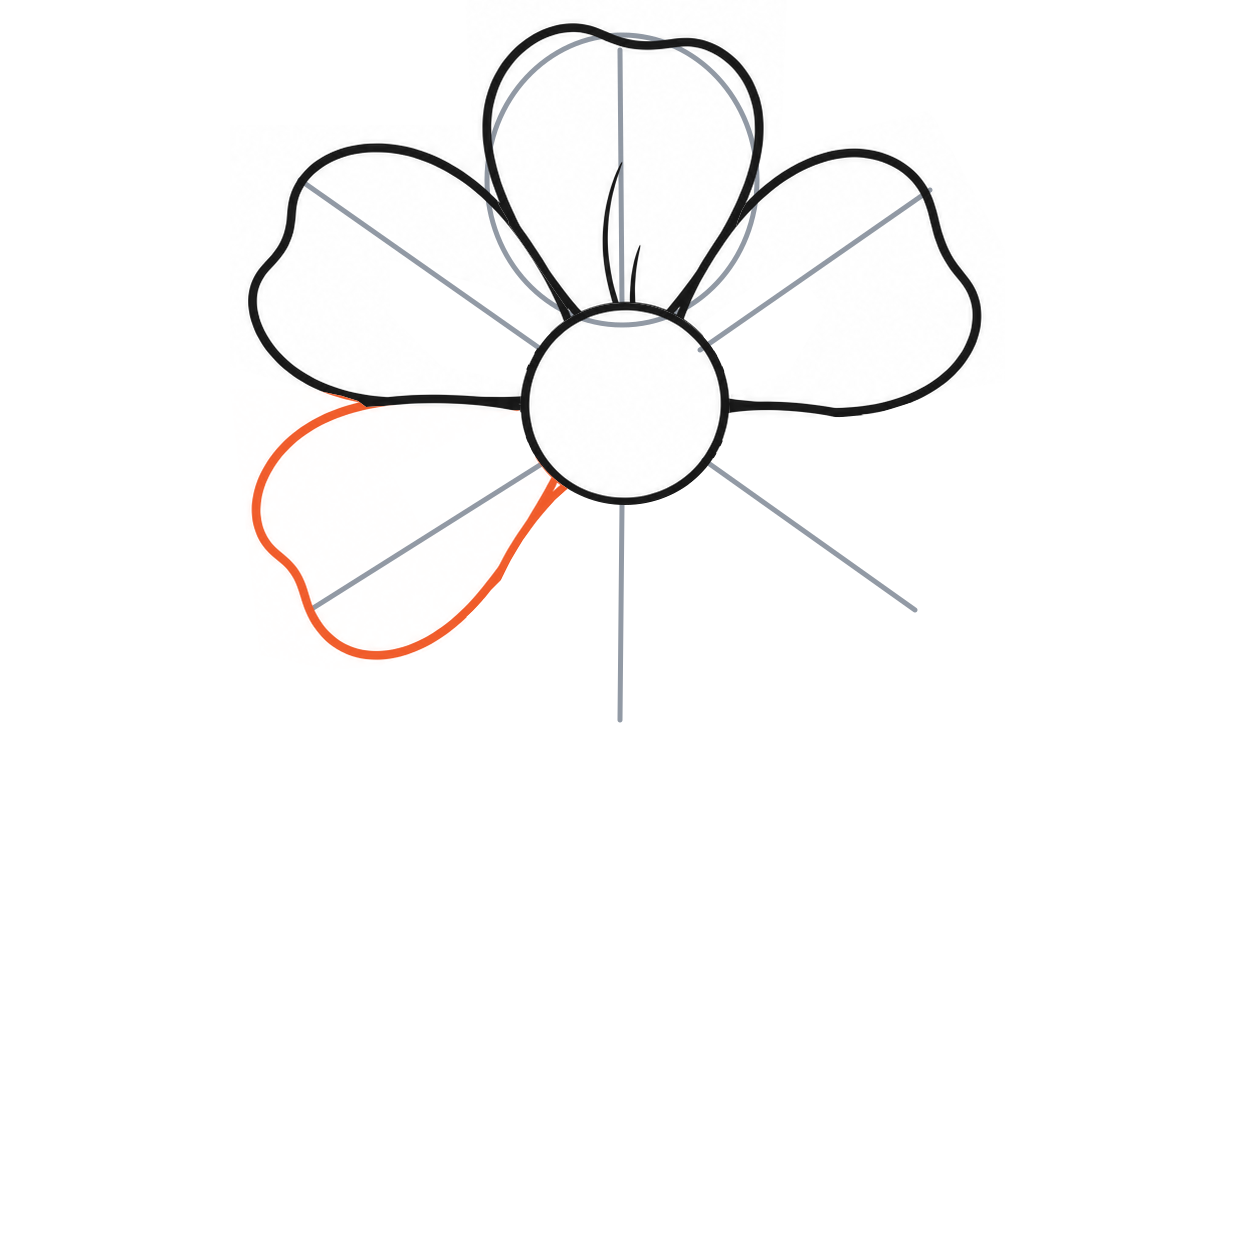 Enlarge step 8 ↗
9Build the lower-right petal
Repeat from the upper-right petal’s outer lower corner. Round the lower-right spoke and return to the centre’s lower-right edge.
Check: Keep the space directly below the centre open.
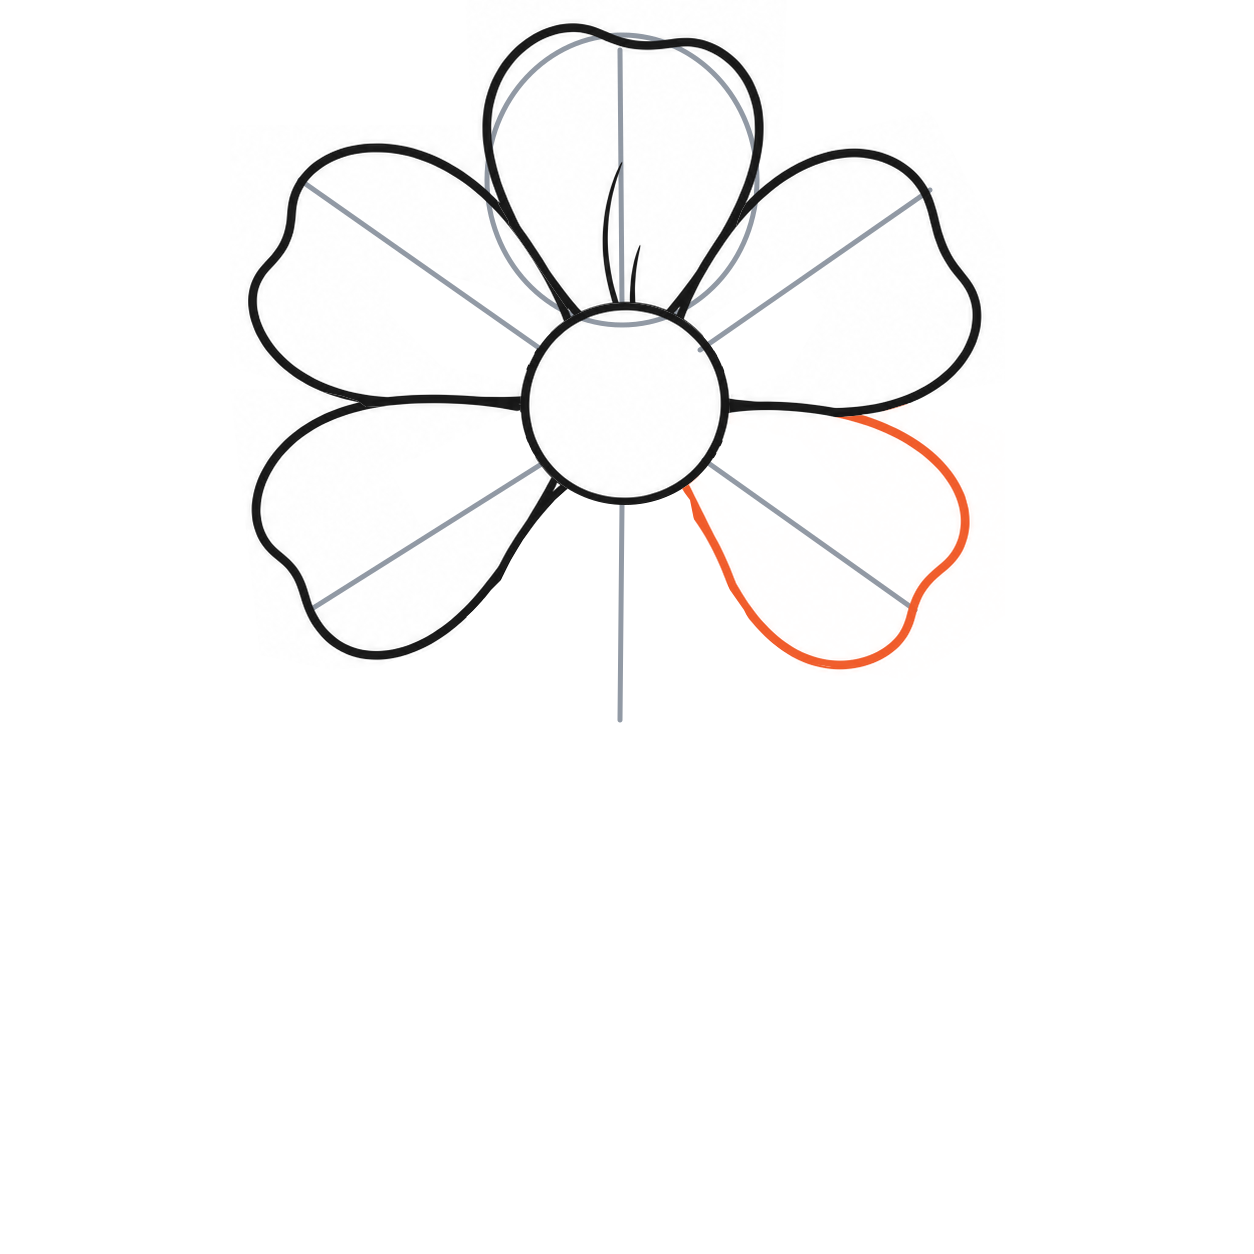 Enlarge step 9 ↗
10Close the bottom petal
The two sloping black edges below the centre already form its sides. Join their lower ends with a broad rounded U-curve around the downward spoke, adding a shallow dip at the bottom.
Check: Connect the existing sides; do not draw another pair over them.
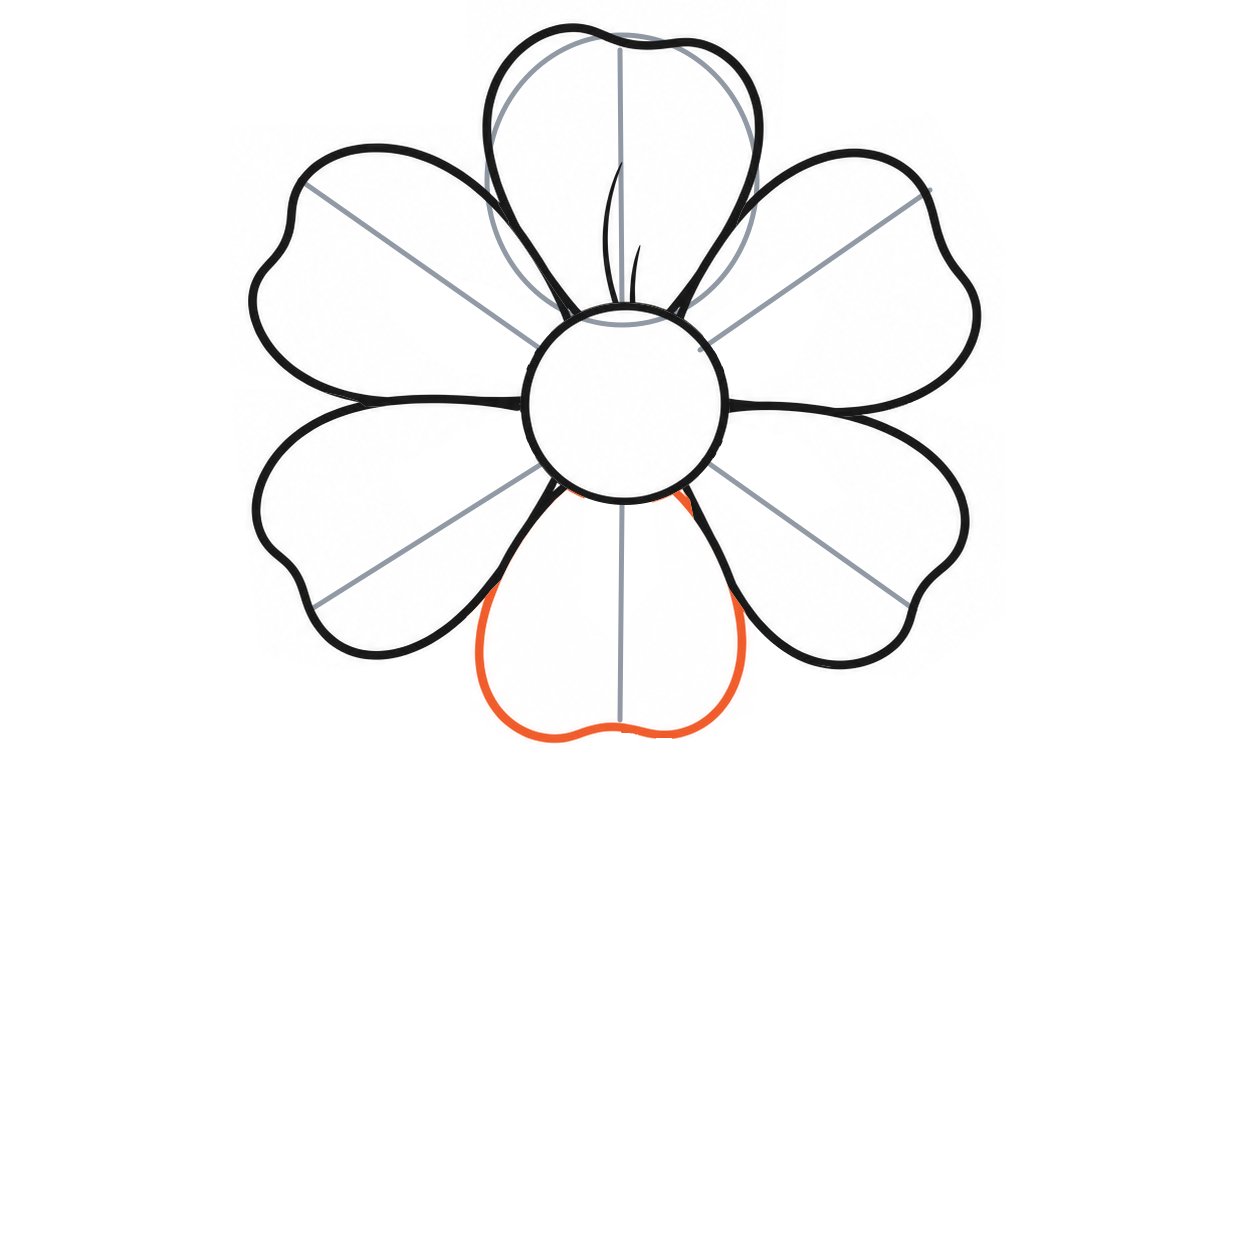 Enlarge step 10 ↗
11Repeat the small creases
Add two short tapered curves inside each of the five remaining petals, using the first petal as the example. Start near the centre and stop before each petal’s middle.
Check: Keep every crease inside its own petal.
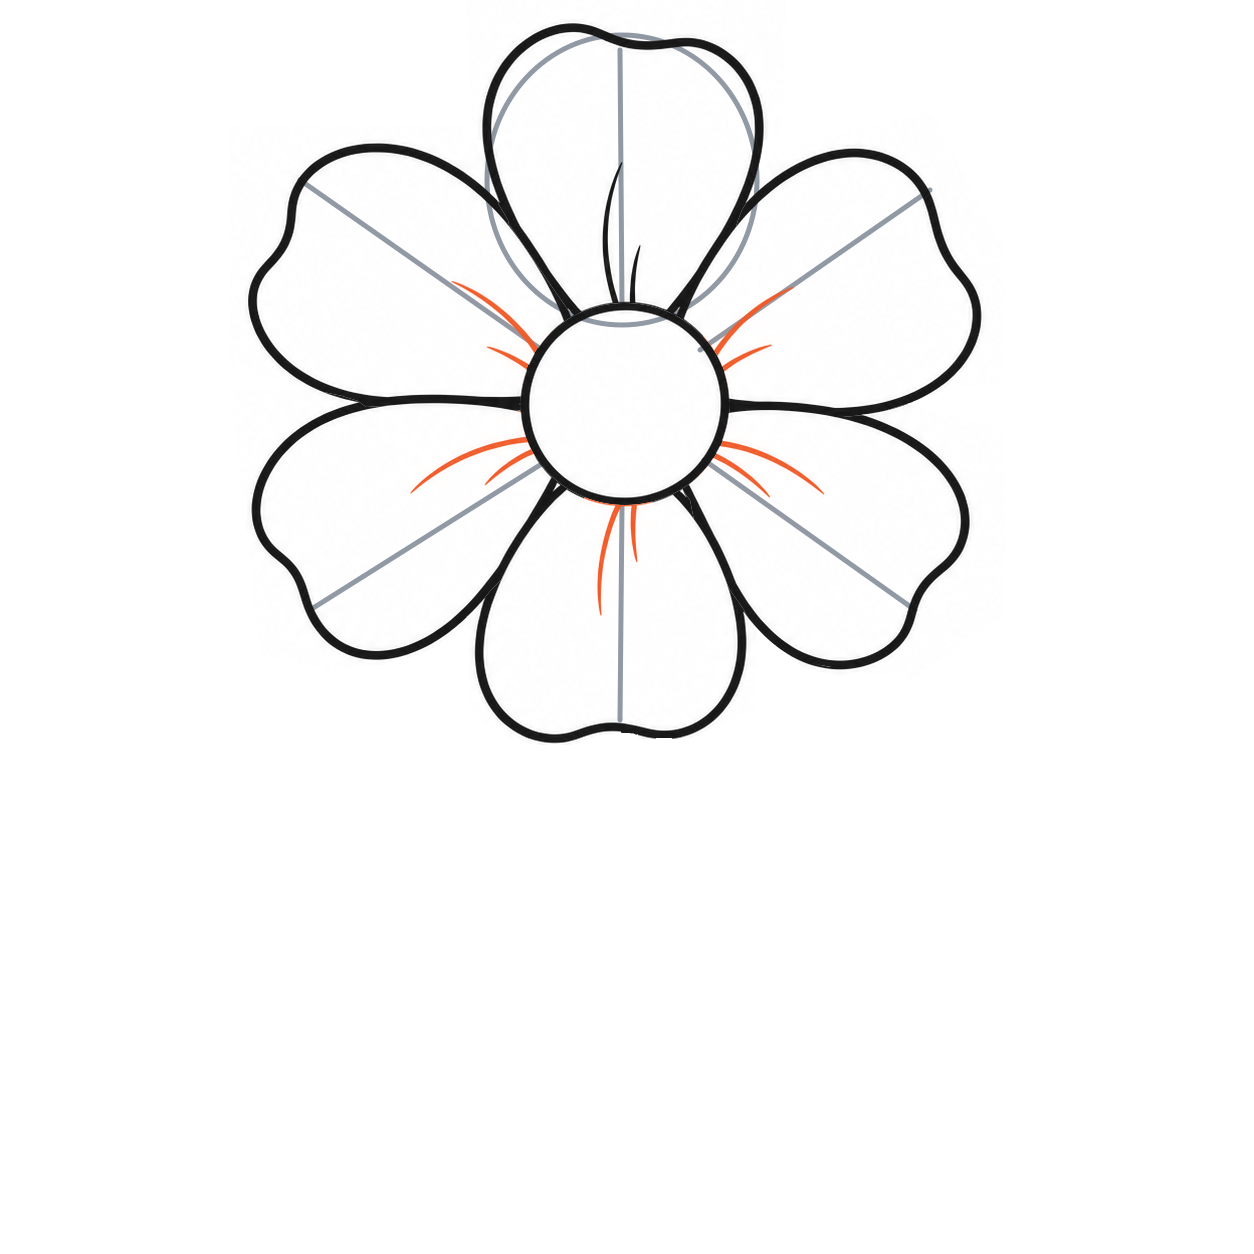 Enlarge step 11 ↗
12Erase the petal guides
Erase the six gray spokes and the light oval. Keep the centre, all six petal outlines, their shared edges and the small crease curves.
Check: Only the gray construction marks disappear.
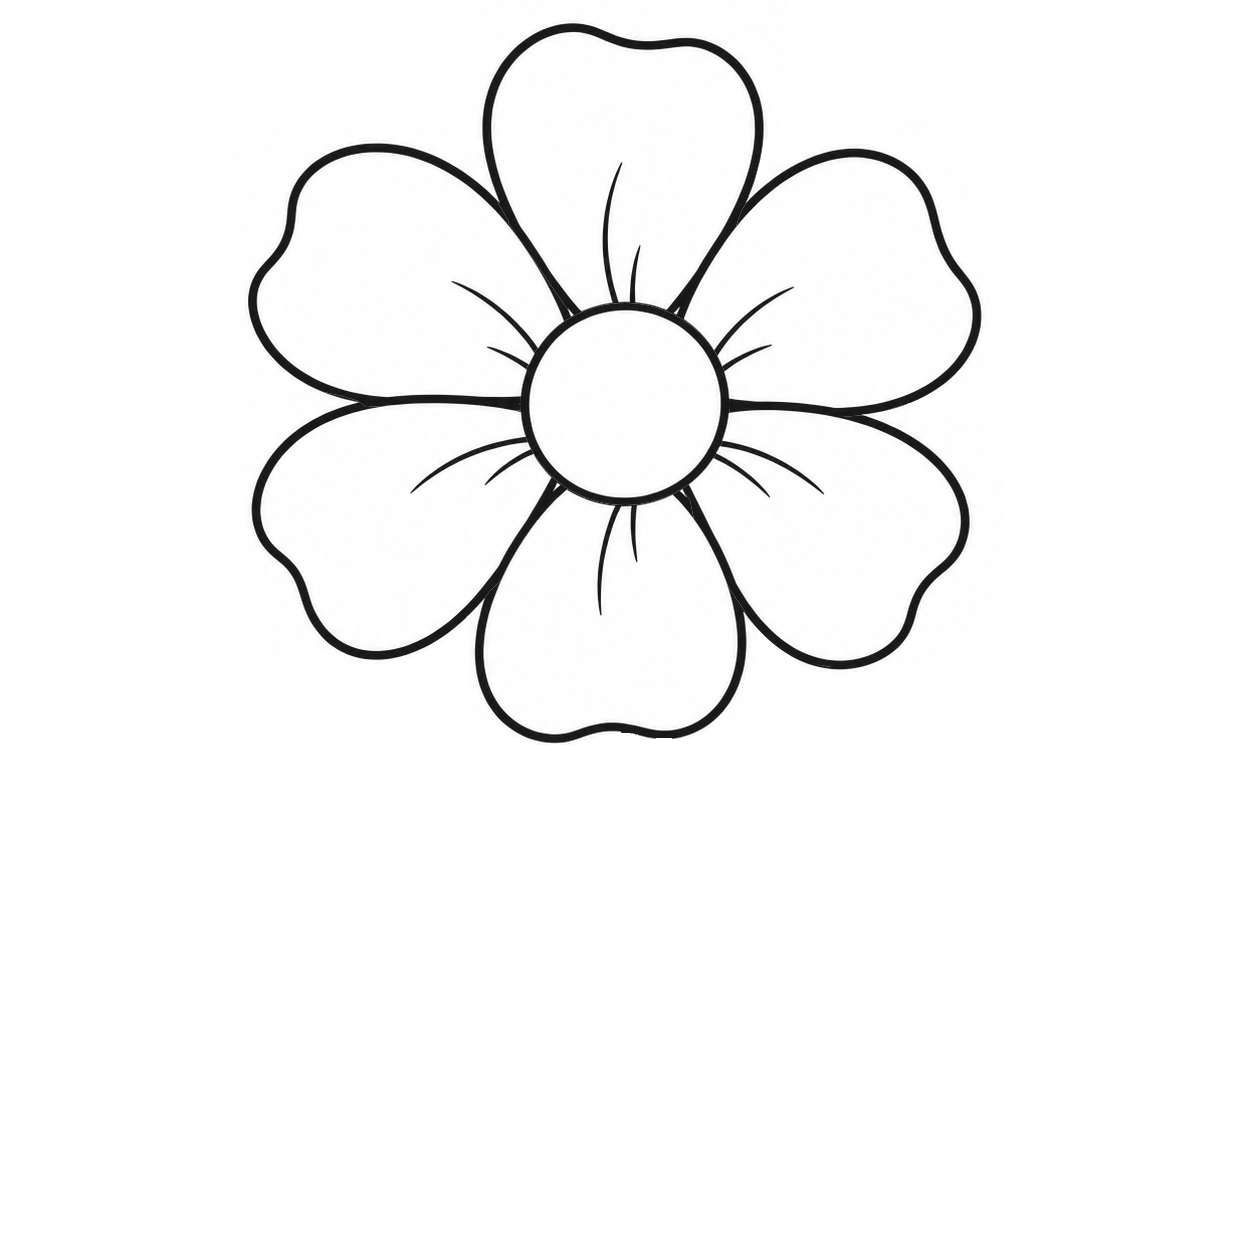 Enlarge step 12 ↗
13Plan the stem bend
From the bottom petal, draw a light line that bows right, bends back left and finishes beneath the flower. Make it about two-thirds the flower head’s height.
Check: Keep enough room beside the lower stem for two leaves.
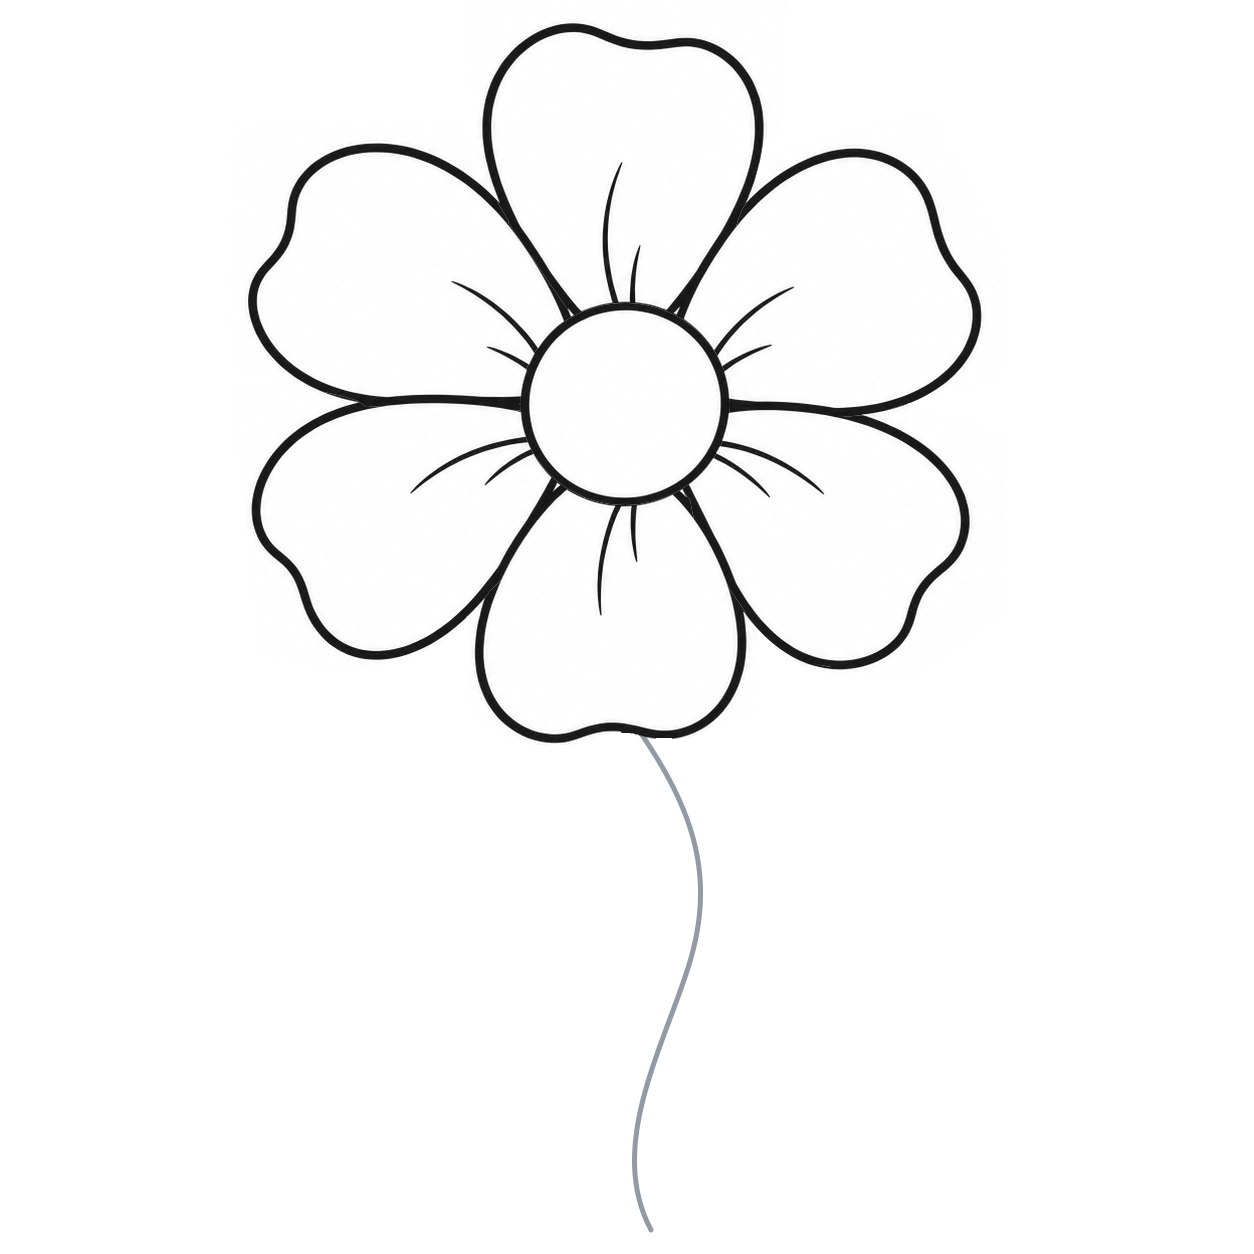 Enlarge step 13 ↗
14Give the stem two sides
Draw one smooth curve on each side of the gray line. Keep the stem narrow, and join the two sides with a short rounded end. Both upper ends stop at the bottom petal.
Check: The stem stays joined to the flower.
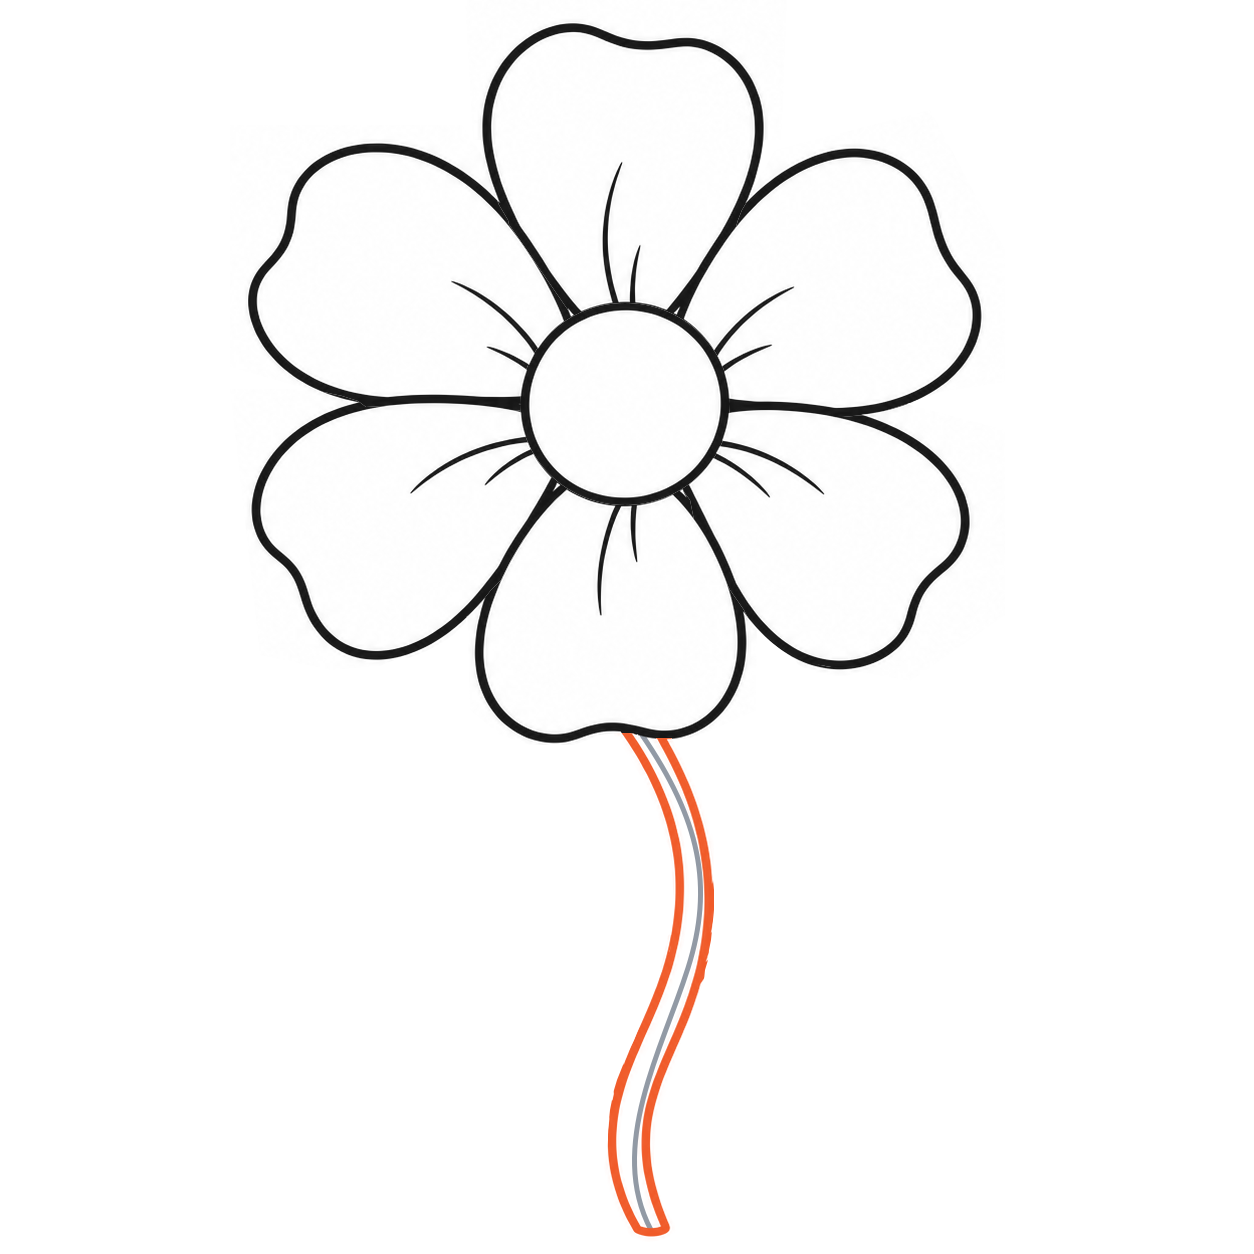 Enlarge step 14 ↗
15Place the first leaf
Low on the left side of the stem, draw a light sloping line to a tip about one-and-a-half centre-widths left and one centre-width up. This line places the leaf; it is not its final edge.
Check: The tip points away from the stem.
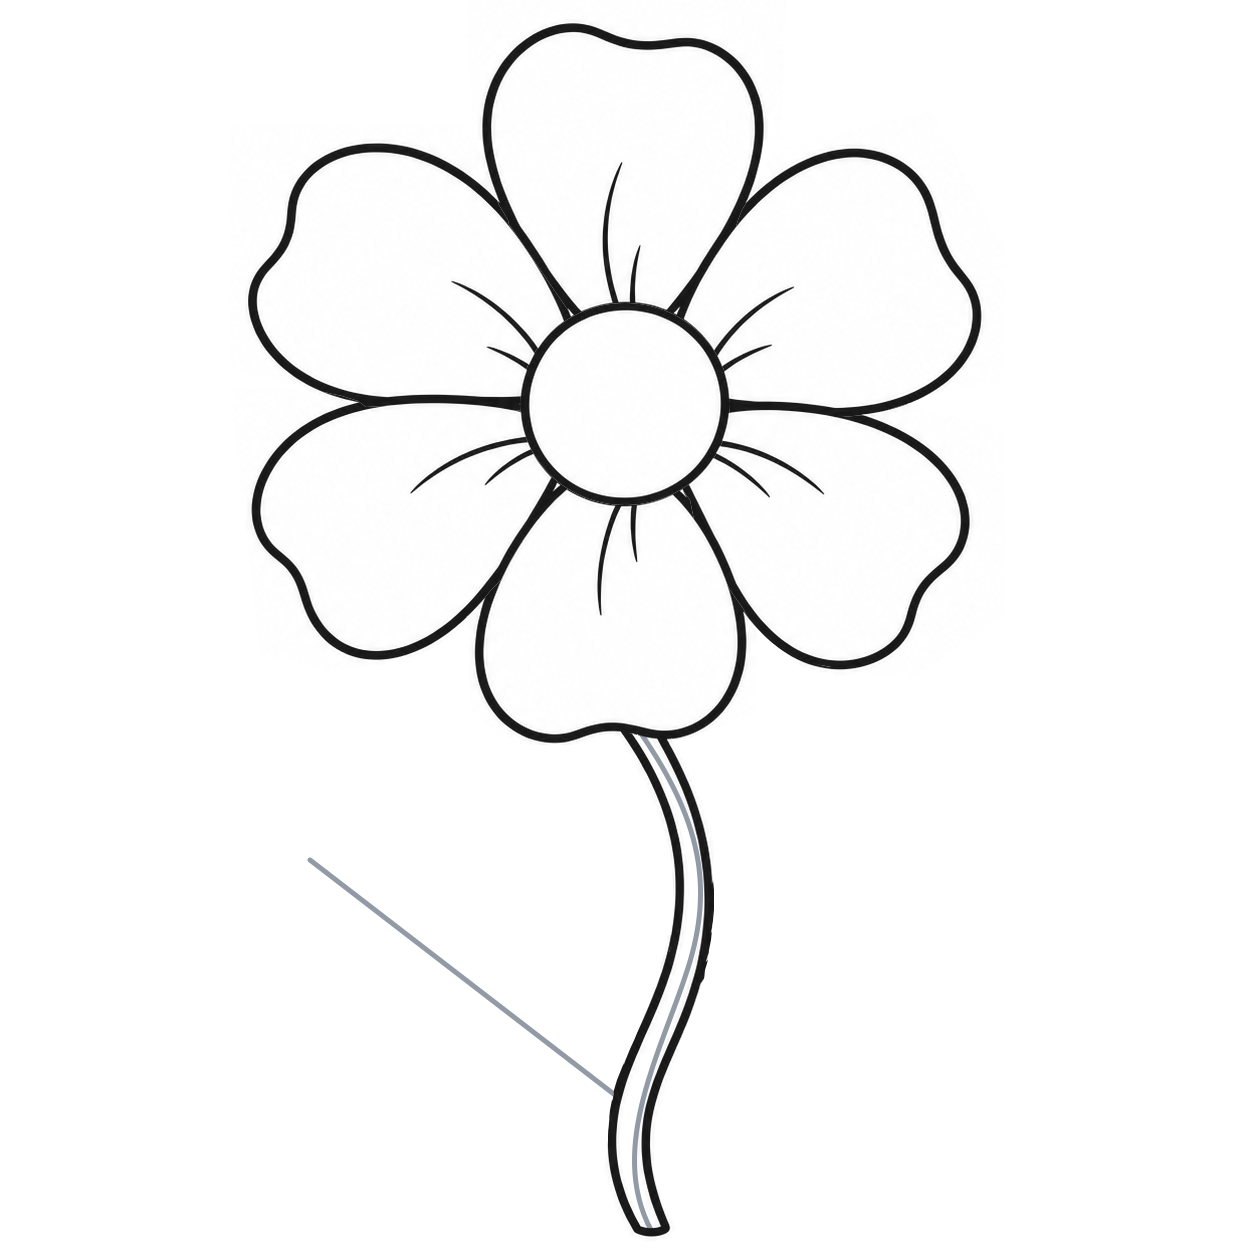 Enlarge step 15 ↗
16Make the first leaf from two curves
From the stem, bow one curve above the light line to its tip. Return with a second bowed curve below it. Let the leaf be widest in its middle, then narrow both ends.
Check: Both curves meet at the tip and at the stem.
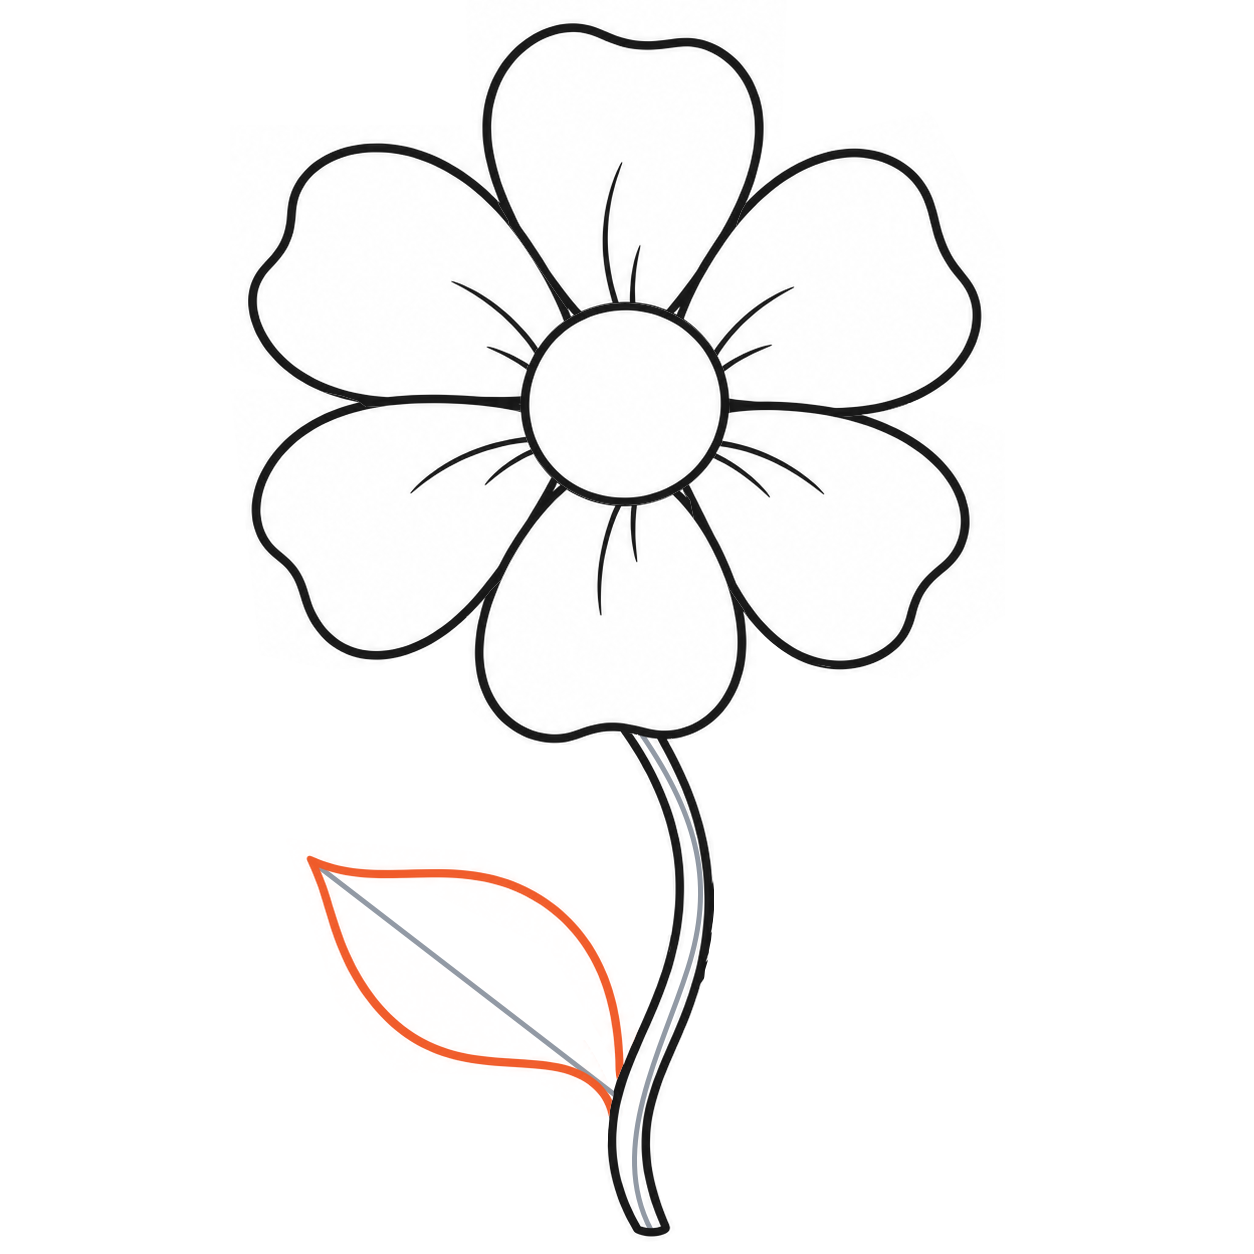 Enlarge step 16 ↗
17Add the first leaf vein
Starting at the leaf base, draw one curved vein toward the tip. Keep it between the two leaf edges and stop a little before the point.
Check: The vein stays inside the closed leaf.
 Enlarge step 17 ↗
18Place the second leaf
Mark a second light leaf line higher on the right side of the stem. Put its tip about one-and-a-half centre-widths to the right and a little more than one centre-width up.
Check: The two leaves attach at different heights.
 Enlarge step 18 ↗
19Build the second leaf
Repeat the two bowed curves around the new line. Start and finish at the higher stem join, making a broad middle and one clear pointed tip.
Check: Close the leaf at both ends.
 Enlarge step 19 ↗
20Repeat the leaf vein
Draw one curved vein from the second leaf’s base toward its tip, stopping before the point.
Check: Keep the vein separate from the outer edges.
 Enlarge step 20 ↗
21Erase the remaining guides
Erase the gray line inside the stem and the two light leaf lines. Keep both stem edges, both complete leaves and their curved veins.
Check: Remove gray guides only.
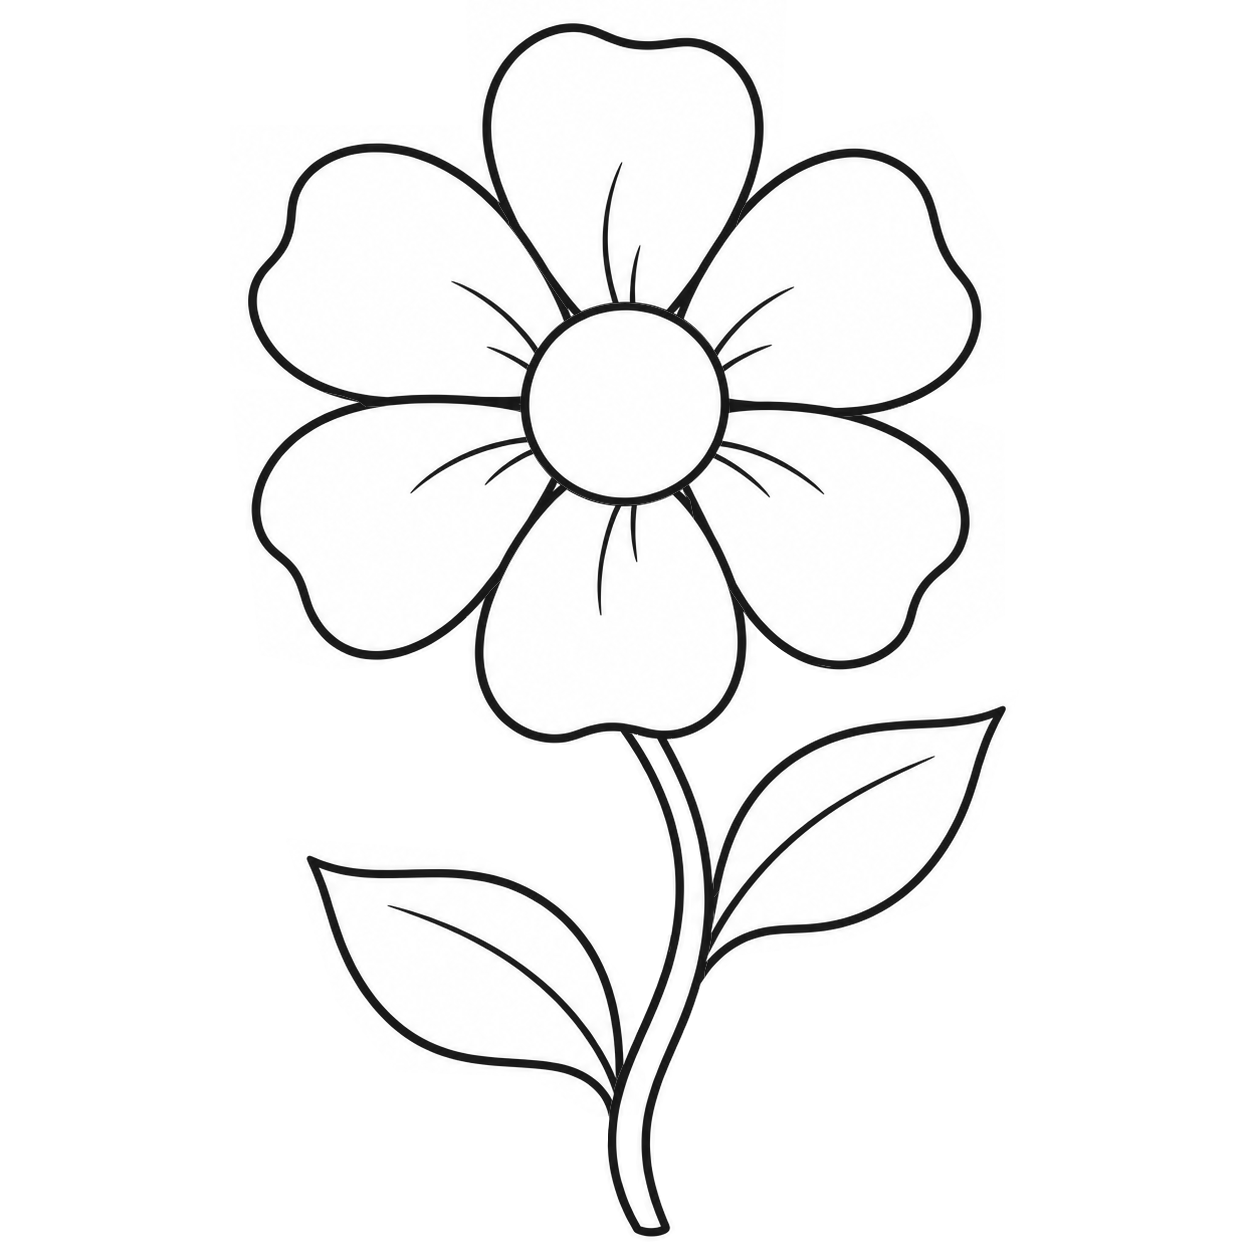 Enlarge step 21 ↗
22Check the finished flower
Check six petals around the centre, one curved stem and two complete pointed leaves. Keep all the black lines; colouring is optional.
Check: Count six petals and two leaves.
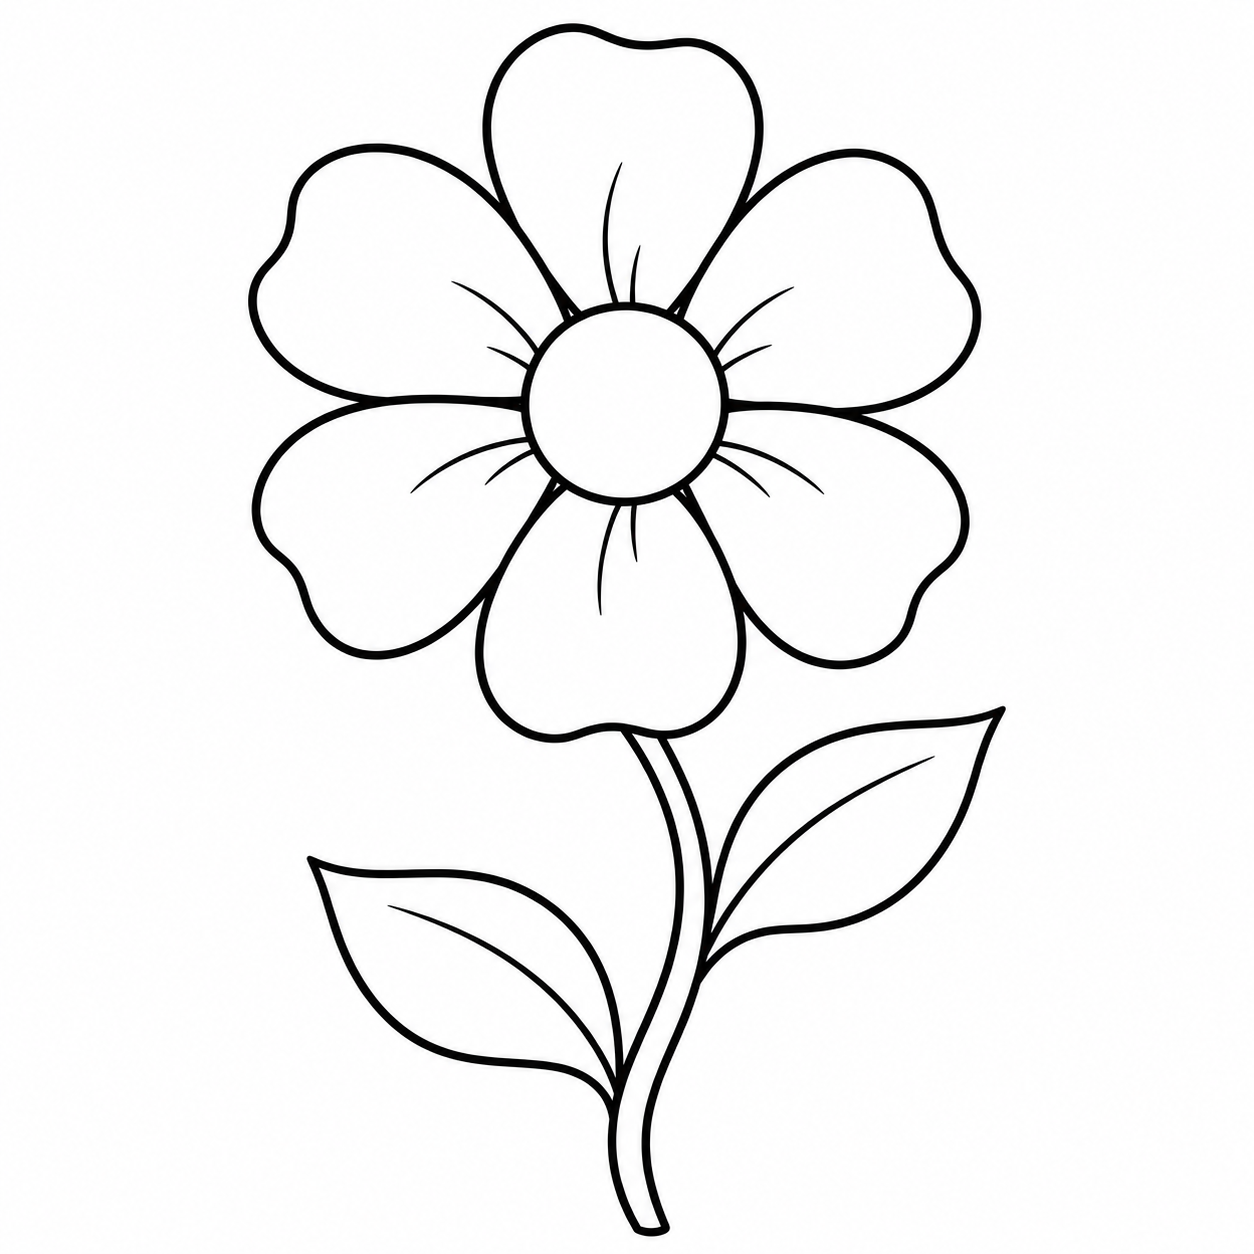 Enlarge step 22 ↗
Your finished line drawing
Keep it as it is, or make it yours.
Keep all six petals, the centre, stem and both complete leaves.
Choose your own petal, centre and leaf colours after the line drawing is finished.
Coloring is optional.
Take the lesson to the table.
Print all 22 picture steps, the finished example and a practice page. Each free 13-page PDF contains the same lesson, sized for your paper. No email or signup is needed.
Printing help
Choose US Letter for 8.5 × 11 inch paper, or A4 for 210 × 297 mm paper. Print at actual size on matching paper. If your printer needs more margin, choose “Fit to page.”
Read the full printing guide →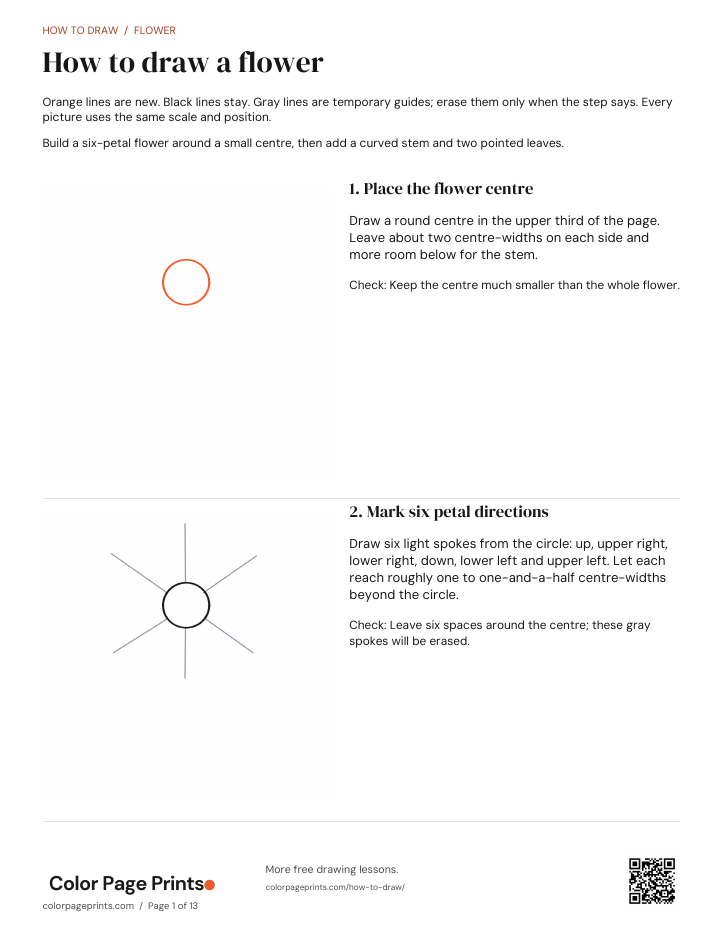 View the printable pages ↗