Free drawing lesson · medium
How to draw a Christmas ornament
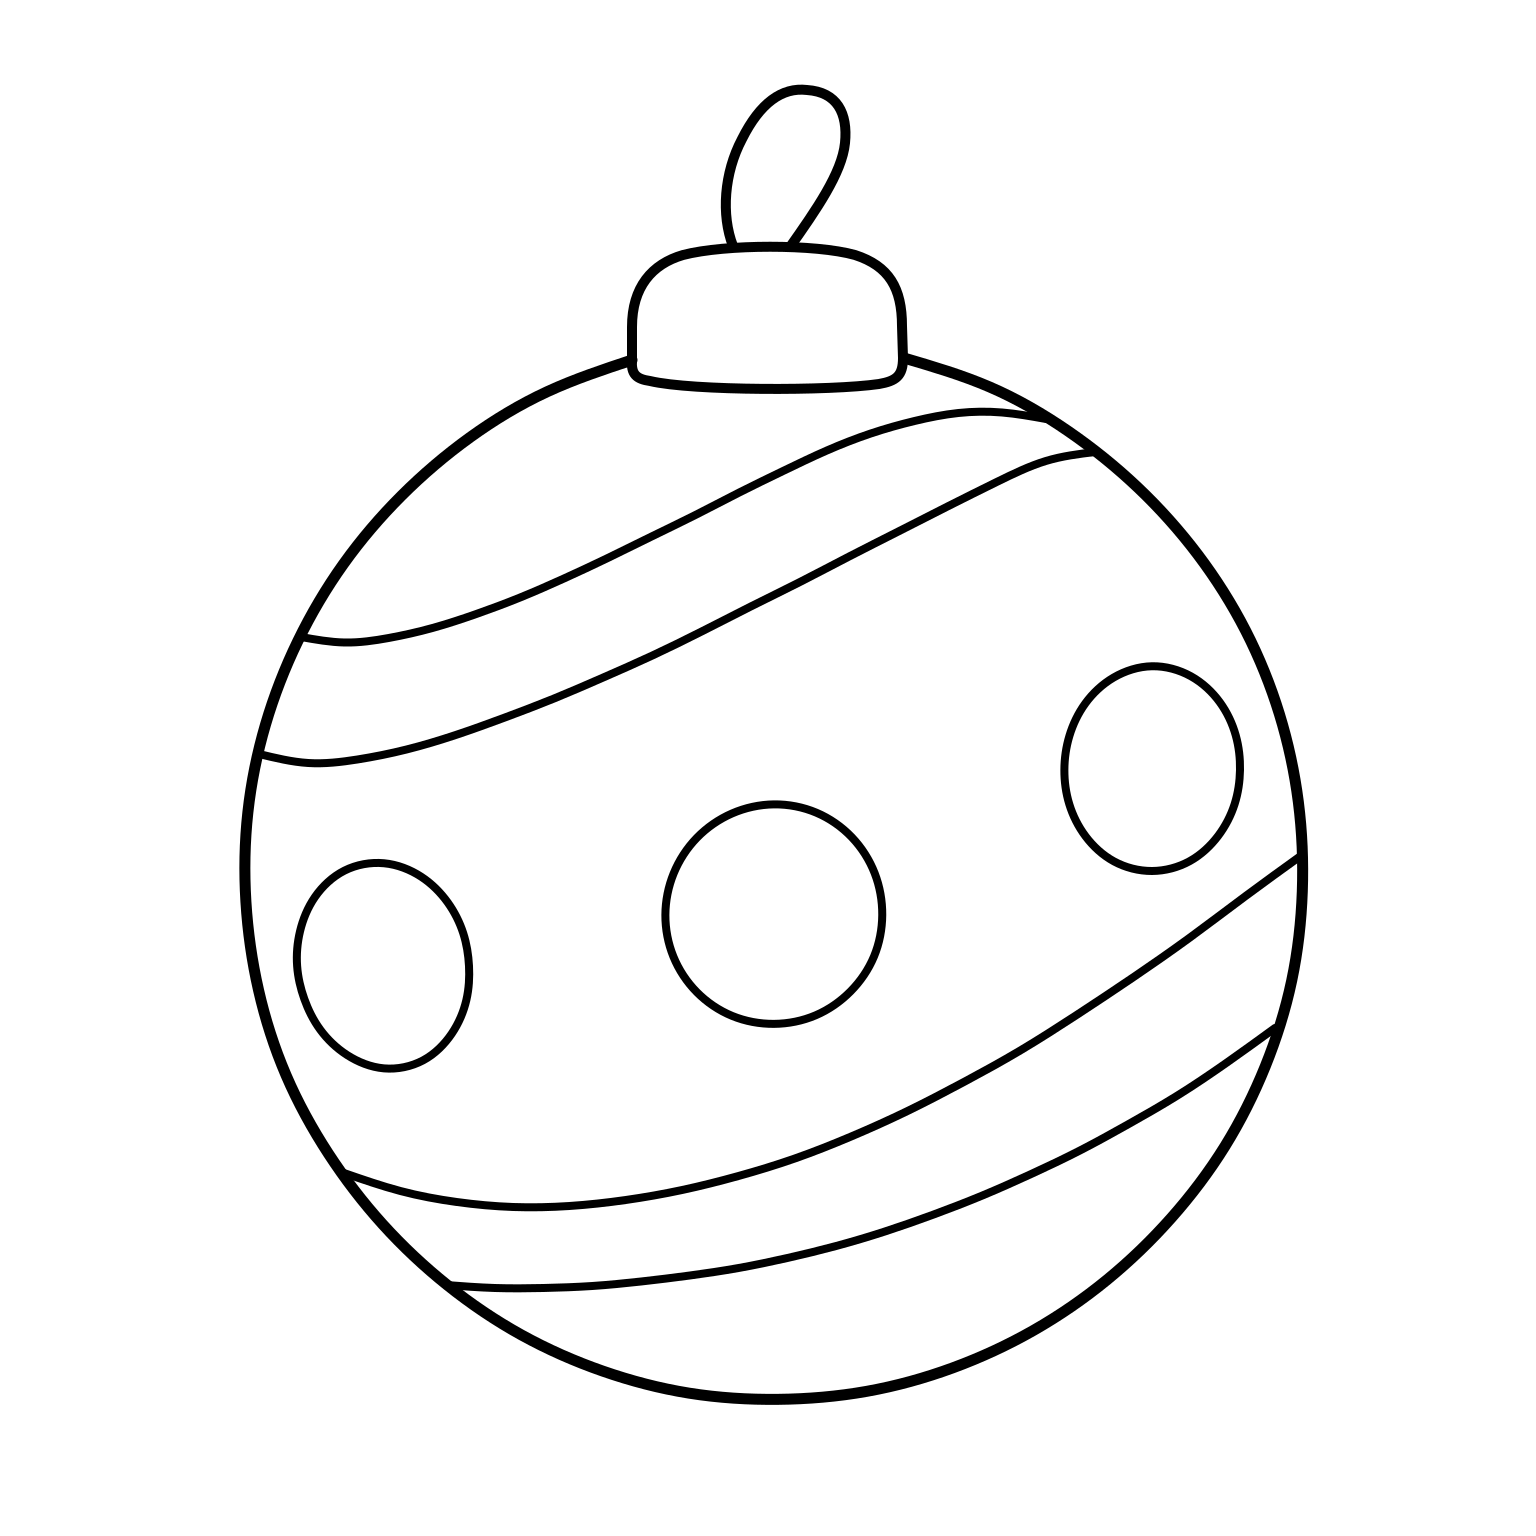
Draw a round Christmas ornament with curved bands, oval dots and a hanging loop.
10 picture steps · 4 pages per PDF · No signup
Finished drawing
Paper · PencilNew marksKeep linesNo temporary guides to erase
Stage 1 of 3 · Shape0 of 3 pictures completed0 of 10 completed overallProgress stays here while this page is open.
Ornament drawing tips
- Leave room above the ornament for its loop.
- Stop each band where it meets the outside outline.
- Keep the dots open inside so you can color them later.
- Keep the outlines —this lesson has no temporary guides.
Ornament skills · Medium
- Leave a top gap in the rounded ornament for its cap.
- Attach the loop to the cap with a rounded turn.
- Pair the curves to make two decorative bands.
- Close each dot and keep its middle white.
Ornament printing help
- Choose US Letter for 8.5 × 11 inch paper.
- Choose A4 for 210 × 297 mm paper.
- Print at actual size on matching paper.
- Use “Fit to page” if your printer needs more margin.
How to draw a Christmas ornament: picture walkthrough
Draw the Christmas ornament and hanging loop
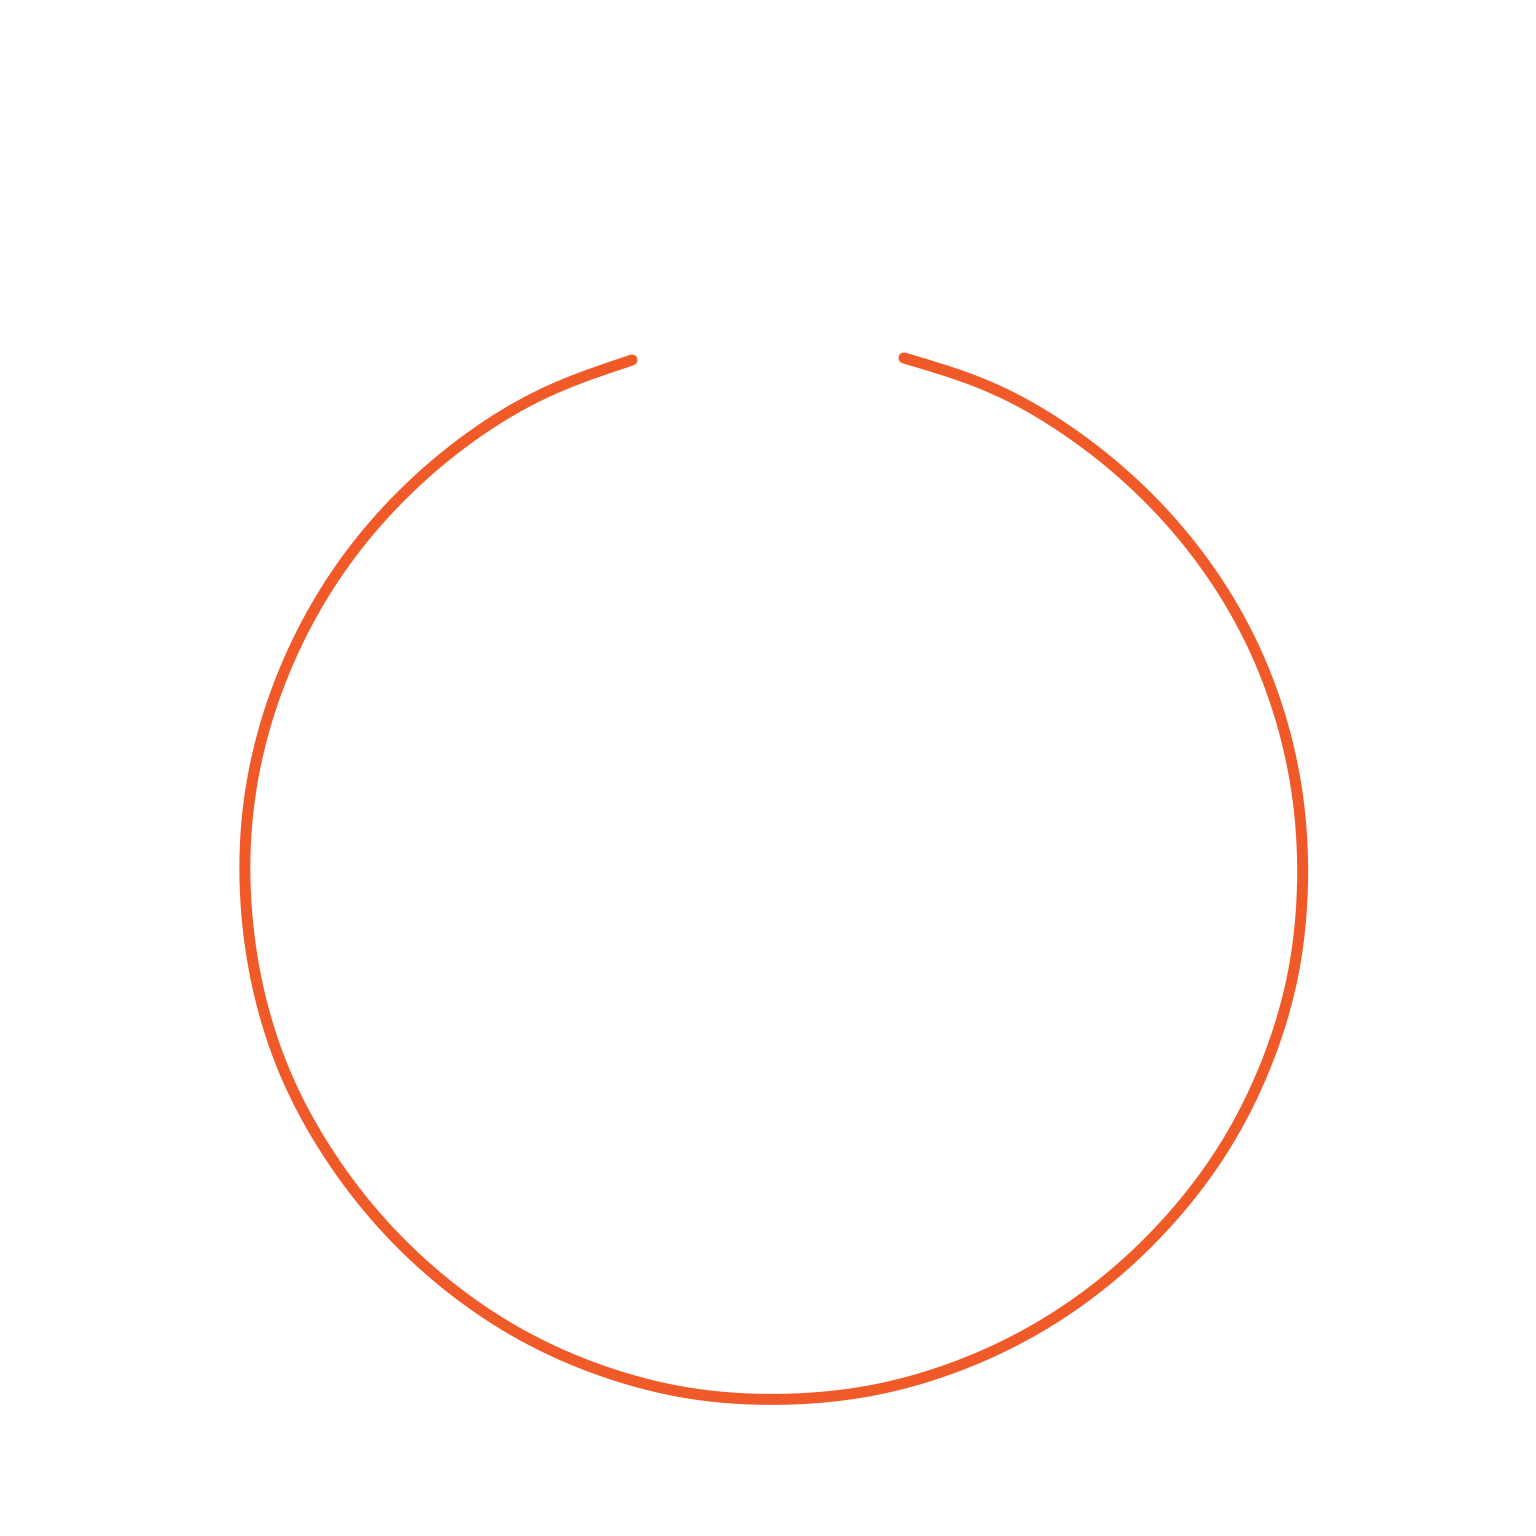
1. The round body
- Draw a large, rounded body.
- Leave a small gap at the top for the cap; do not draw a line across that gap.
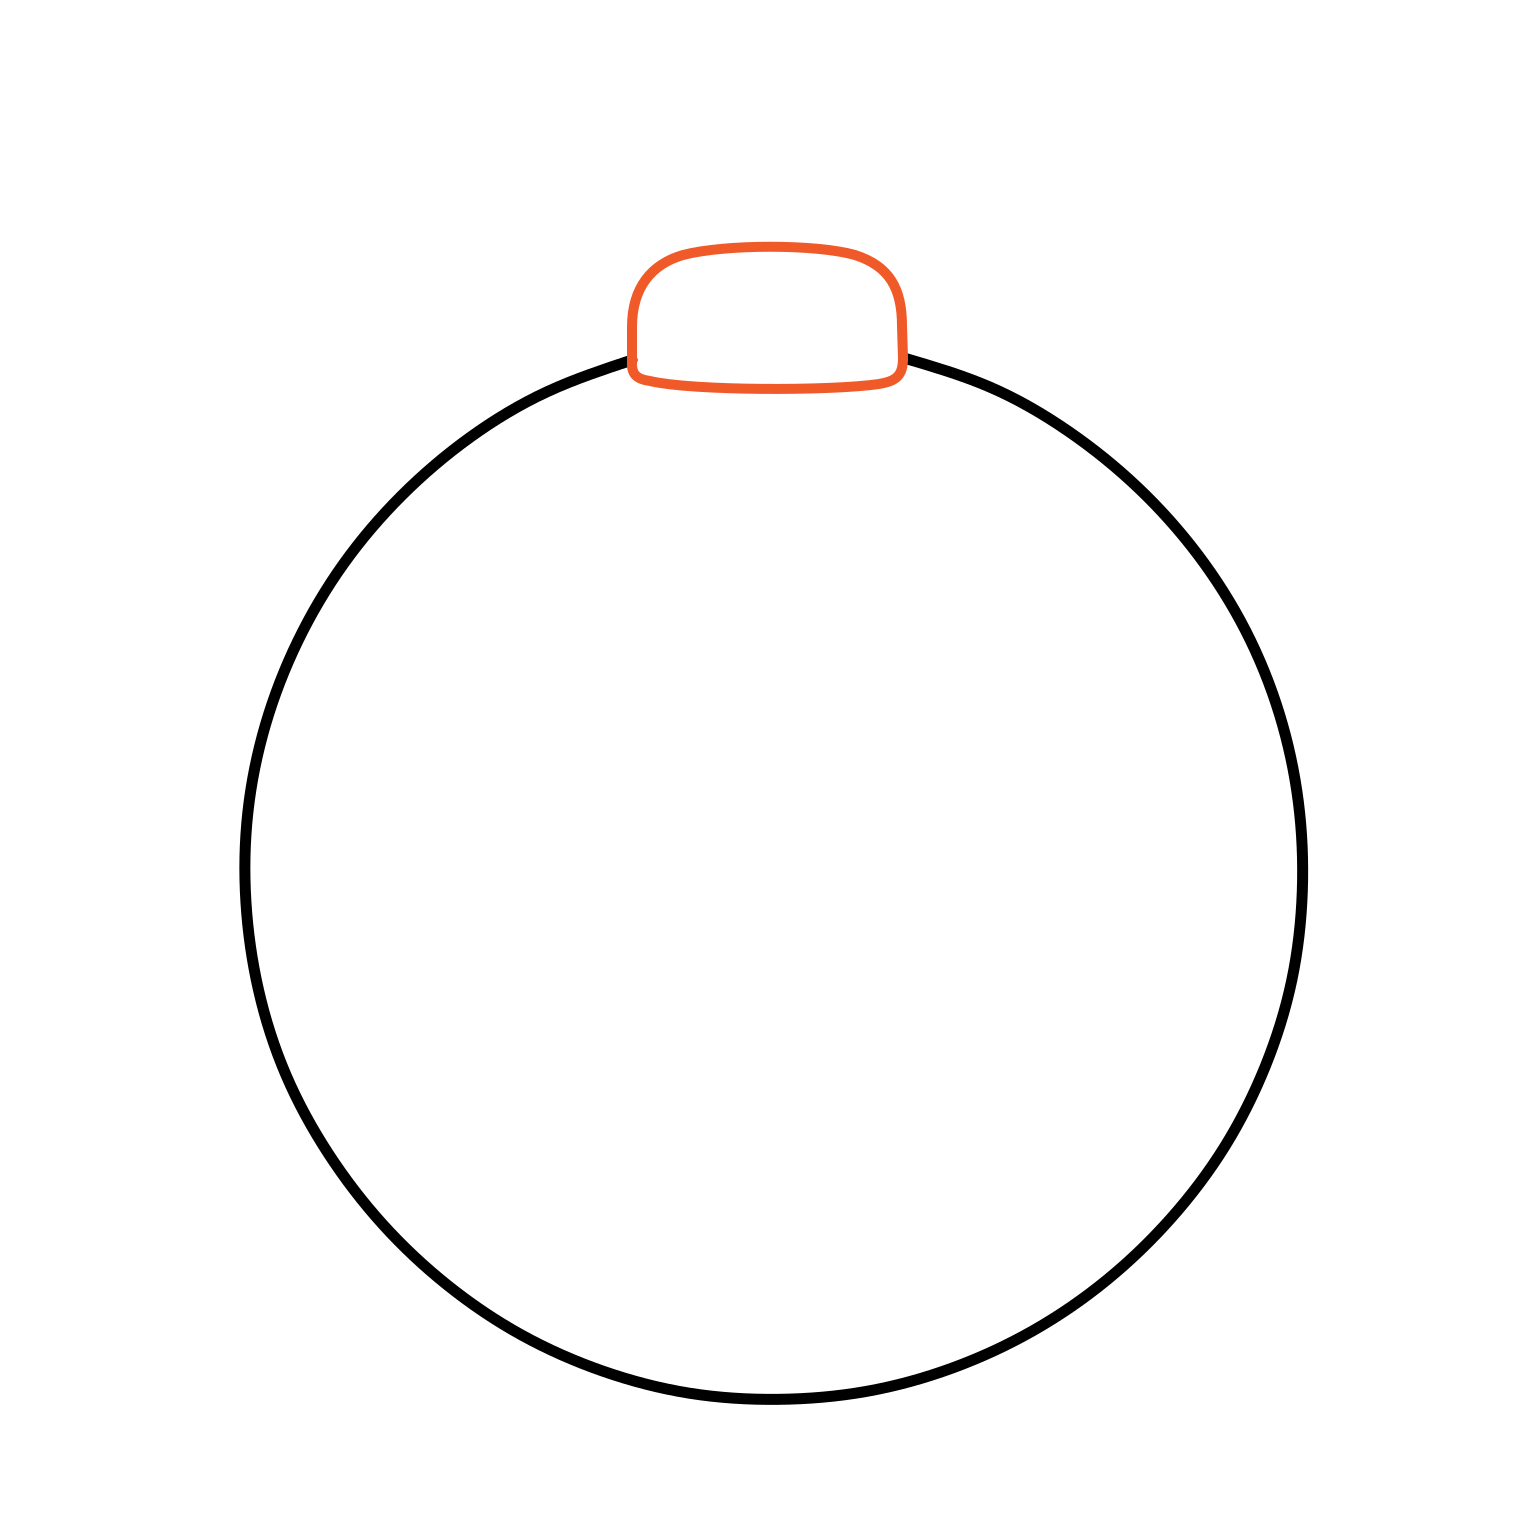
2. The cap
- Join the two top ends with a small cap.
- Round its top corners and curve its bottom edge gently.
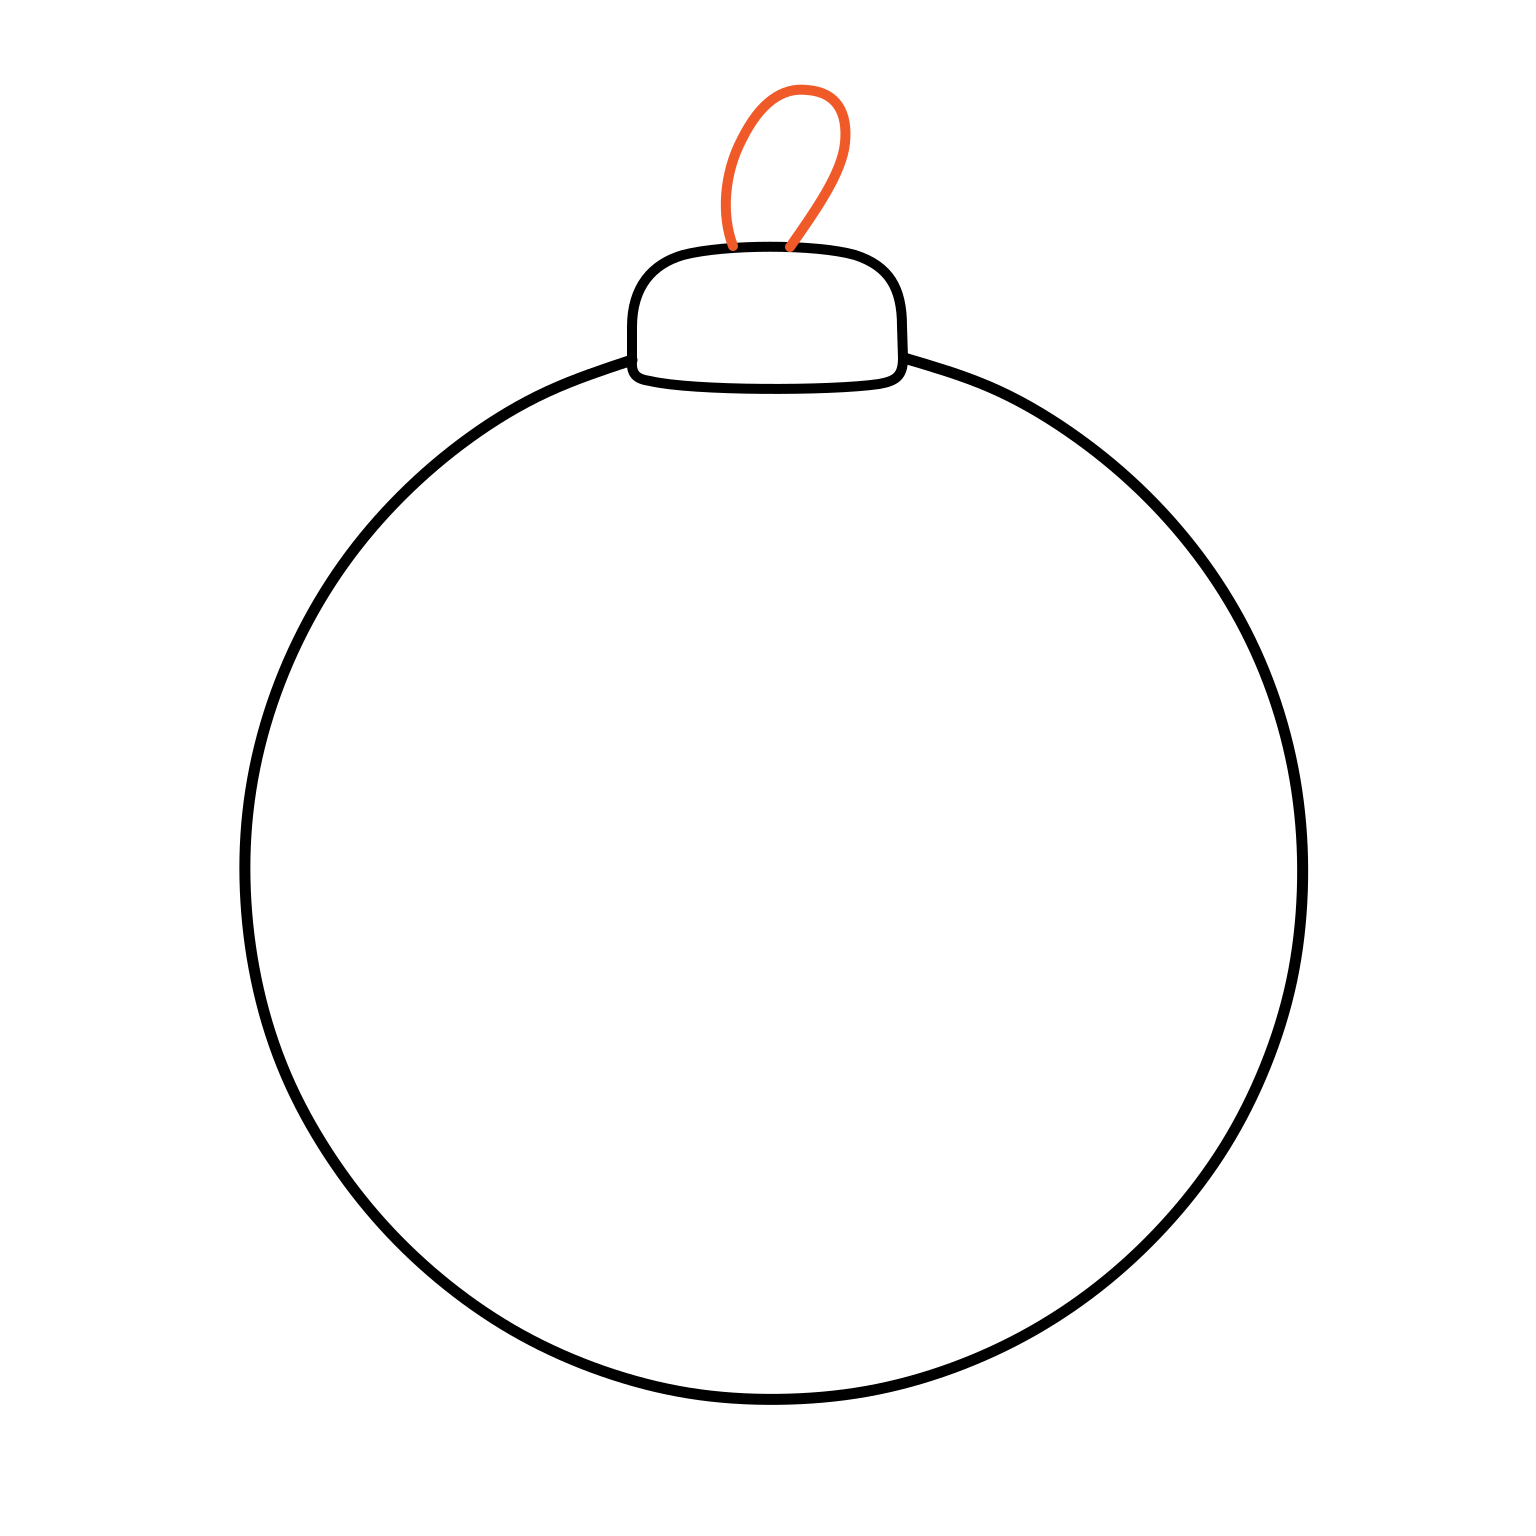
3. The tilted loop
- From the top of the cap, draw a tall, narrow loop leaning to the right.
- Curve over its rounded top and back down to the cap.
Draw curved bands on the Christmas ornament
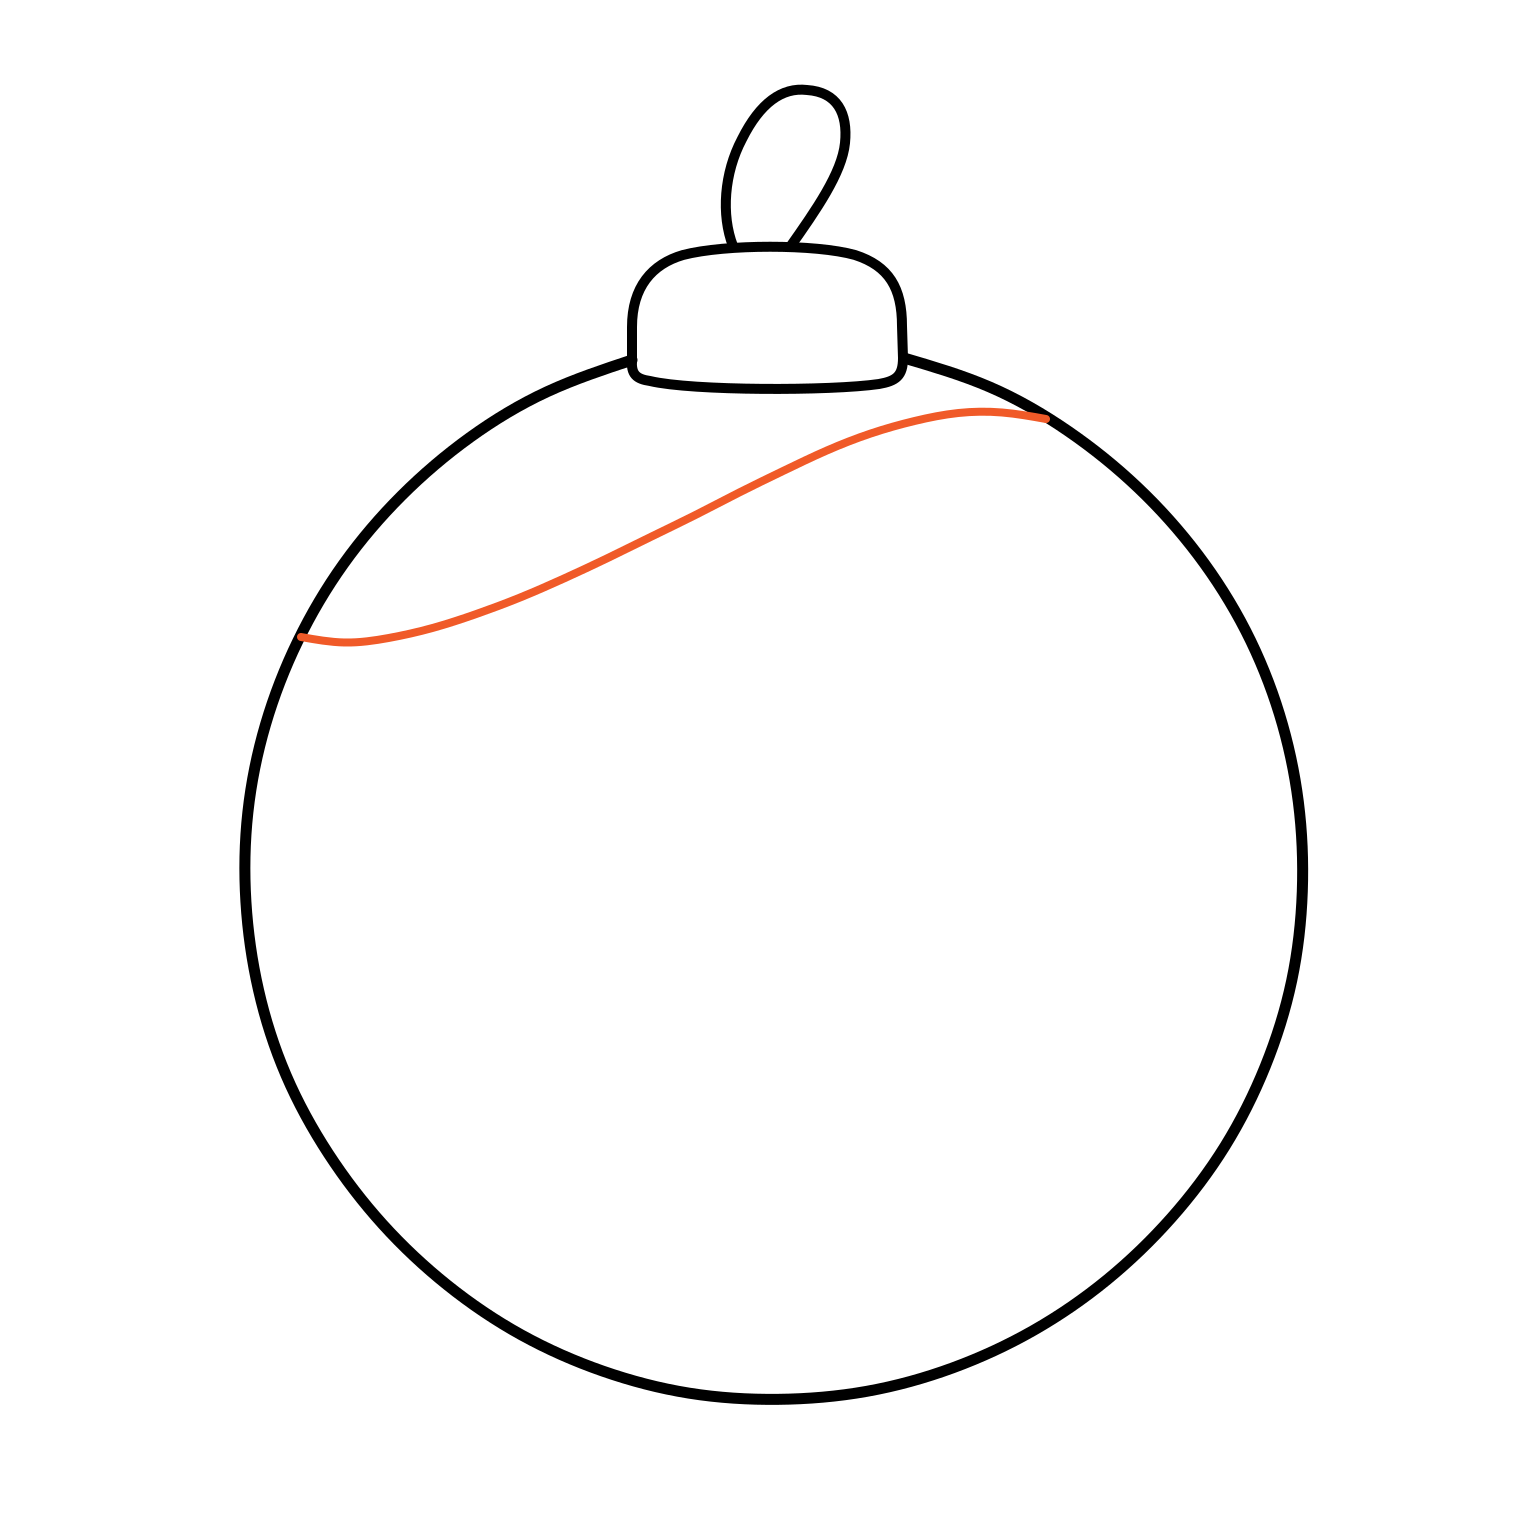
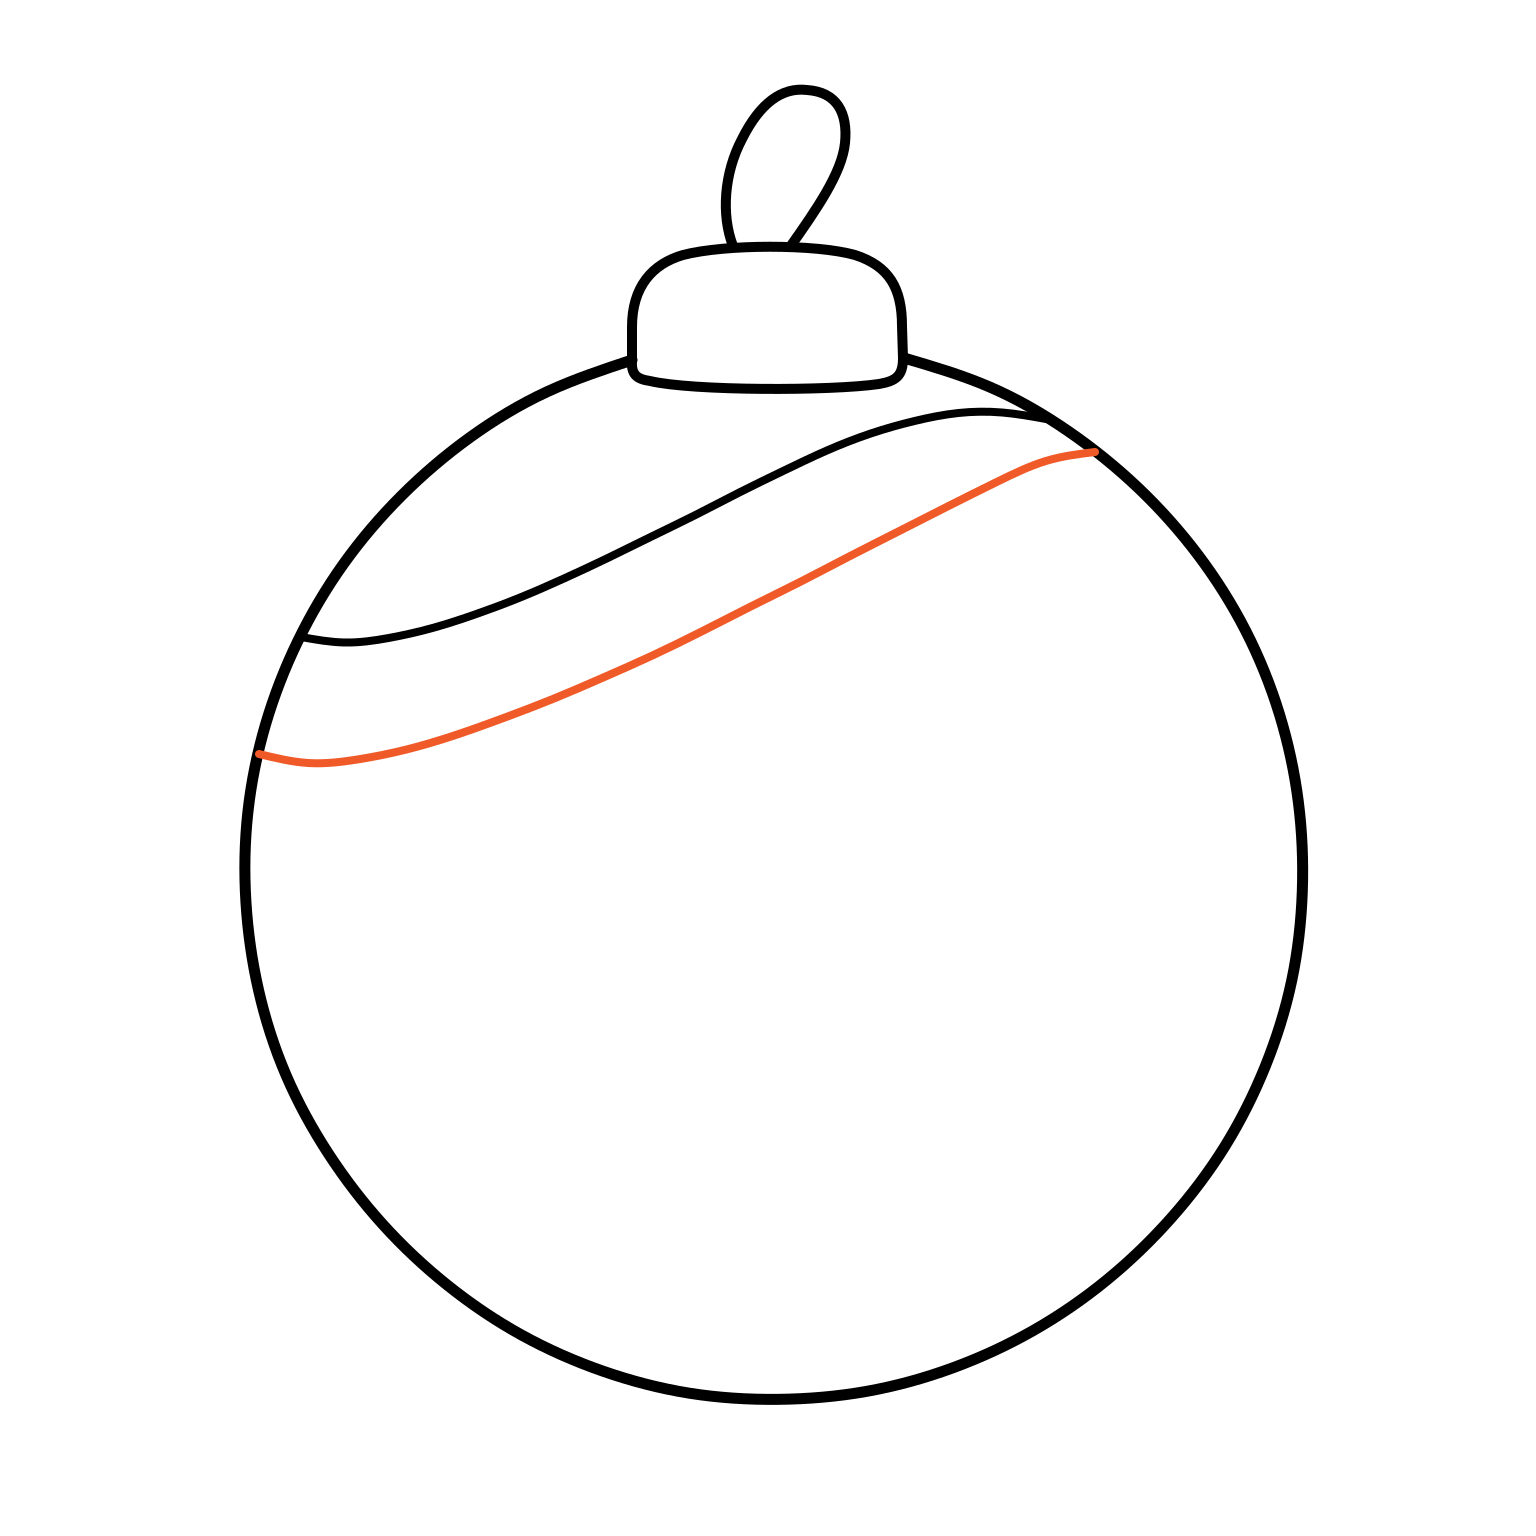
4. Start the first band
- Start on the upper-left edge of the body.
- Sweep a long curve across and up to meet the upper-right edge.
- Stop at the outline.
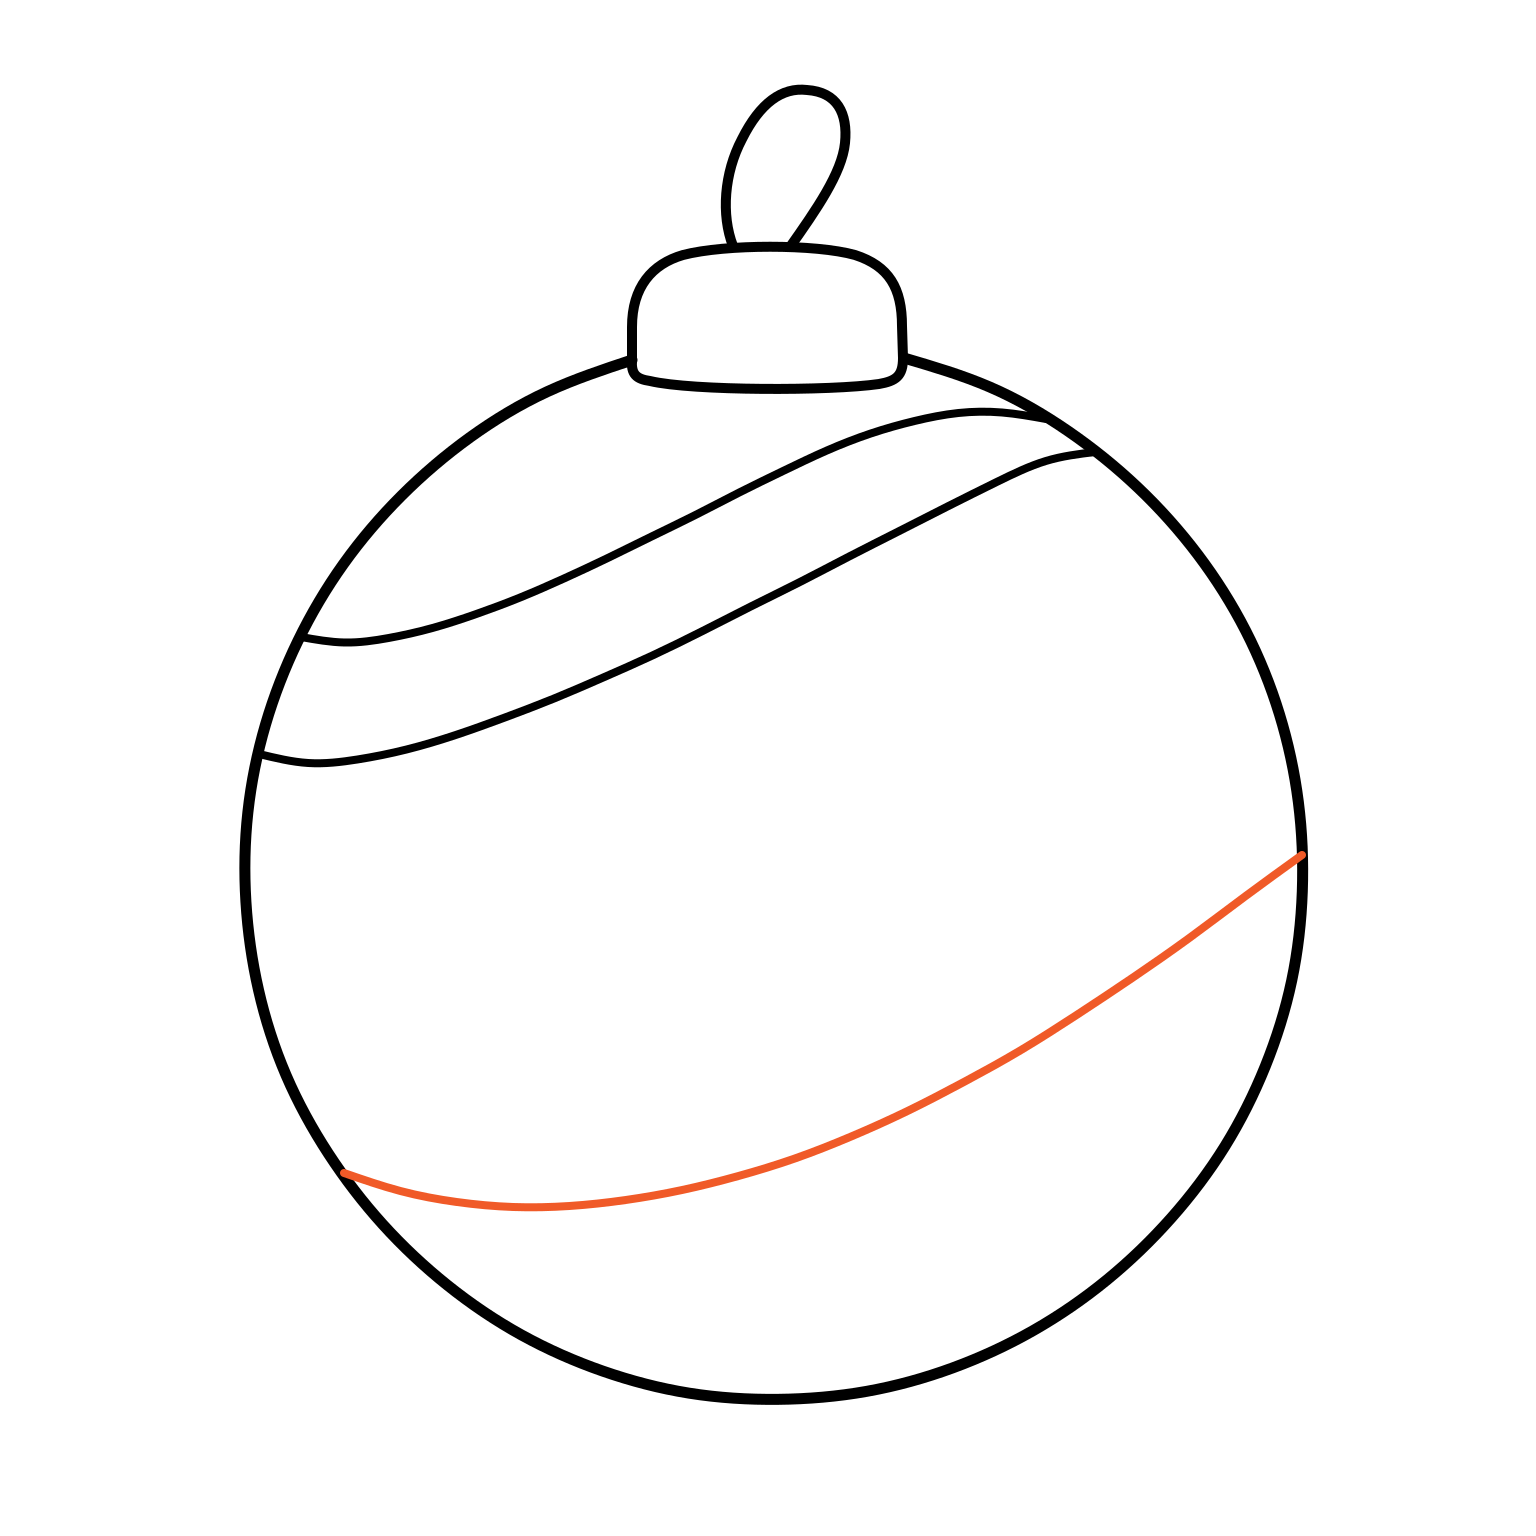
5. Complete the first band
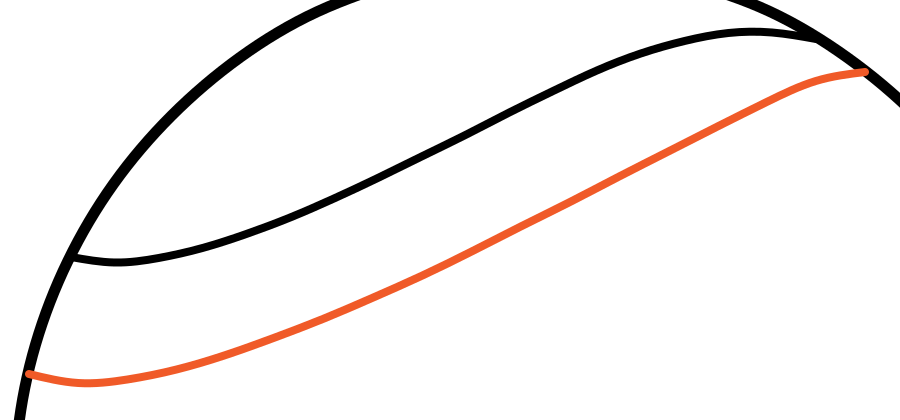
- Start lower on the left edge and draw a following curve beneath the first.
- End lower on the right edge.
- Both curves stop at the outline; do not draw beyond it.
6. Start the second band
- Across the lower half, draw another long curve from the left edge, sweeping right and upward to meet the right edge.
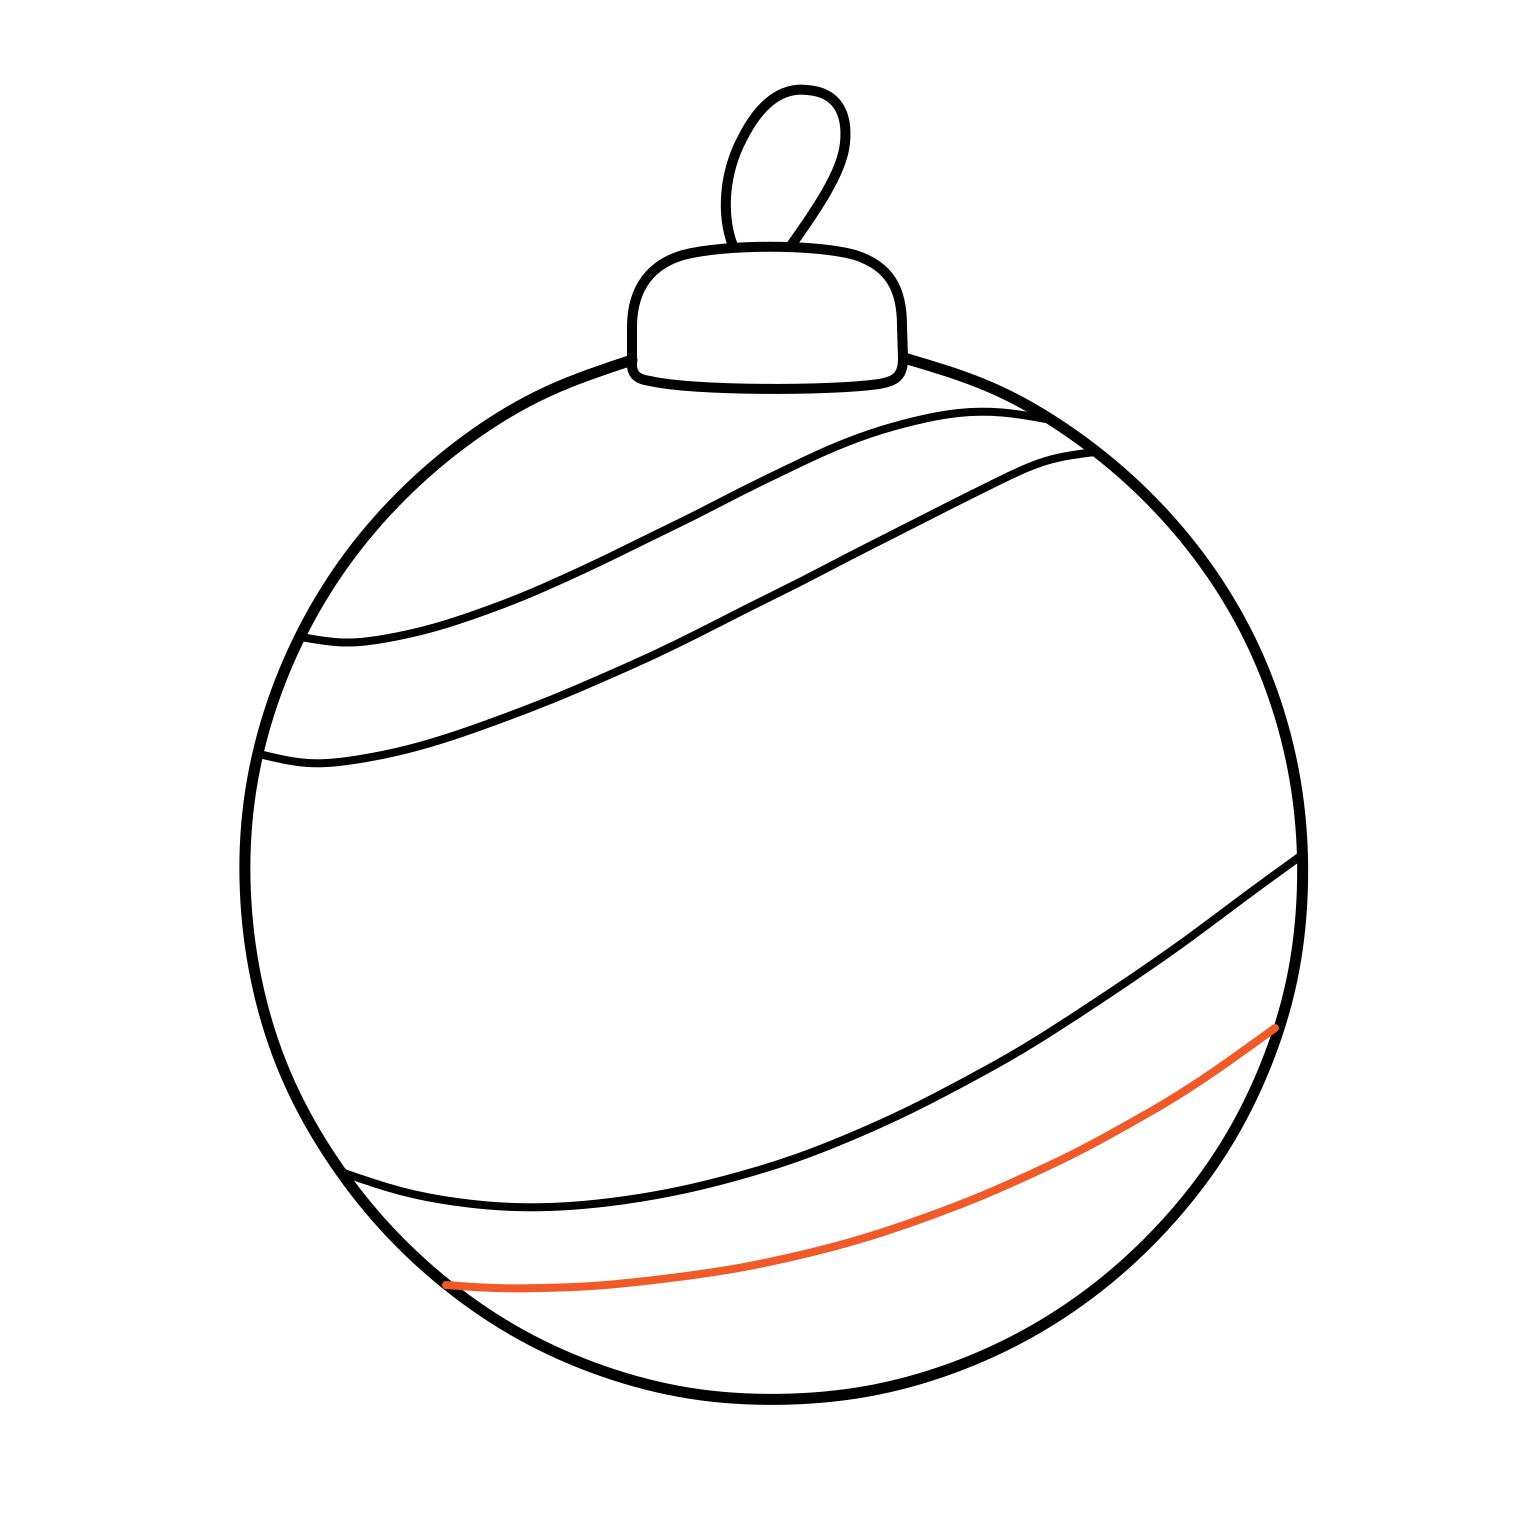
7. Complete the second band
- Draw a following curve below it, from the lower-left edge to the lower-right edge.
- Stop both ends at the outline.
- You now have two bands made from four curves.
Draw the ornament’s oval decorations
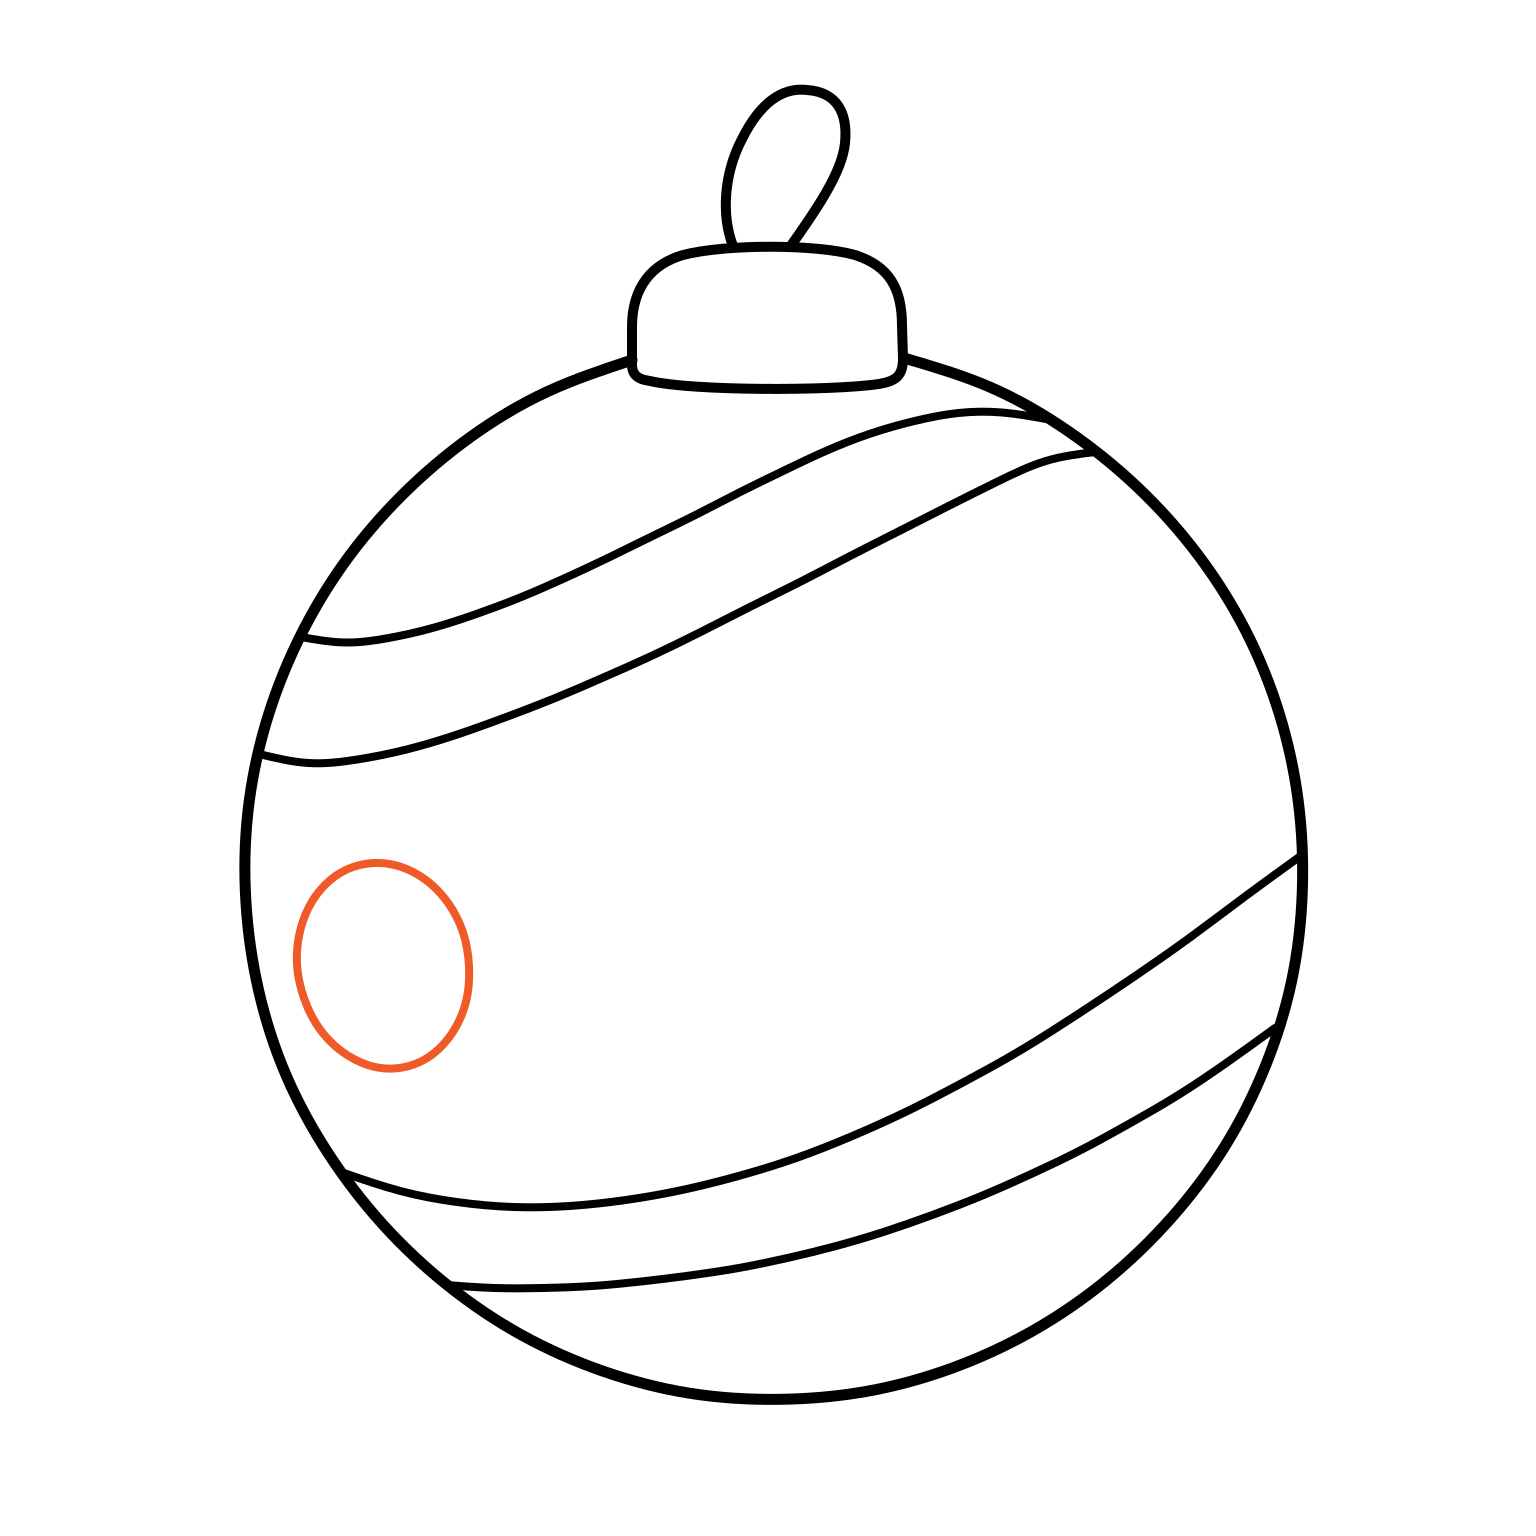
8. The first outlined dot
- In the open space above the lower band, draw a tall oval on the left.
- Join back to where you started and leave its middle white.

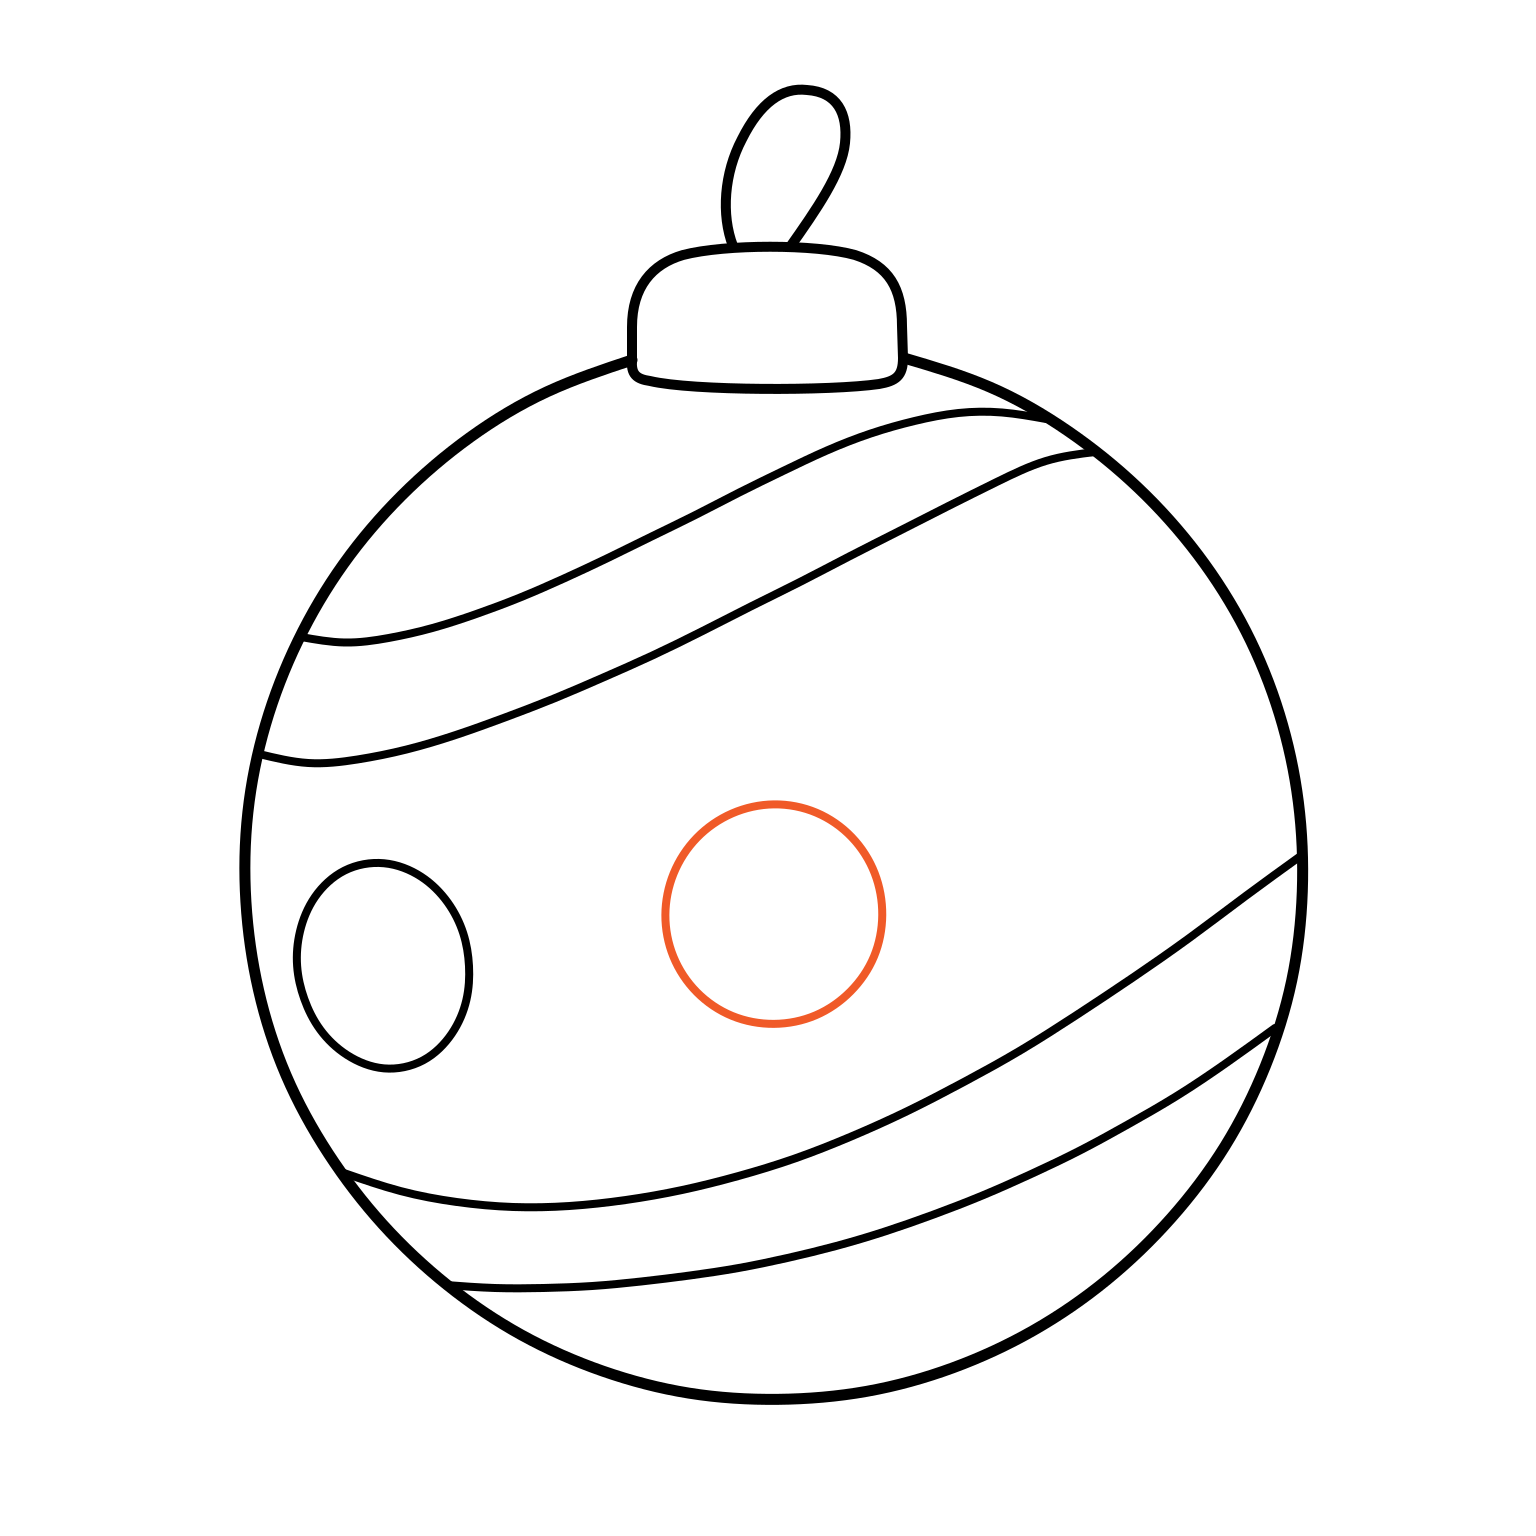
9. The middle dot
- Draw a larger, rounder dot near the middle, a little higher than the first.
- Close its outline and leave the middle white.
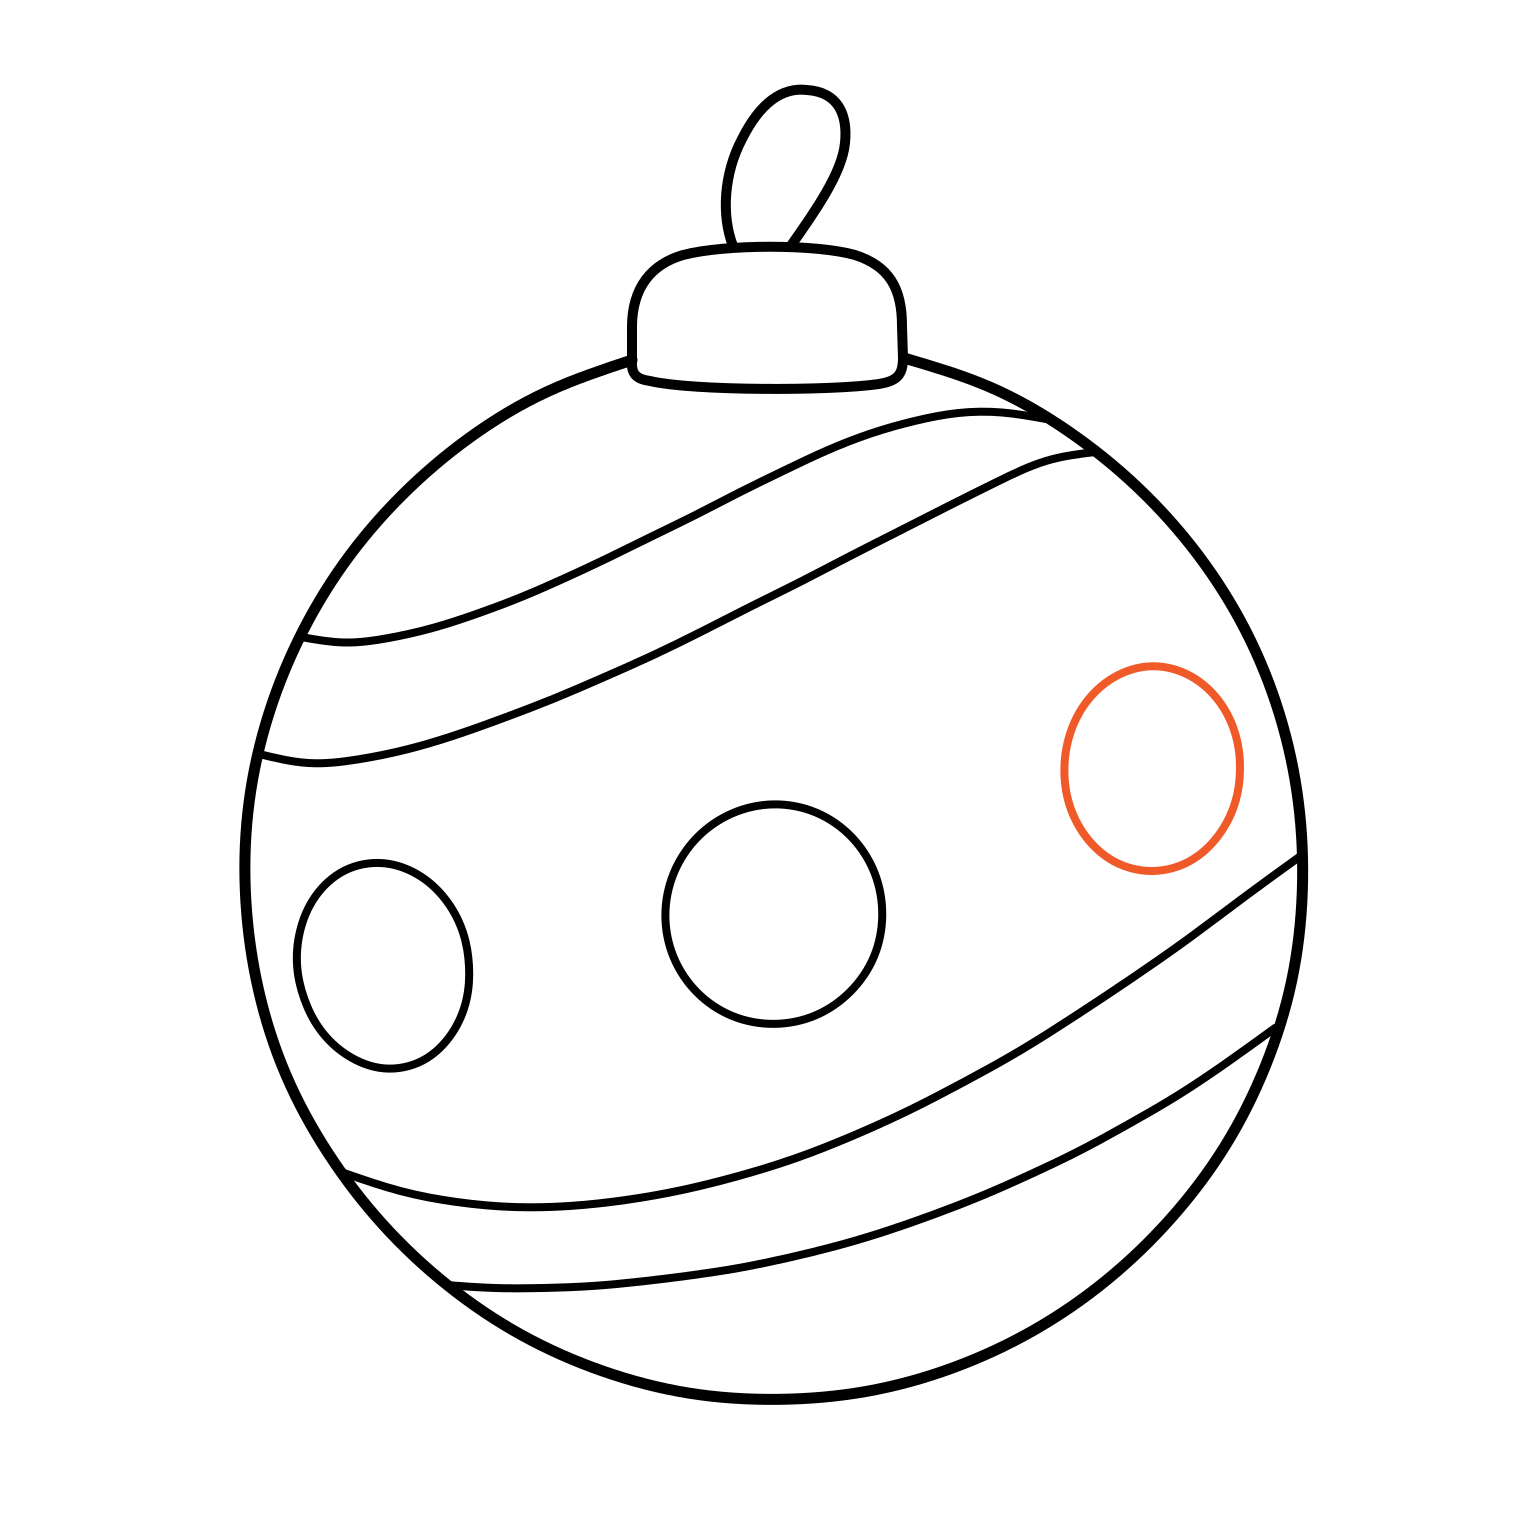
10. The right dot
- Draw an upright oval near the upper right, between the bands.
- Close its outline and leave the middle white.
Free pages · No signup
Free Christmas coloring pages
Pick Santa, a snowman or a gingerbread friend. Print your favorite and make it your own.
Browse free pages →