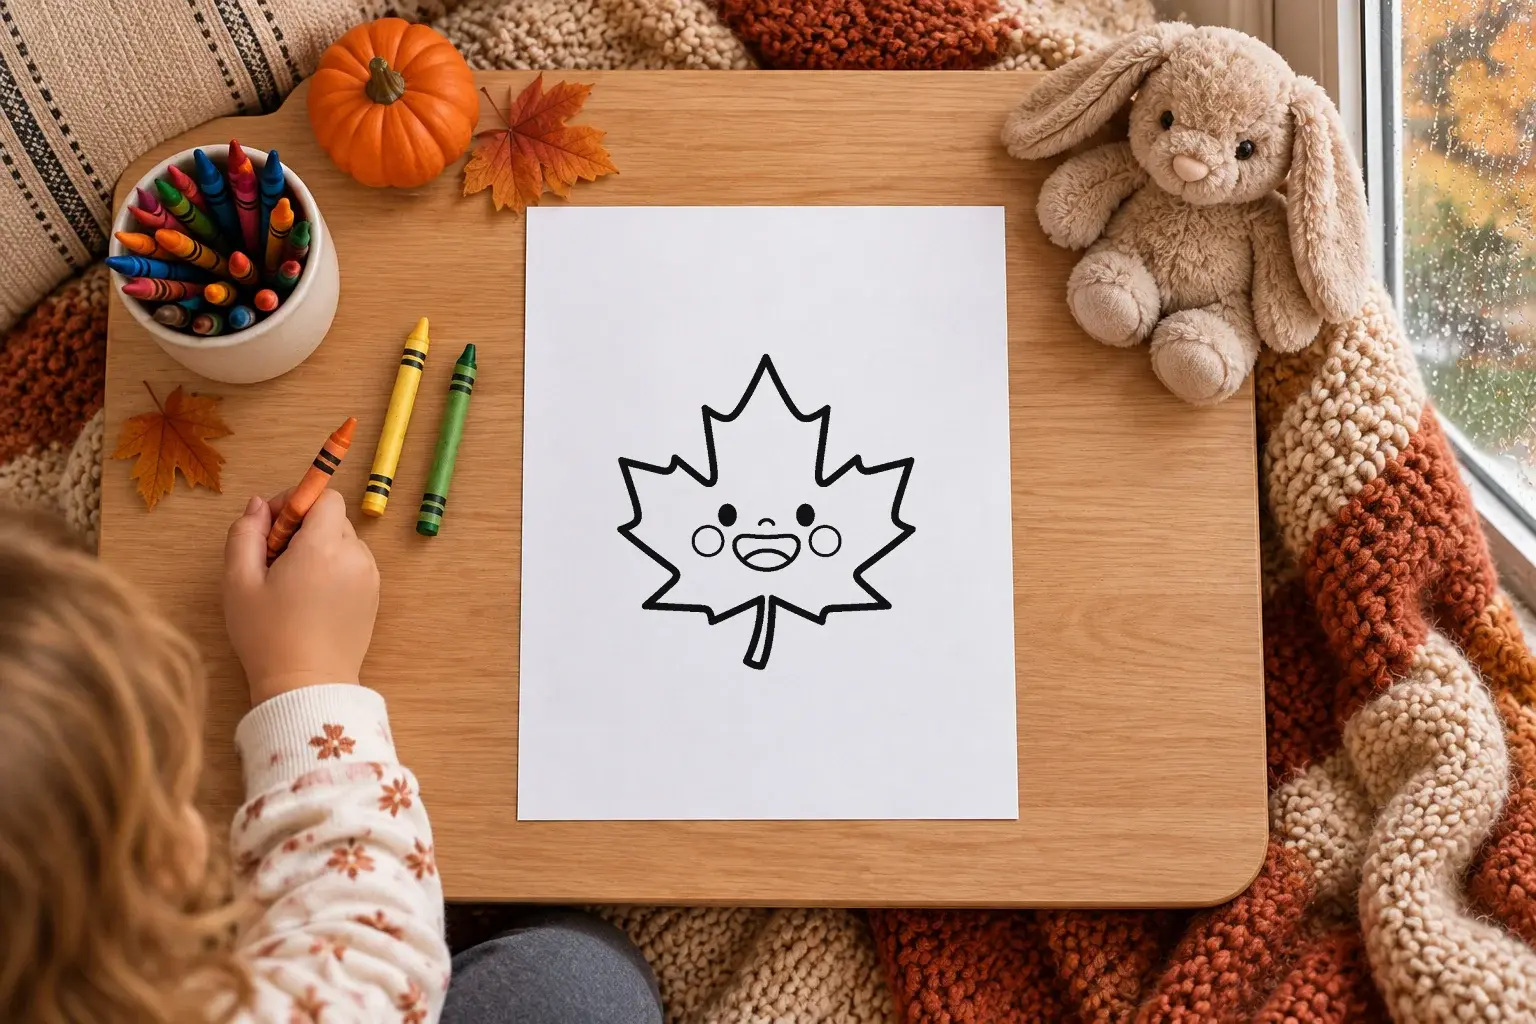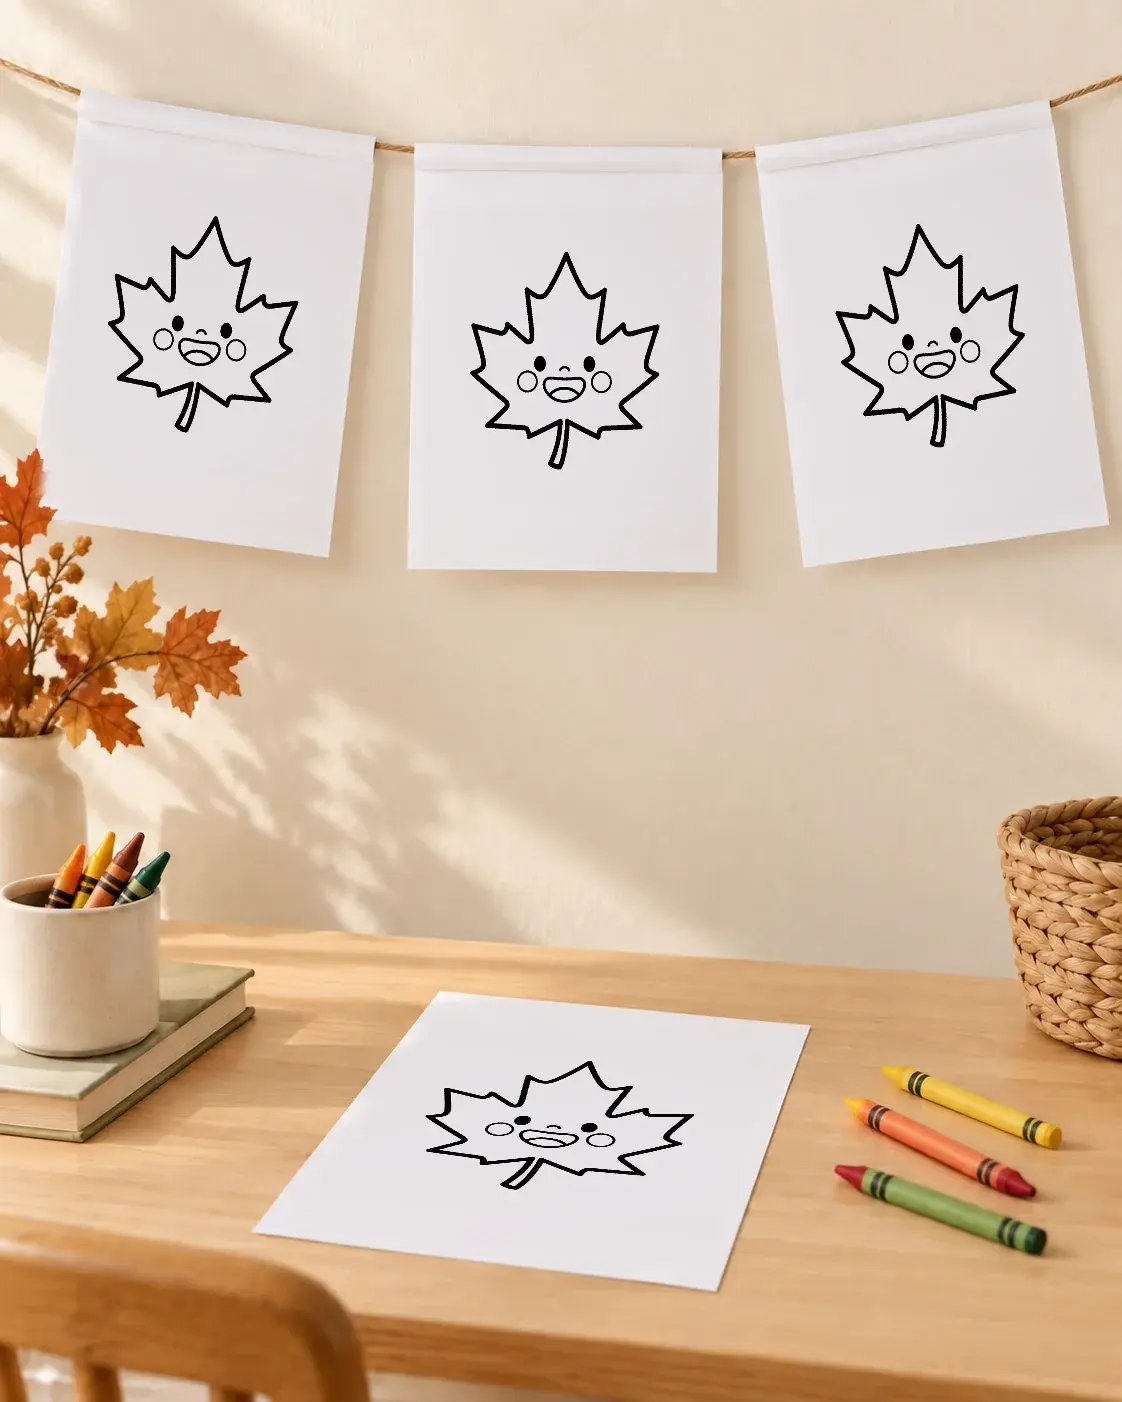
This fall garland uses whole coloring sheets as hanging panels. Print the Smiling Maple Leaf page, color each copy and fold the blank top margin over string. You can keep the paper rectangular, so there is no leaf shape to cut out.
Gather the supplies
- One maple leaf printout for each panel
- Crayons or colored pencils
- String or yarn and tape
- A clear table for arranging the sheets
The download contains one leaf on one page. Three panels need three printed copies; it is not a sheet of miniature garland pieces.
Plan the width with blank sheets first
Lay three blank sheets side by side as a starting example. Move them closer or farther apart until the row fits your chosen display space. Measure the string against that arrangement and leave extra at both ends for attaching it.
For a smaller space, use fewer panels. This is easier than shrinking the artwork and guessing whether the finished row will fit.
Print and choose a color pattern
Open the maple leaf PDF and print one copy for each panel. Use US Letter, or fit to page for A4. If anything is clipped, use the paper-size and scaling guide before printing the rest.
- Autumn row: give each leaf a different mix of red, yellow and orange.
- Repeating pattern: alternate two color choices across the sheets.
- Family or class display: let each person color one leaf in their own way.
Color while the pages are flat
Keep the sheets on the table until the coloring is finished. That leaves the whole drawing easy to reach and the blank top margin ready to fold. Children can add their name or a short autumn word in the space below the leaf if they want to.
Fold, tape and check the first panel
Place the string across the blank top margin. Fold that margin over the string and tape the flap to the back of the sheet, keeping the leaf visible. Lift this first panel to check the fold before assembling the rest.
If a sheet slides along the string, add a small piece of tape across the string on its back. If the row twists, lay it flat again and turn every picture to face the same way before hanging.
Hang the row or make a no-string display
Have an adult attach the finished garland to a suitable display surface, away from heat and walkways. Leave enough space between sheets to see each child’s colors.
No place for string? Arrange the same pages in a row on a noticeboard with suitable clips or tape. For the next activity, use the leftover colors with a simple family coloring break.
Build on the fall theme
Find other individual pictures in the free Fall coloring pages. The Cute & Crunchy Fall book shows the wider collection if you want more autumn designs; the leaf activity works with the free page alone.