
Free drawing lesson · 7 construction goals
How to draw a turtle, shape by shape
Start with the shell, head and body ovals. Connect the neck and four feet, then remove the guides. The pictures show each join before you move on.
MediumA curled shell rim, joined neck and smaller back feet require several guided overlaps.
You will practise: shaping a shell rim and joining a head and four feet without hidden crossing lines.
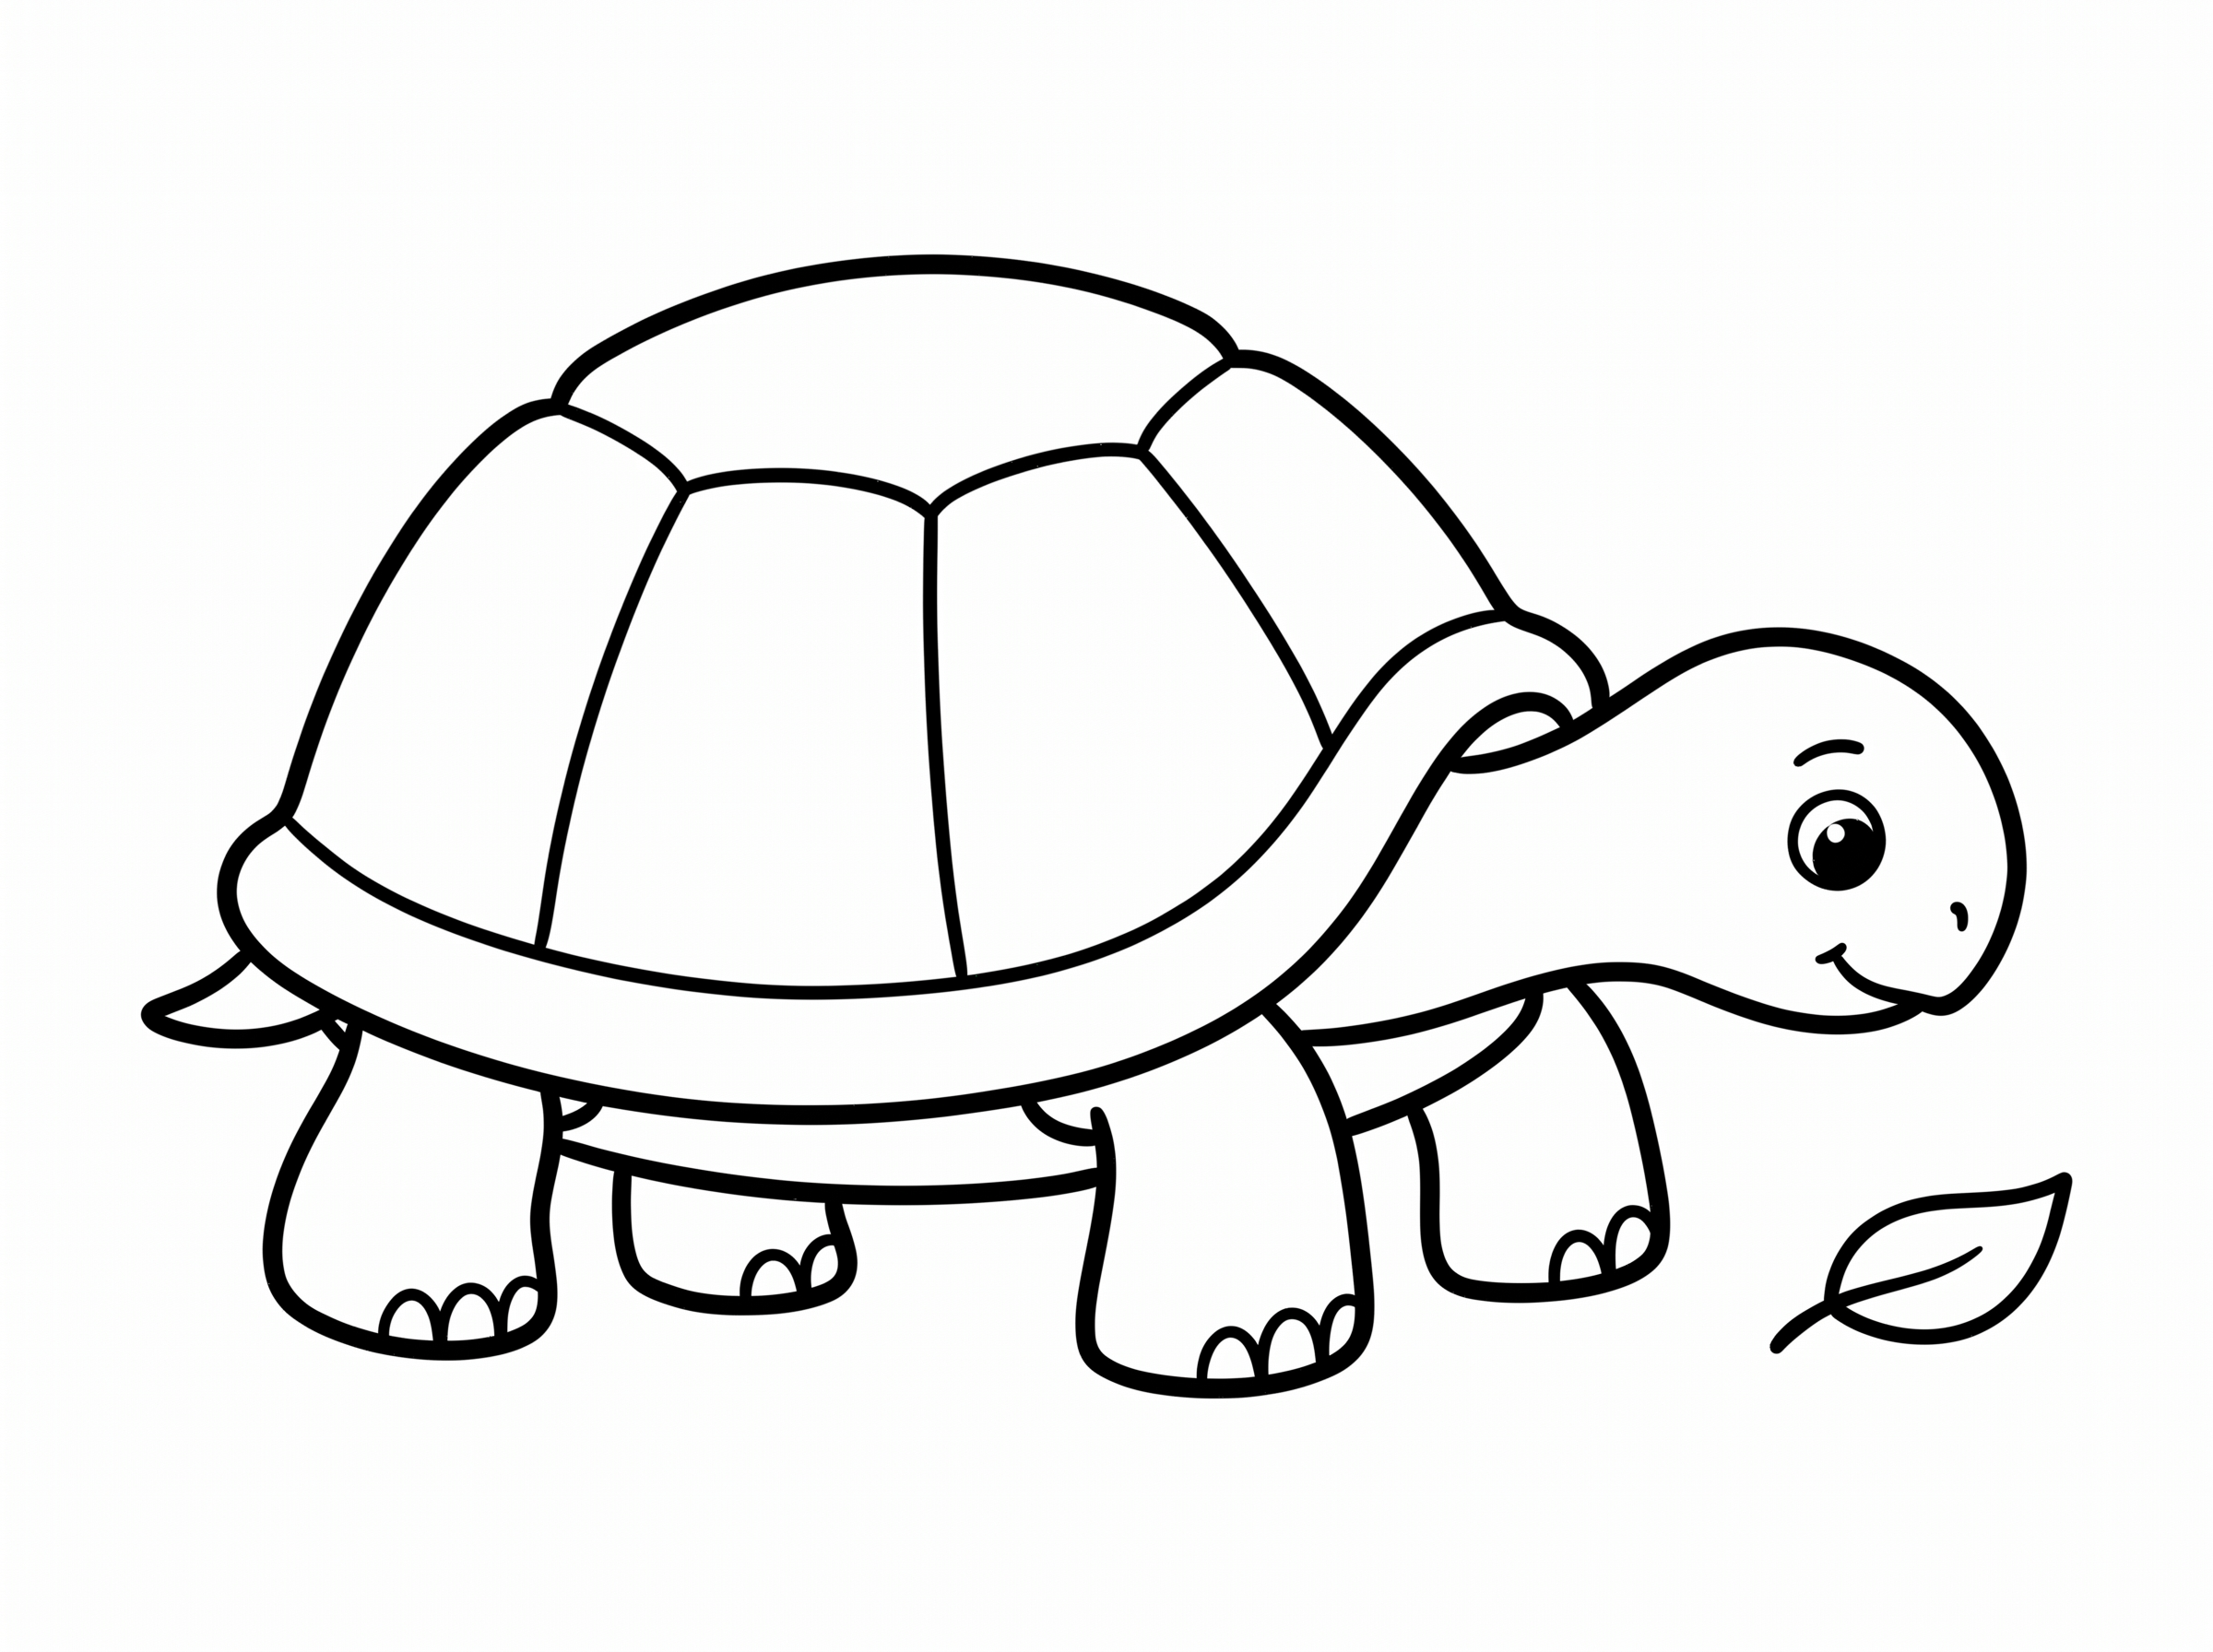
Choose paper or screen.
The full lesson is free. Use a pencil, plain paper and an eraser. Follow the pictures below, print the lesson, or use the phone PDF with larger text.
No email or purchase is needed. Drawing with a child? Read one instruction together, then leave time to try it. There is no video for this lesson.
Jump to a construction goal
Optional details and repair helpBuild your turtle one part at a time.
Gray dashes are light guides. Black is kept outline; orange is new outline. Green marks are helpers, not drawing marks. Open any picture for a closer look, then use Back to return to the lesson.
Goal 1 of 7
Place the main forms
Make room for the turtle and its four feet.
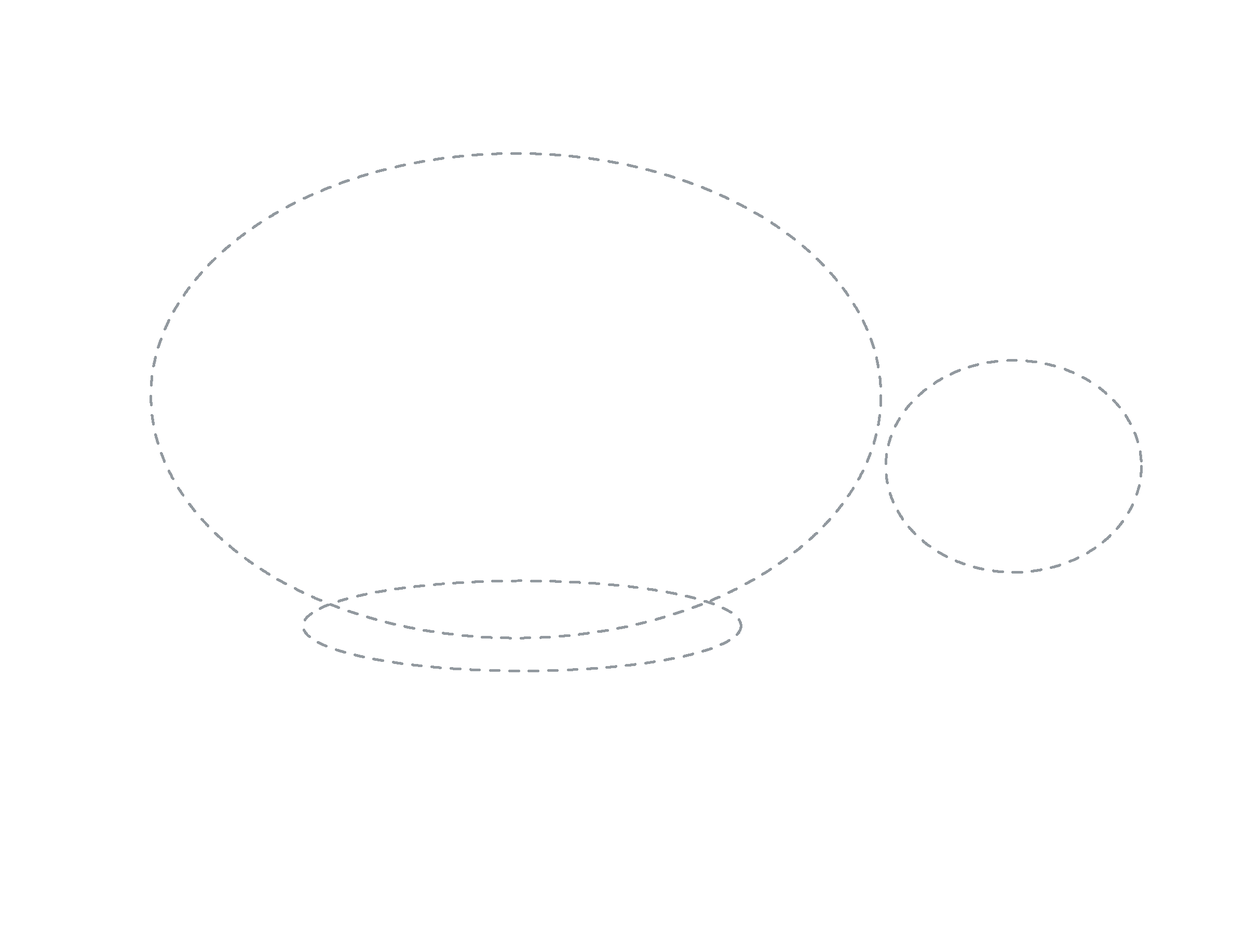
Place the three main forms
Lightly draw a broad shell oval, a head oval to its right and a shallow body oval underneath. Leave space below for four feet.
Enlarge this picture ↗Check: The head is about a third of the shell width; keep a small gap for the neck.
Goal 2 of 7
Reshape the shell oval
Lift the oval’s lower edge to make a dome.
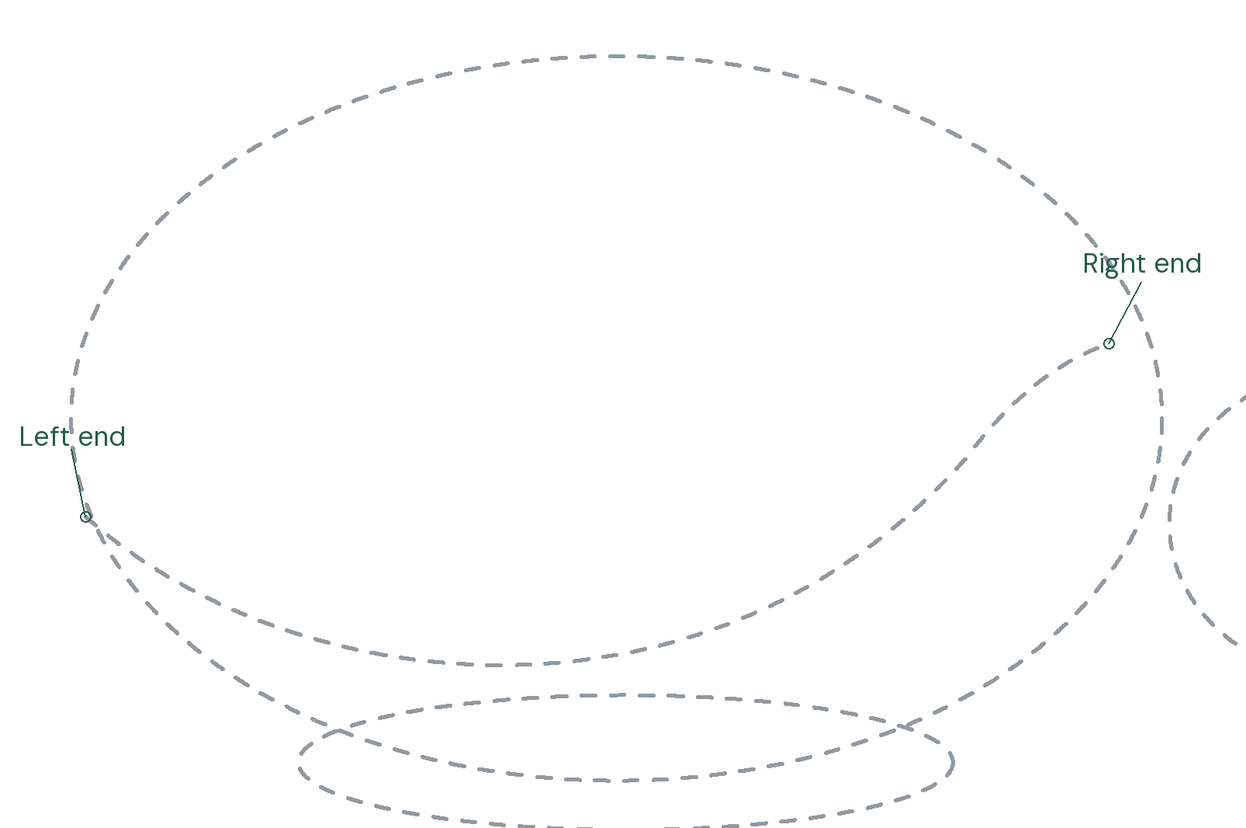
Plan the lifted lower edge
Mark the two shell ends. Sweep a light curve between them, above the oval’s bottom, and lift it toward the right end.
Enlarge this picture ↗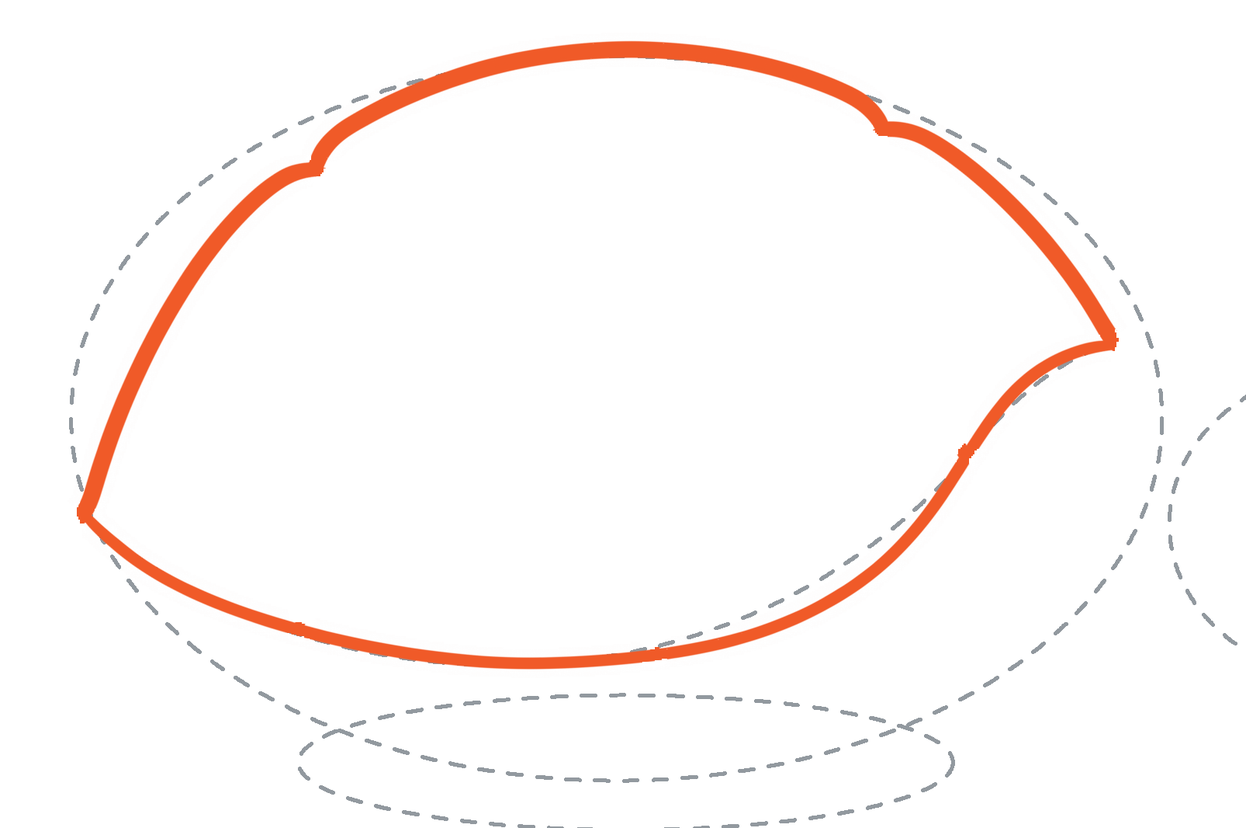
Round the dome
Curve from the left end over the oval’s crown to the right end. Join them along the lifted lower curve.
Enlarge this picture ↗Check: Keep one open space inside. A smooth arch is enough; tiny bumps are optional.
Goal 3 of 7
Build a rim below the dome
Give the shell a band with a visible curled end.
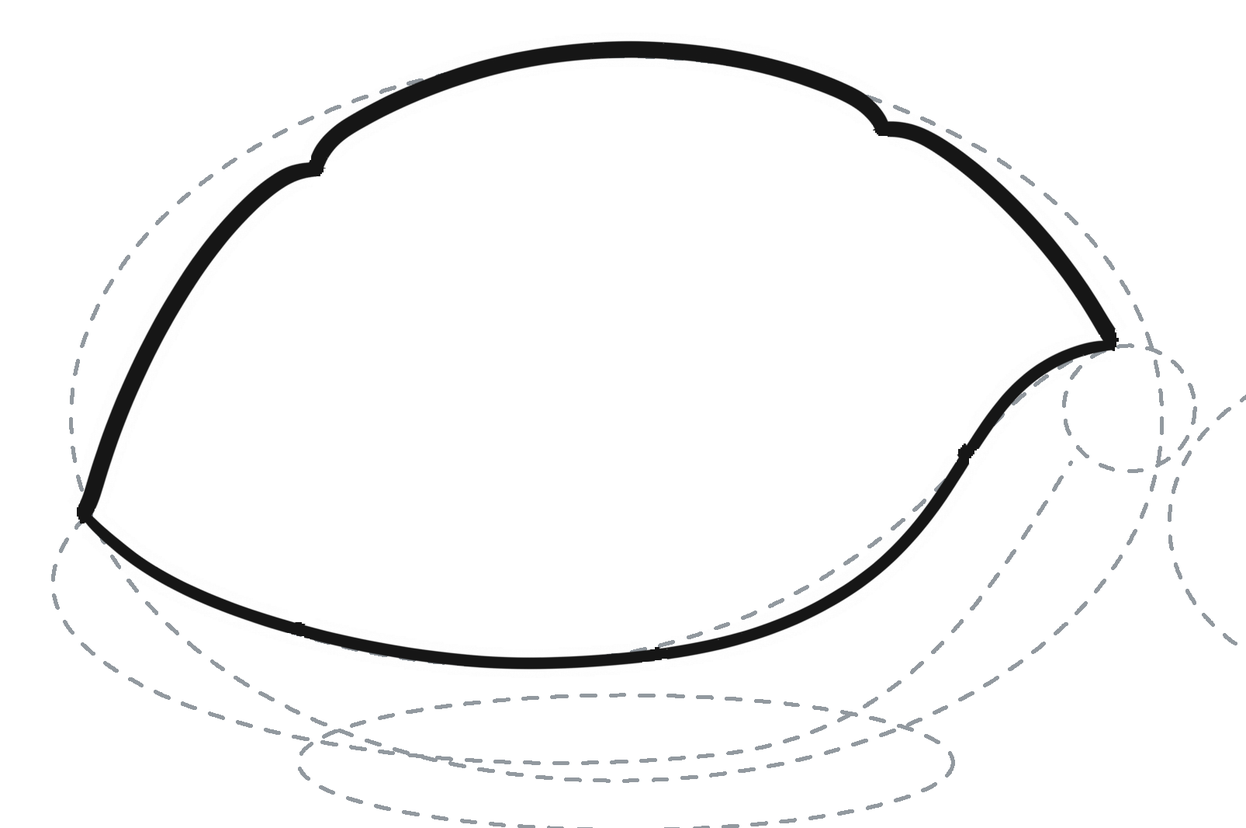
Plan the rim and its turn
Draw a light curve below the dome. Add a small oval at the head side to place the rim’s curled end.
Enlarge this picture ↗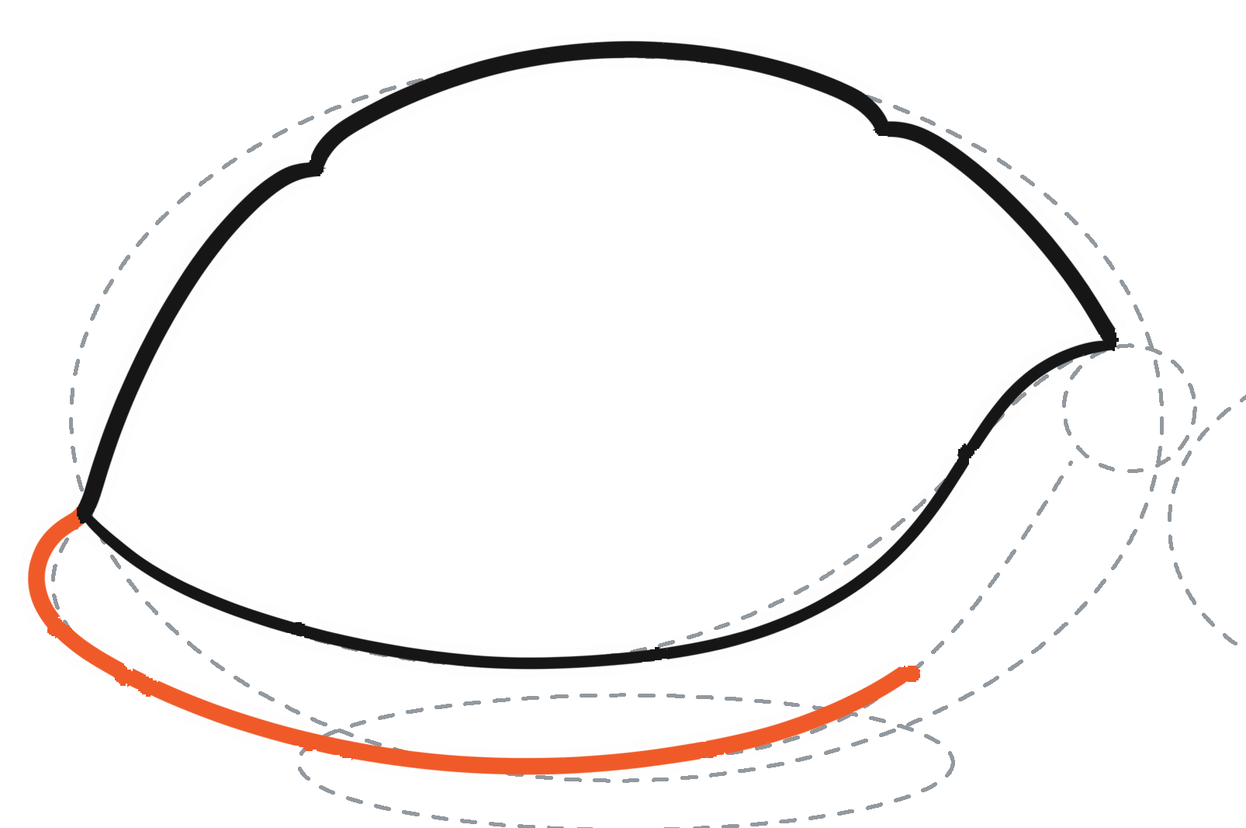
Sweep beneath the shell
Start at the left end, round its short turn and sweep below the dome toward the small oval.
Enlarge this picture ↗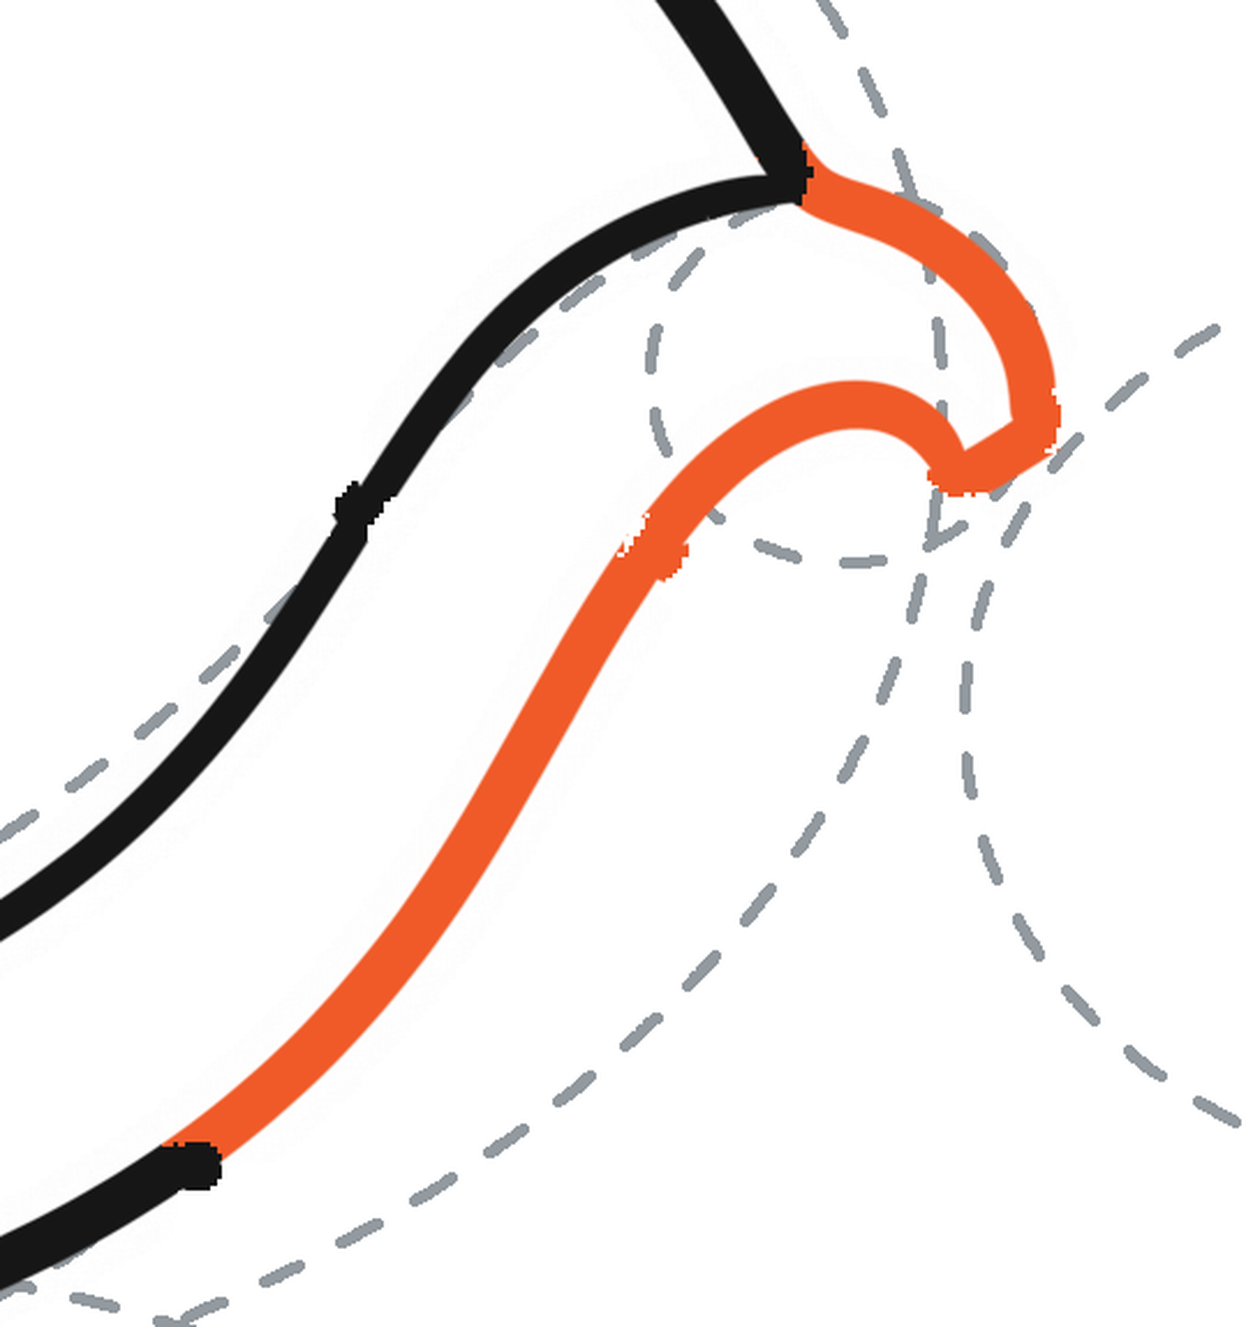
Round the curled end
Follow the small oval upward and around its top, then curve back into the band.
Enlarge this picture ↗Check: Keep the small white opening inside the curl.
Goal 4 of 7
Connect the head to the shell
Build both neck edges and remove their temporary guides.
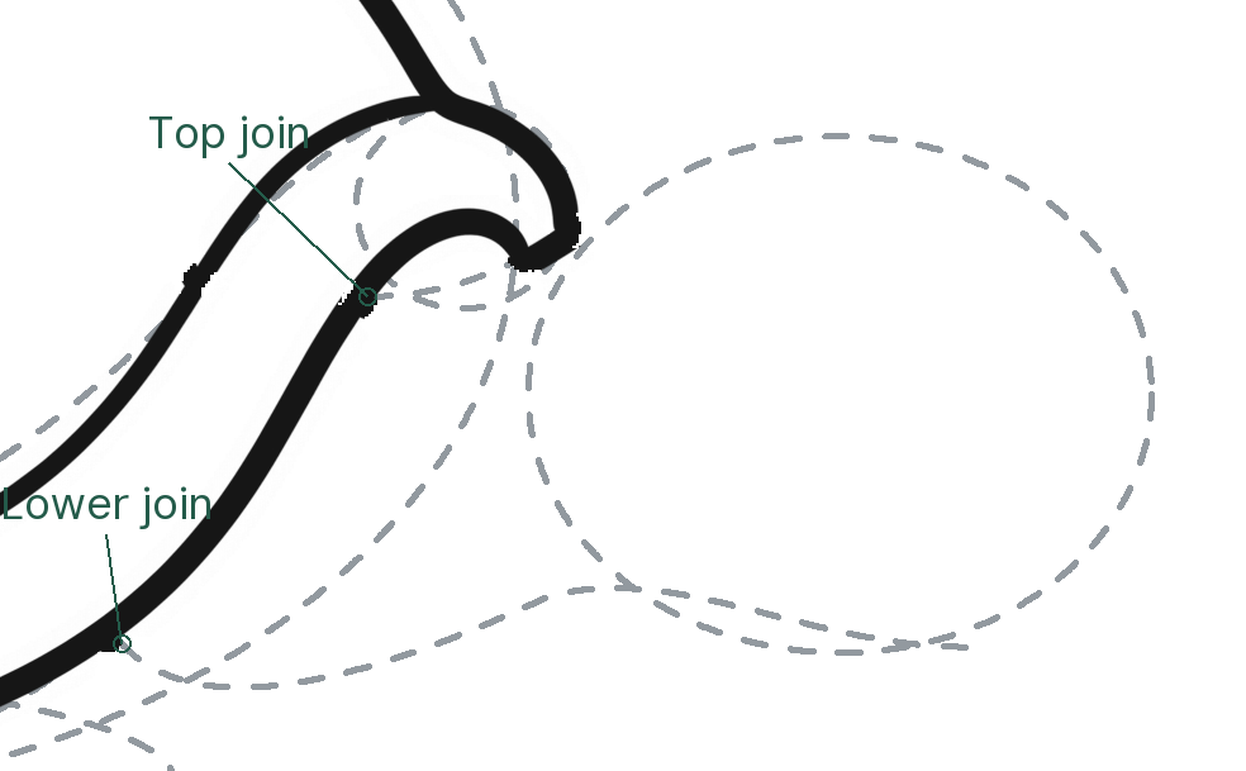
Place the neck connections
Plan a short upper curve from the curled rim to the head oval. Plan a longer lower curve from the lower rim to the head’s underside.
Enlarge this picture ↗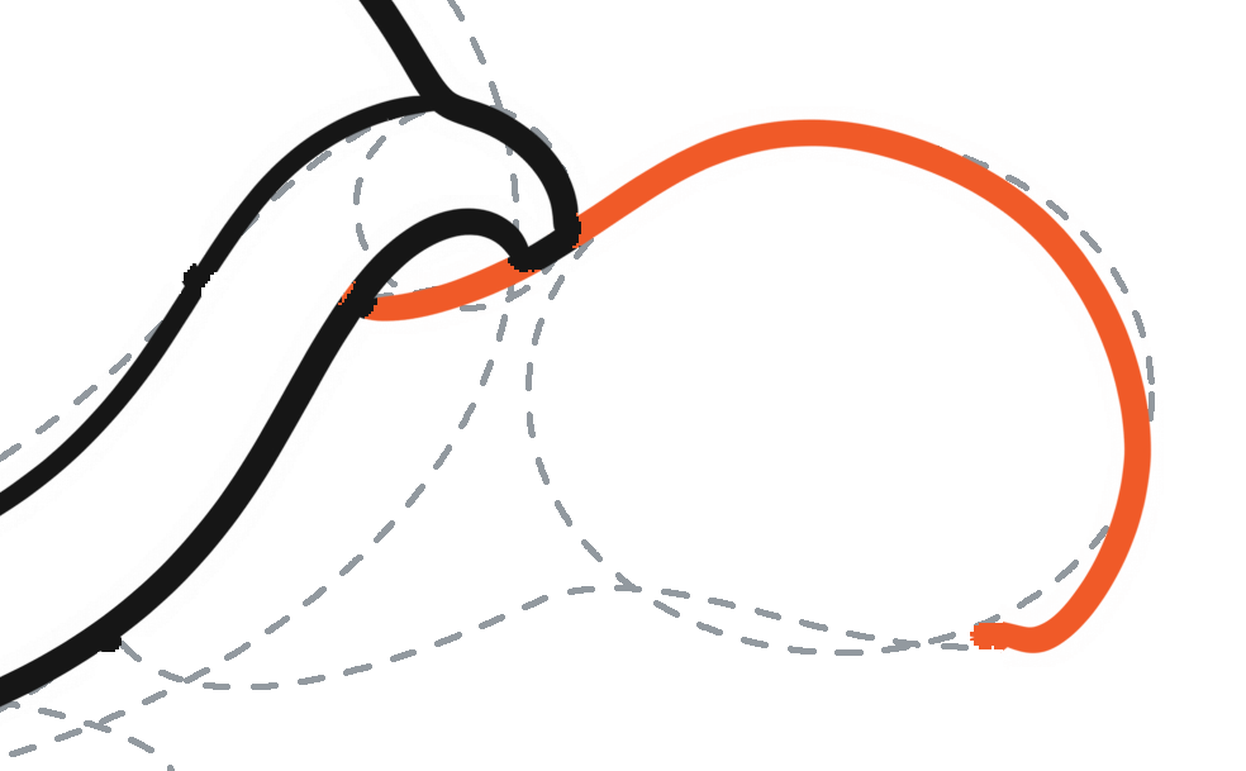
Round the head from the upper join
Follow the short upper guide into the head oval. Continue over its top, down its front and around the chin.
Enlarge this picture ↗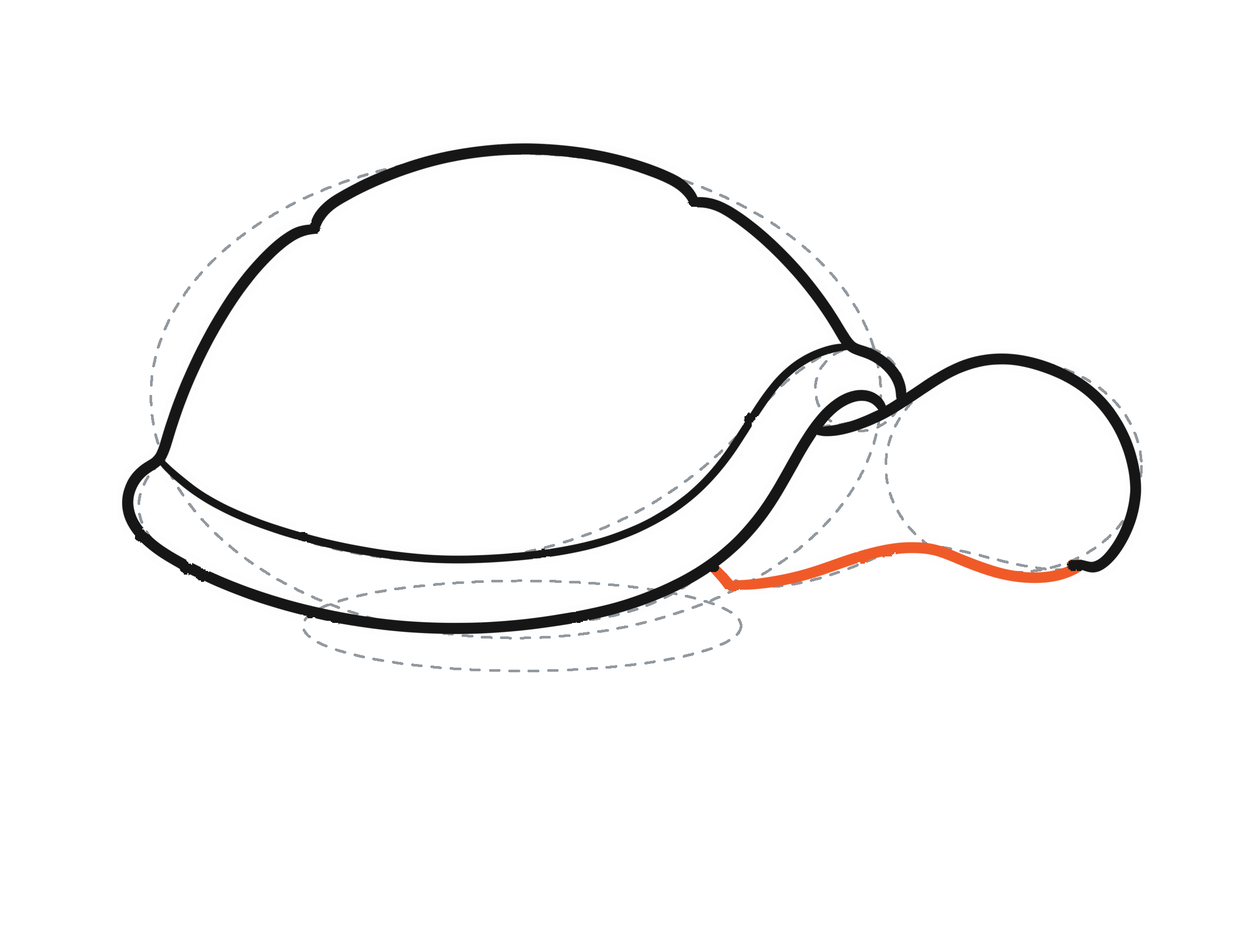
Return to the rim, then choose the guides
Follow the lower guide from the chin back to the lower rim. Erase the shell and head ovals, lifted shell curve, rim guides and both neck guides. Keep the solid outlines and shallow body oval.
Enlarge this picture ↗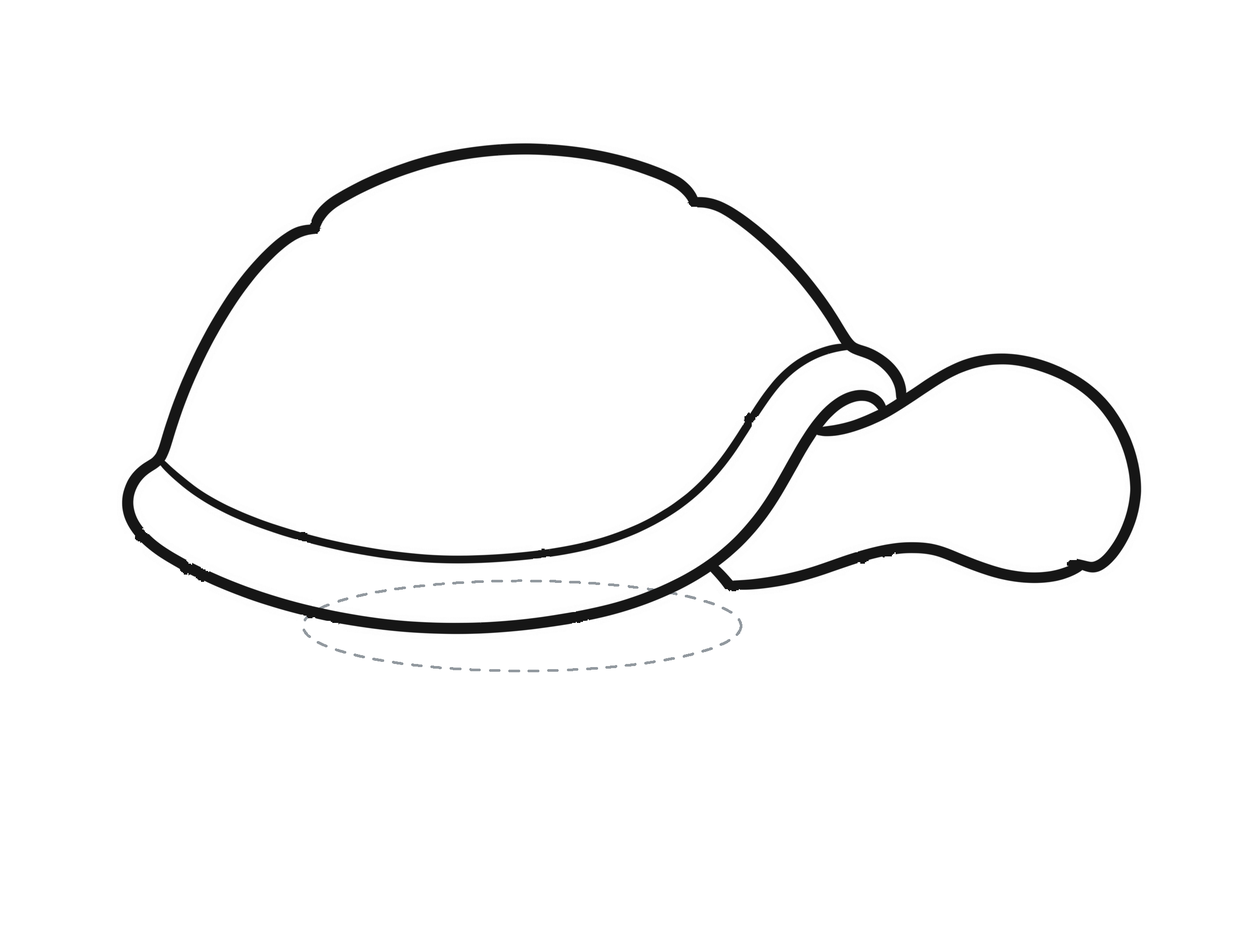
Keep the joined shell and head
Compare after erasing: the shell, curled rim and head stay in the same places. Keep the shallow body oval for the legs and belly.
Enlarge this picture ↗Check: A short missing join needs only a short extension; a rounder head is fine.
Goal 5 of 7
Round the nearer feet and belly
Show the nearer legs in front of the belly.
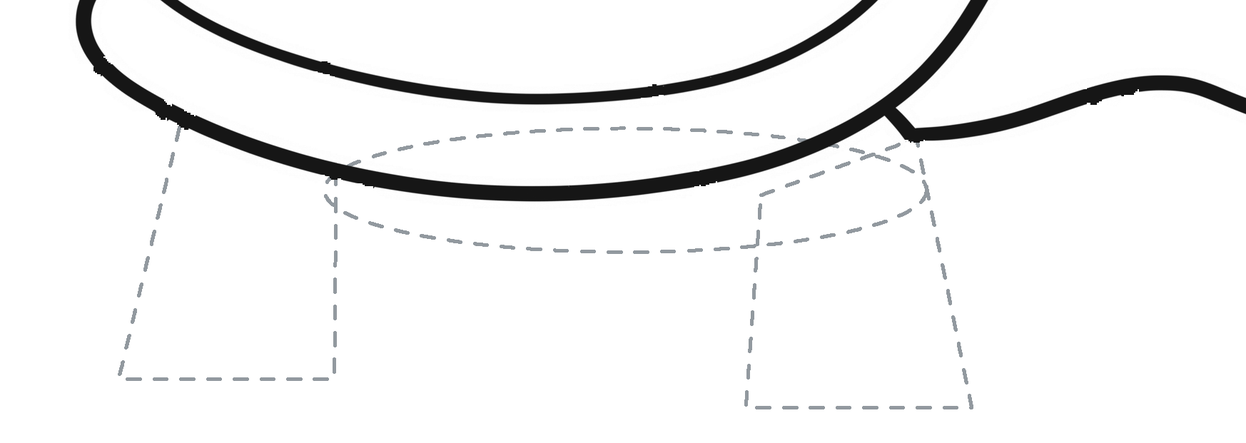
Place the two nearer legs
Draw a light slanted block below the back rim and another near the neck. Give each a broad bottom for its foot.
Enlarge this picture ↗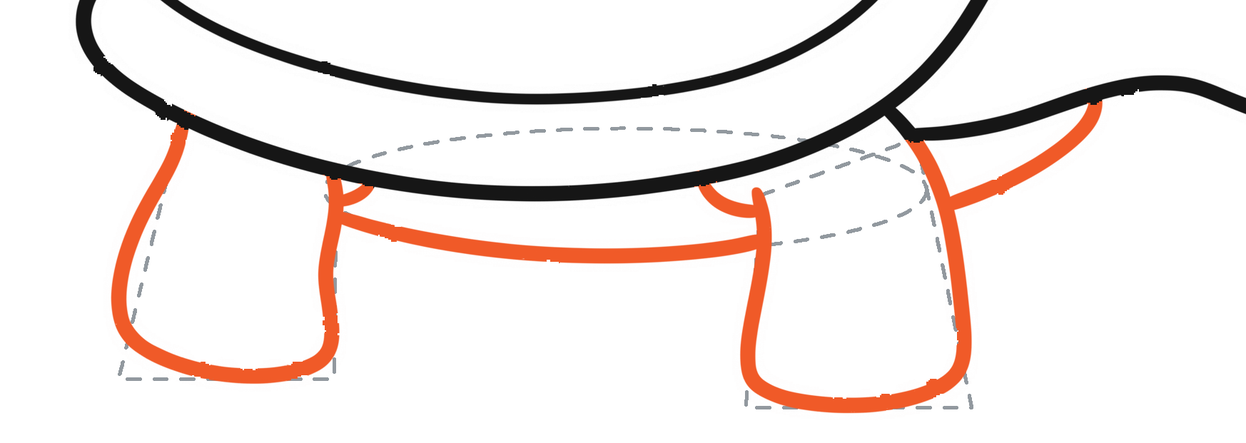
Round the feet and join the belly
Round the lower corners of both blocks into broad feet. Follow the shallow body guide between them; stop its belly lines where the nearer legs hide them.
Enlarge this picture ↗Check: Keep the foot outlines. Do not carry the belly through either nearer leg.
Goal 6 of 7
Finish the farther feet and tail
Keep hidden upper edges behind the body.
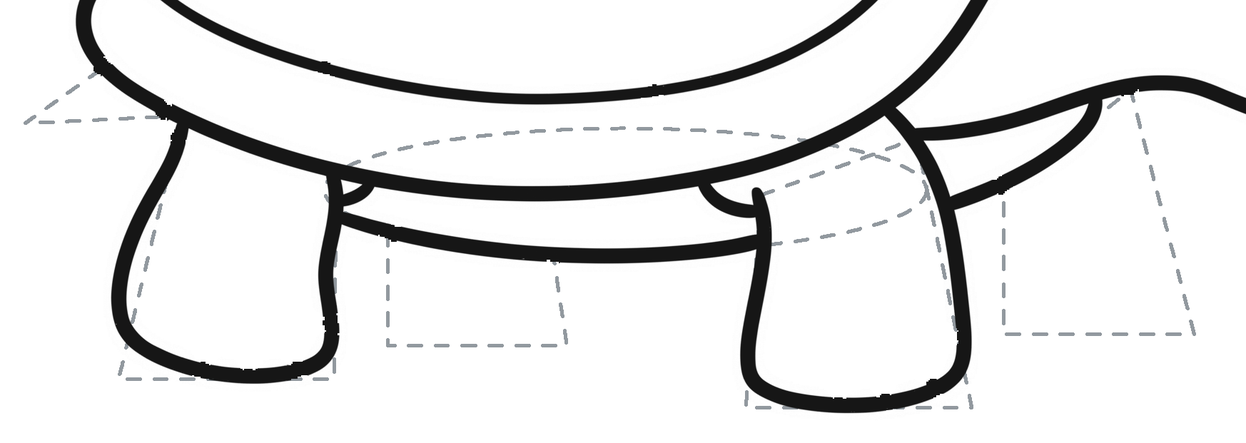
Place the farther feet and tail
Add two smaller blocks under the belly and neck for the farther feet. Place a small tail wedge behind the back rim.
Enlarge this picture ↗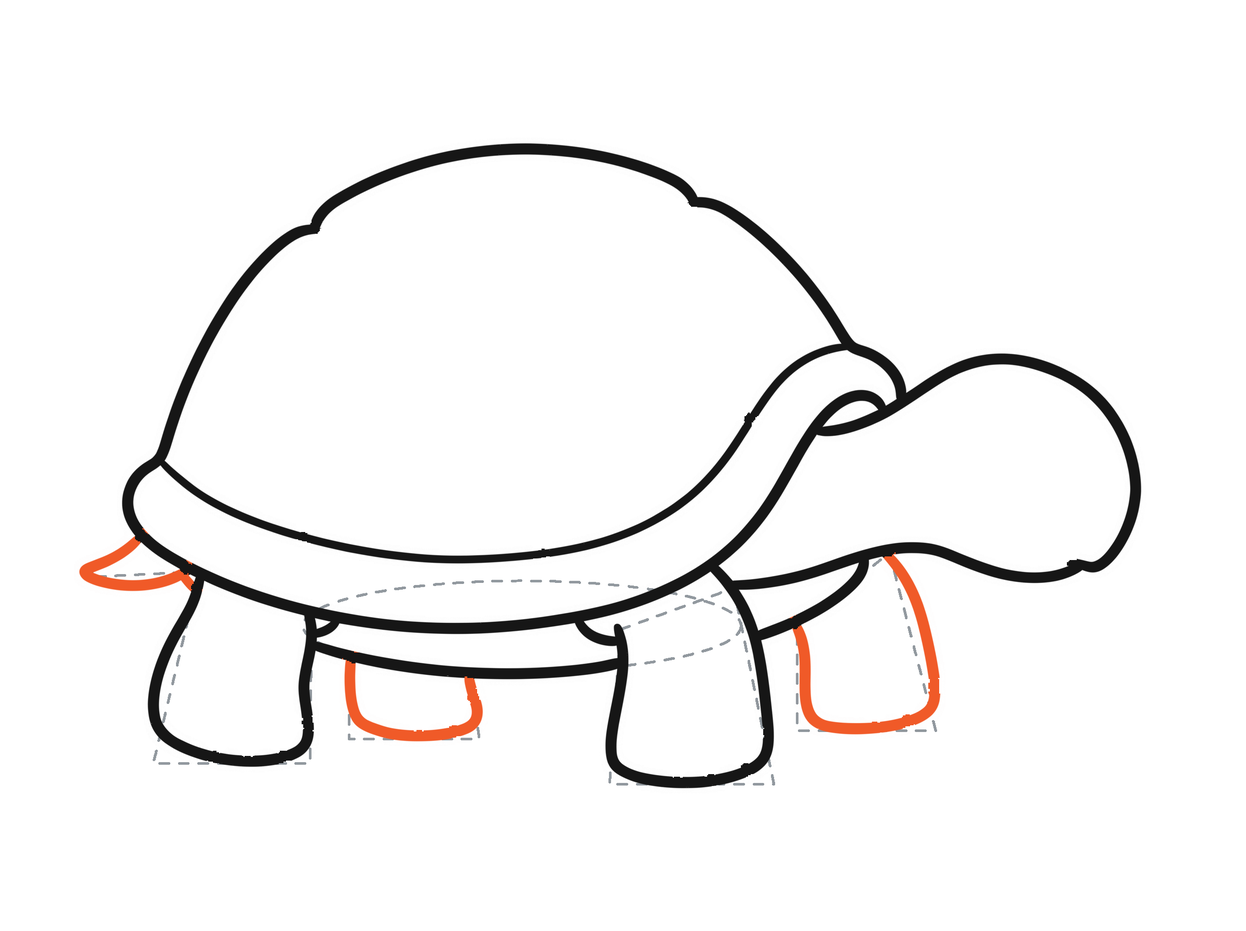
Round the visible parts, then erase
Round the visible bottoms of both smaller blocks. Round the tail wedge into two curves. Erase the shallow body oval, four leg blocks and tail wedge; keep the solid edges.
Enlarge this picture ↗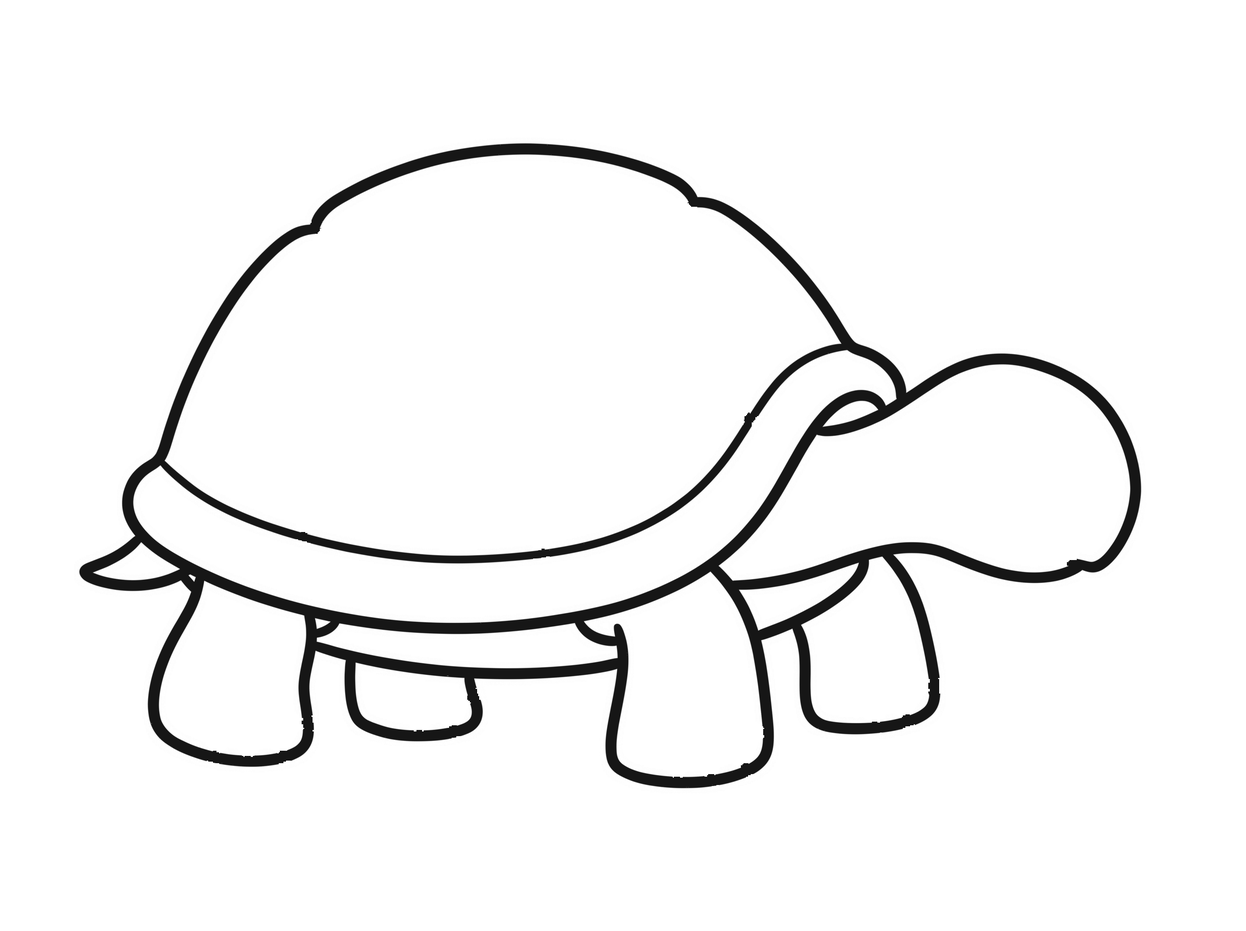
Check the four-foot pose
The temporary body and leg shapes are gone. The belly stops at the nearer legs, and the smaller feet stay behind.
Enlarge this picture ↗Check: Count two larger nearer feet and two smaller farther feet.
Goal 7 of 7
Add the face and finish the turtle
Complete the base turtle before optional details.
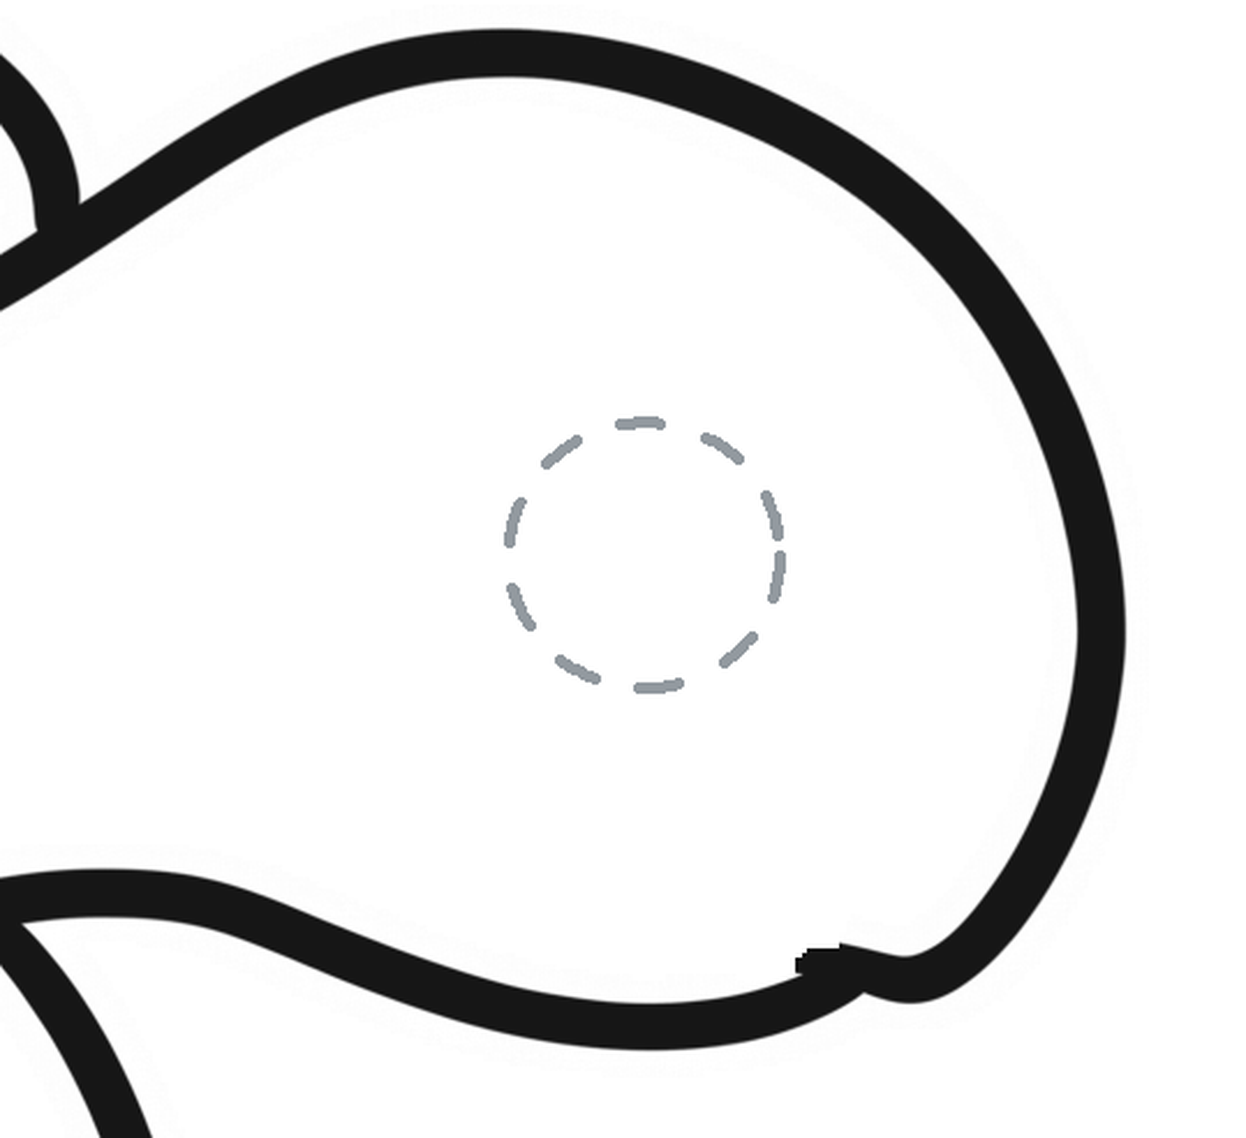
Place the eye
Lightly place a small upright oval inside the head, leaving space above for an eyebrow and below for a smile.
Enlarge this picture ↗
Add the expression and erase the eye guide
Draw the rounded eye just inside its light oval. Add a smaller pupil with a white highlight, then a short eyebrow, nose mark and smile. Erase the light oval; keep the solid face.
Enlarge this picture ↗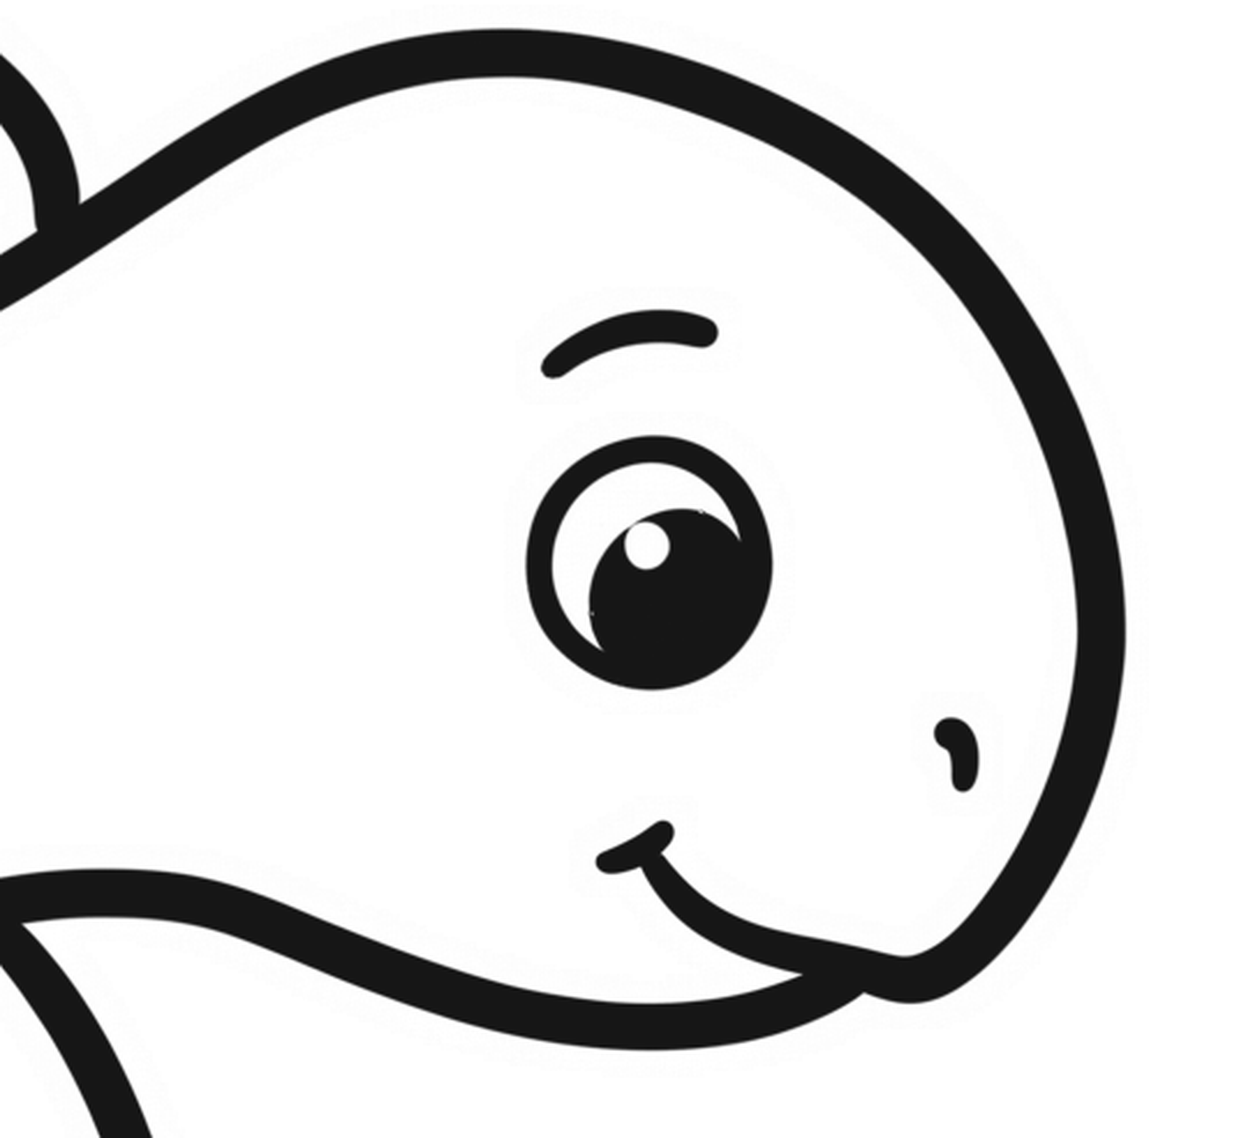
Your base turtle is complete
The eye guide is gone. Your turtle has a shell and rim, attached head, belly, tail and four feet. You can stop here.
Enlarge this picture ↗Check: Shell patterns, toe marks, a leaf and coloring are optional.
Your base turtle is complete.
You can stop here. Add the details below only if you want them, or draw the main shapes again on fresh paper and use the lesson to check your joins.
Optional details and repair help
Optional: make a shell pattern
Choose this detail only if you want it. Your base turtle is already complete.
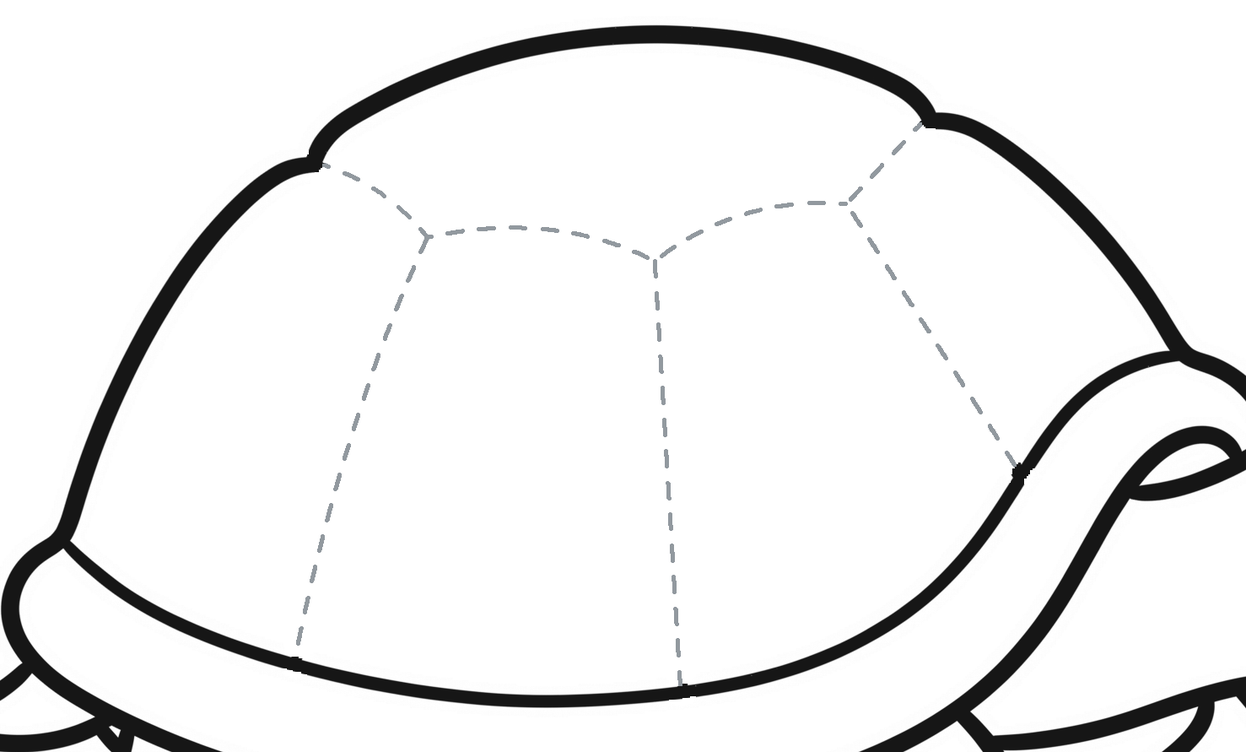
Plan a shell pattern
Lightly place a curved row across the dome. From its meeting points, plan long curves to the shell edges.
Enlarge this picture ↗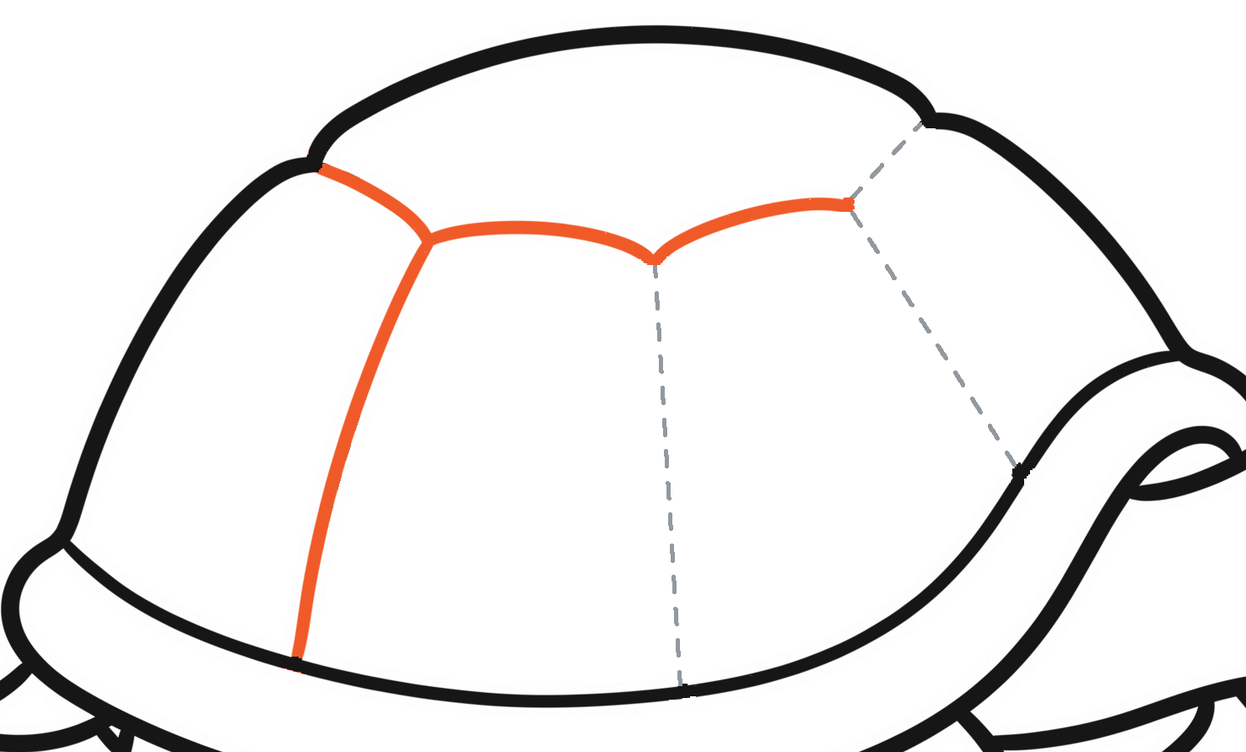
Draw the row and one divider
Follow the row’s three curves, then follow the left long guide down to the shell edge.
Enlarge this picture ↗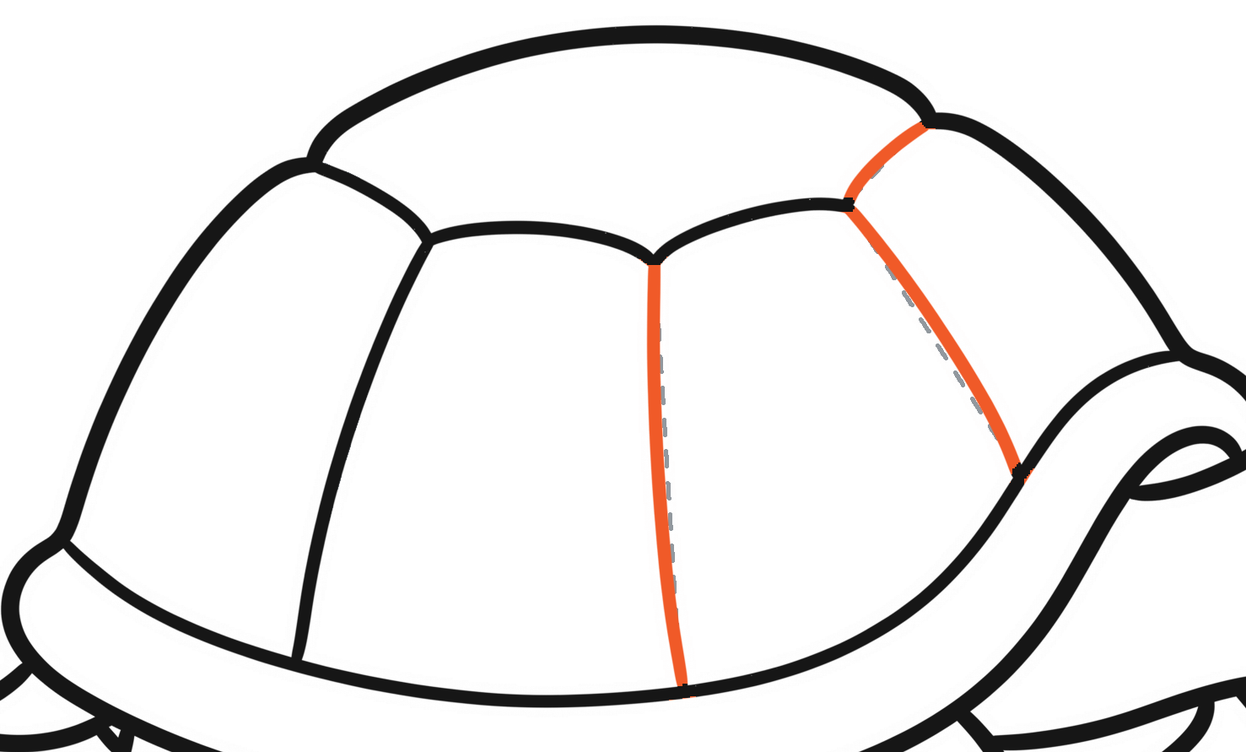
Repeat the divider method
Follow the other long guides and the short upper connection. Erase the light row and divider guides, keeping the solid pattern.
Enlarge this picture ↗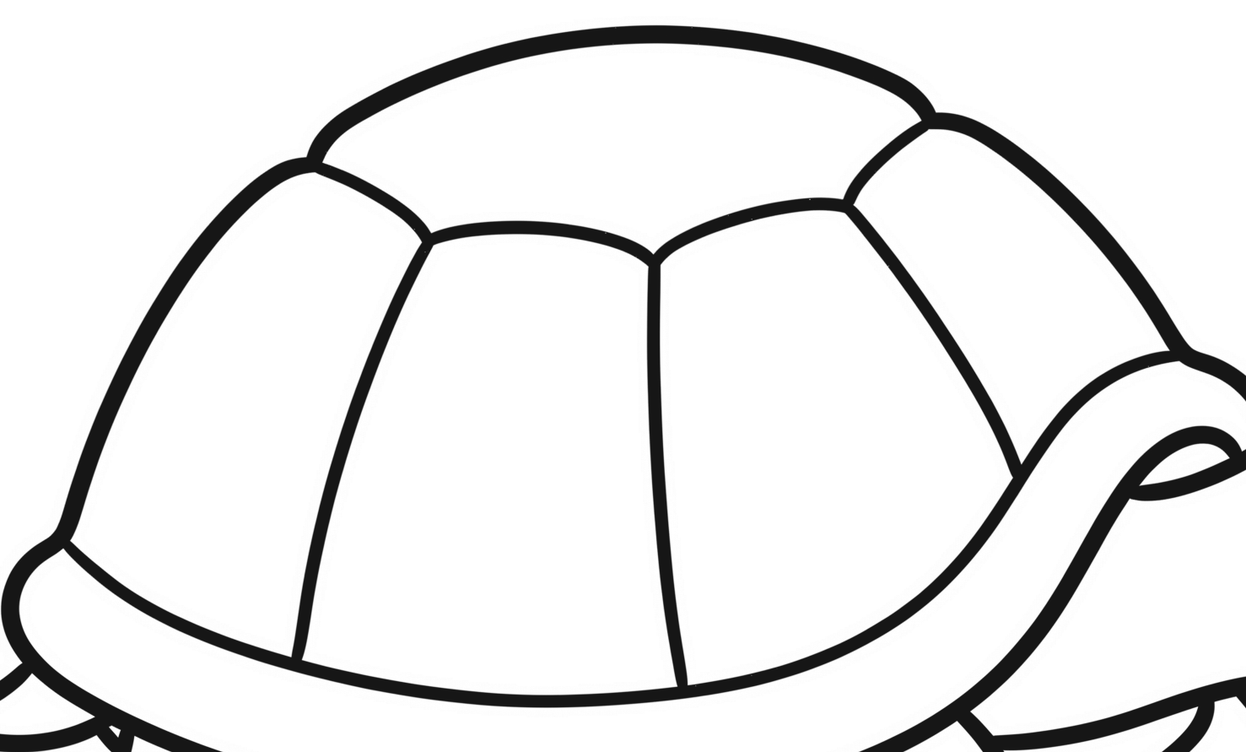
Keep the finished pattern
The light pattern guides are gone; the solid lines still meet at their junctions.
Enlarge this picture ↗Optional: add toe arches
Choose this detail only if you want it. Your base turtle is already complete.
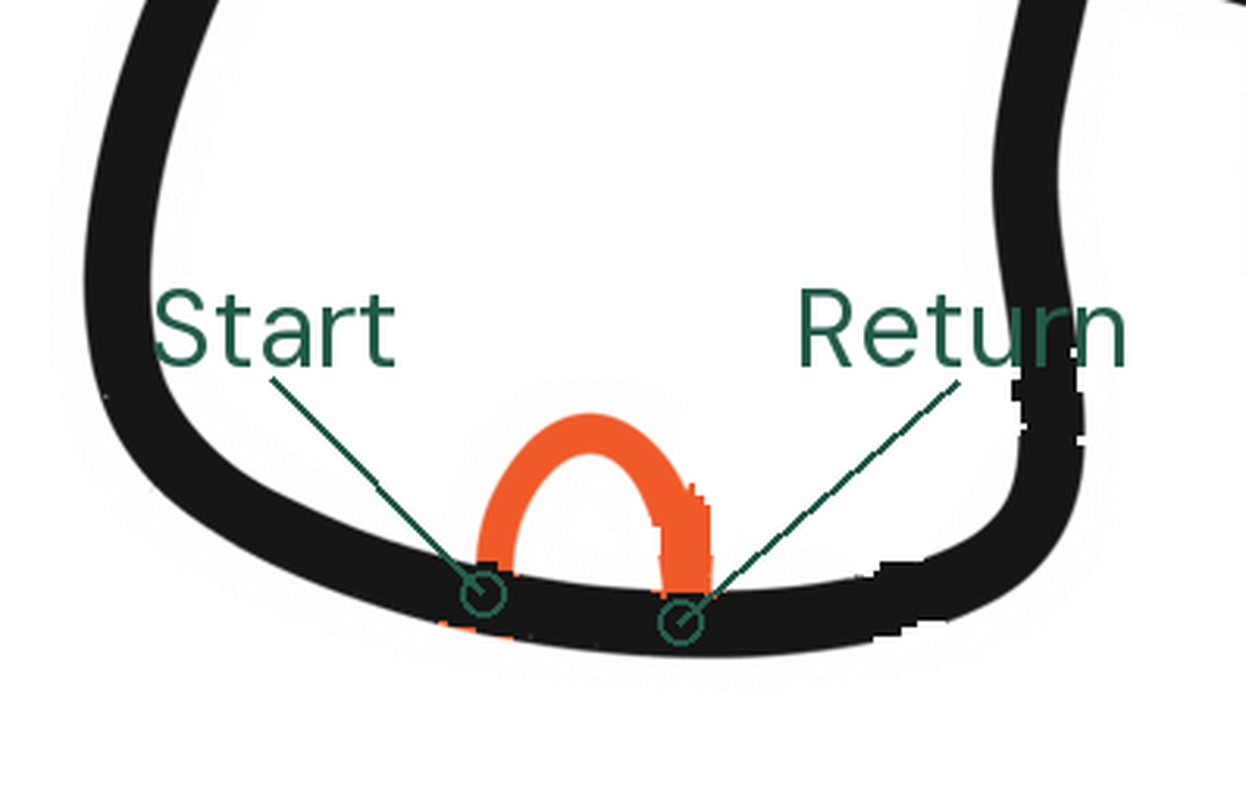
Make one toe arch
Start on the foot’s lower edge, curve upward, then return to the same edge.
Enlarge this picture ↗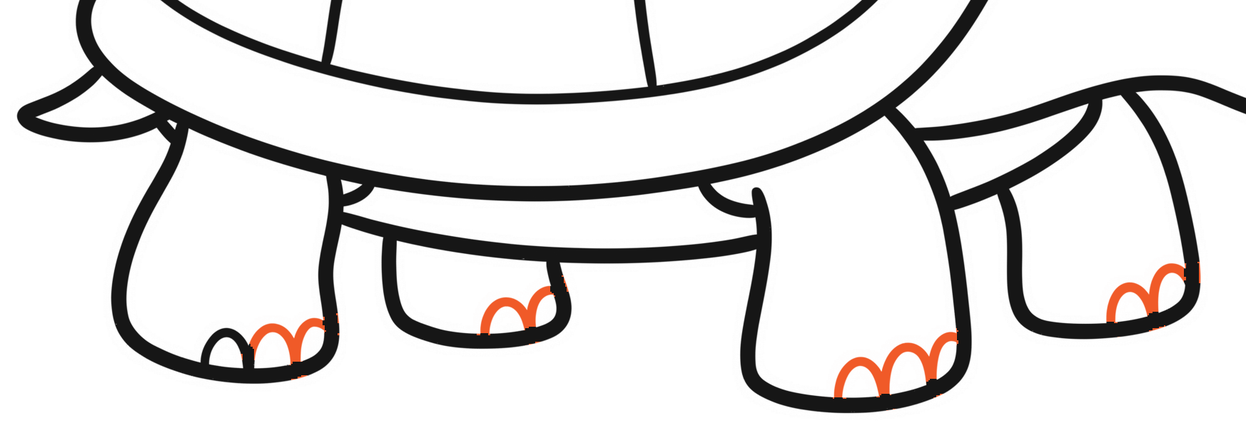
Repeat if you want
Use the same arch along other foot edges. You choose how many small toe marks to add.
Enlarge this picture ↗Optional: add a leaf
Choose this detail only if you want it. Your base turtle is already complete.
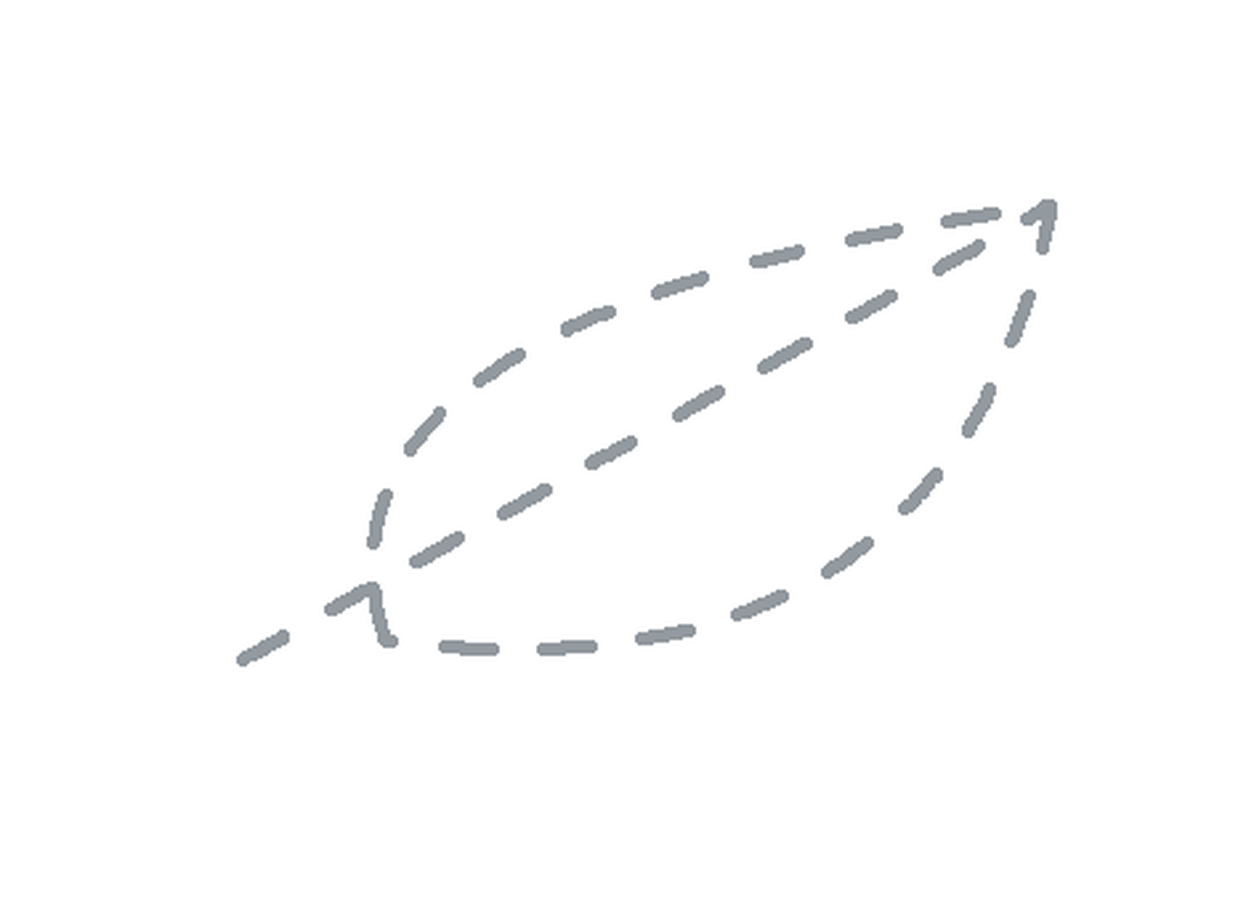
Plan a separate leaf
In the space beside the turtle, draw a light diagonal line. Place two curves around it, meeting at a pointed tip.
Enlarge this picture ↗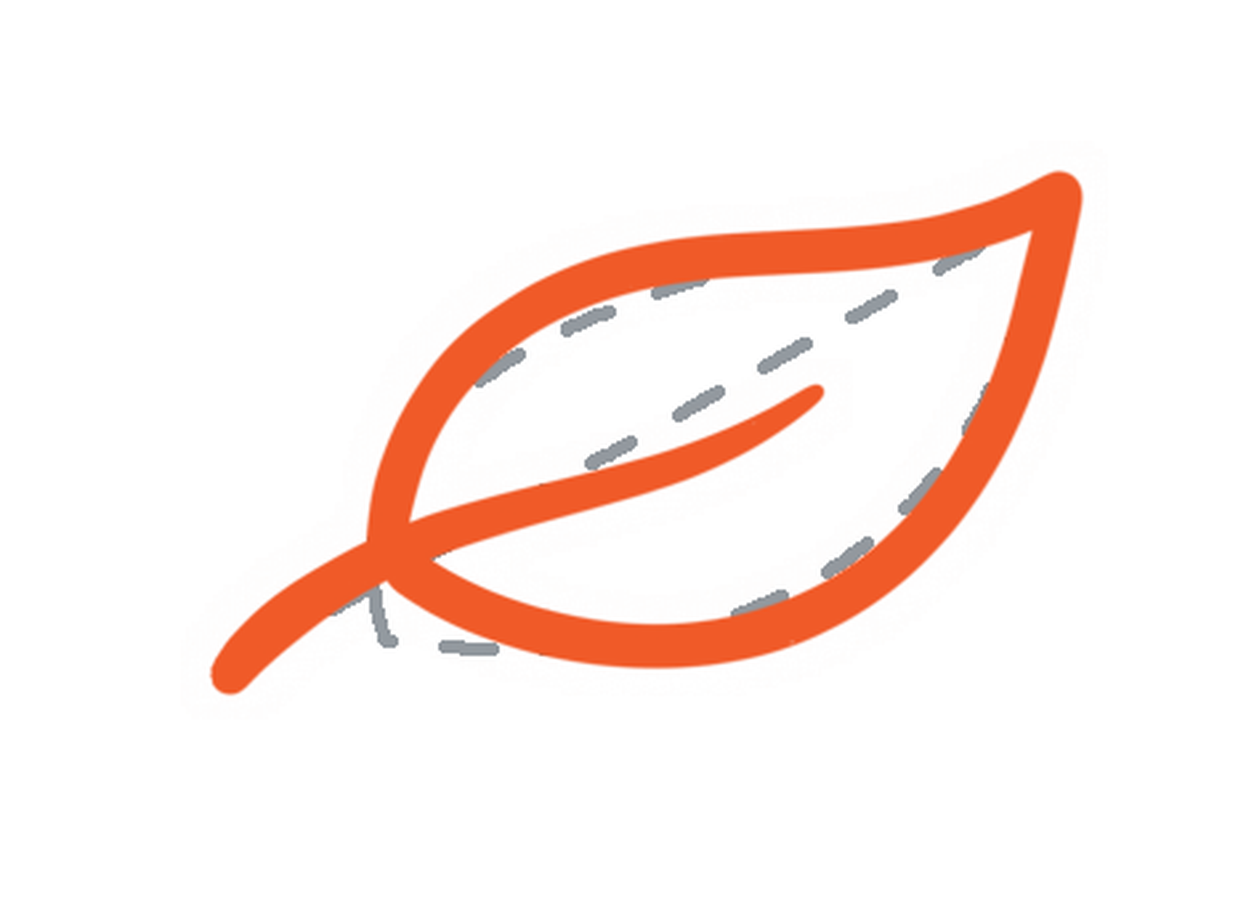
Draw the leaf and erase its guides
Follow both edges to the point. Extend a short stem from the base and a vein toward the tip. Erase the light diagonal and two-curve guide.
Enlarge this picture ↗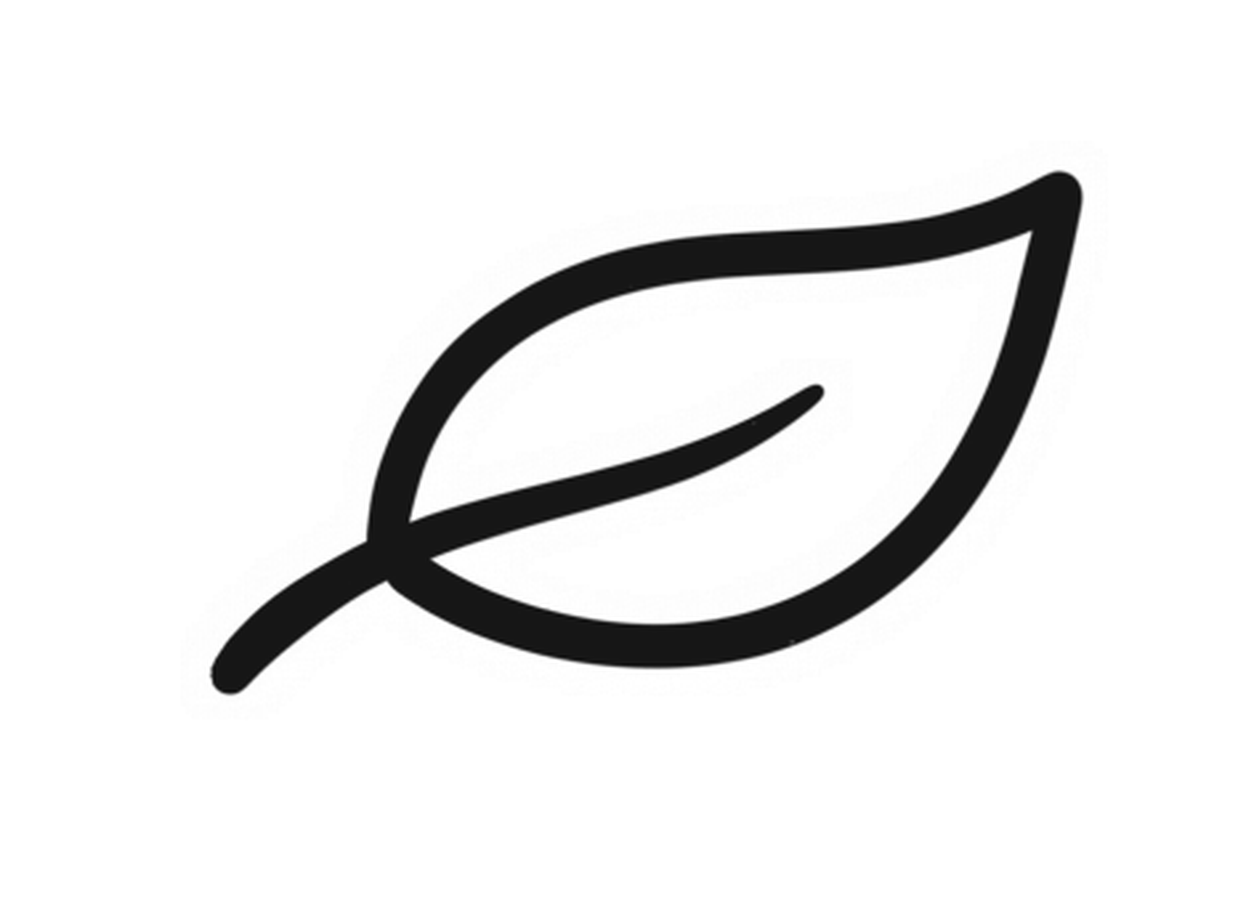
Keep the separate leaf
The light guides are gone. Keep the solid leaf, stem and vein.
Enlarge this picture ↗If the neck stops short
A short gap needs a short extension, not a new head.
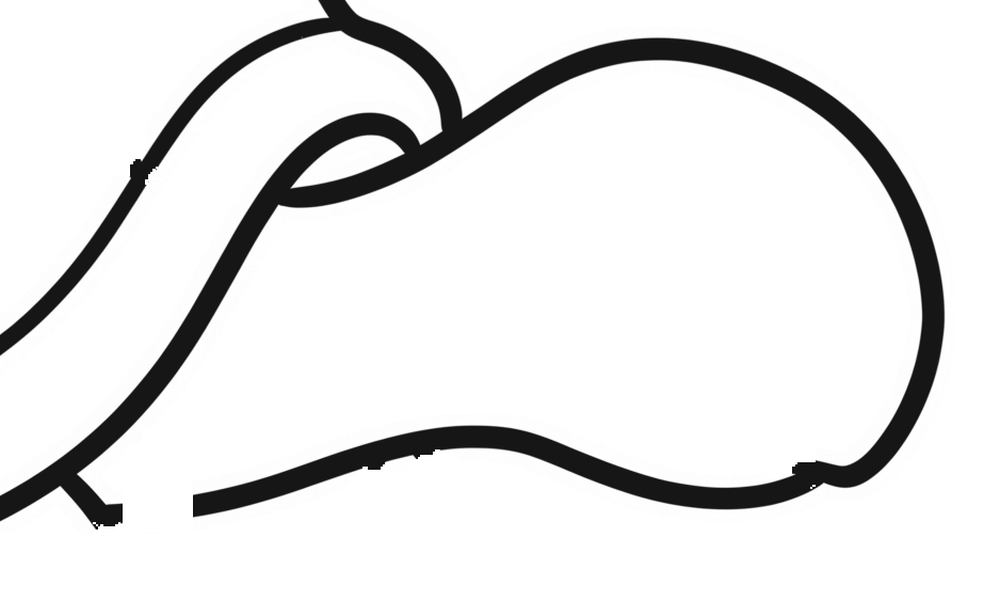
Before: a small gap
Keep the head and rim in place.
Enlarge this picture ↗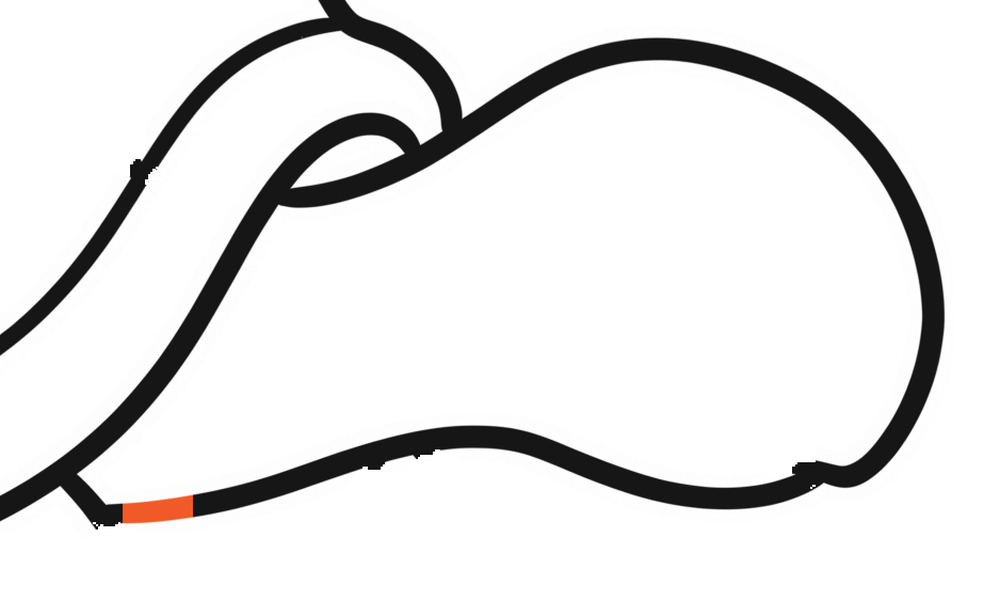
After: extend the same curve
Join only the missing section to the rim.
Enlarge this picture ↗Take the complete lesson with you.
Each PDF includes every construction goal, the optional details, a repair example and practice space. Letter and A4 have the same content. The phone edition uses a scrolling layout.
Printing help
Choose US Letter for 8.5 × 11 inch paper or A4 for 210 × 297 mm. Print at Actual Size / 100%, or use Fit if your printer needs more margin.
Read the printing guide → See the printable lesson ↗