
Free drawing lesson · easy
How to draw a ladybug
Draw an oval ladybug with round spots, curved antennae and six bent legs.
12 picture steps · 5 pages per complete PDF · No signup
Compare the three free guides ↓Finished drawing
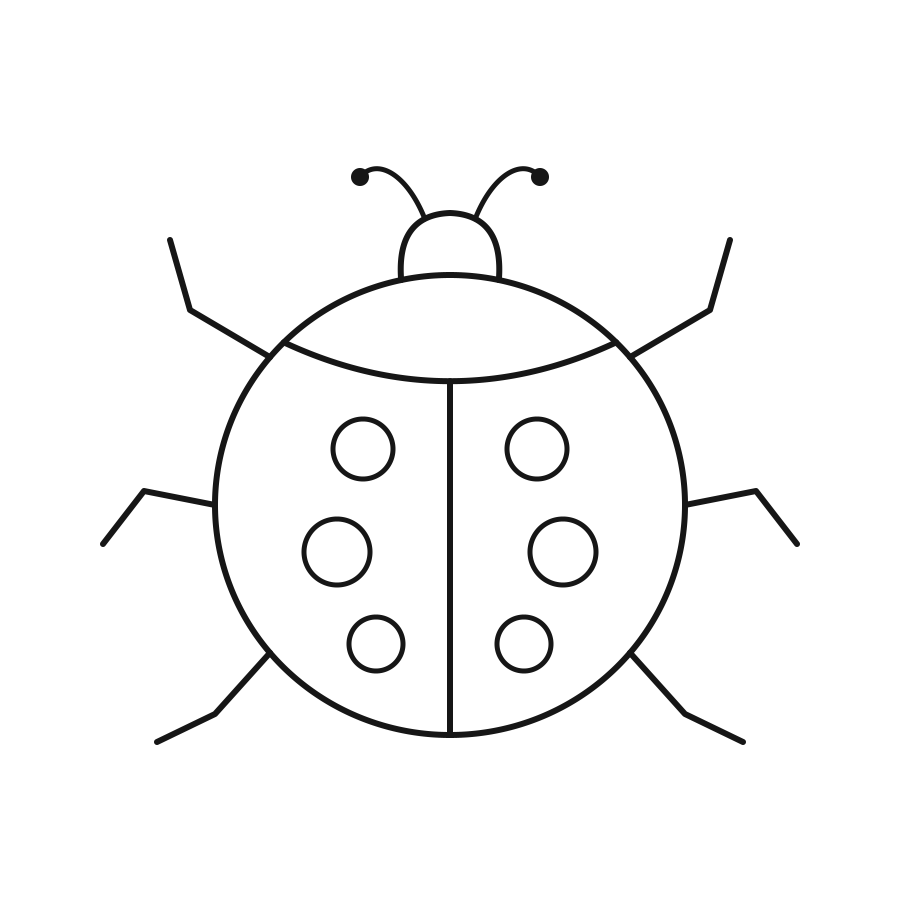
Ladybug drawing tips
- Leave space for the legs. Place the oval where you have room above for the head and along both sides for the legs.
- Repair one part at a time. If a leg starts away from the body, extend it back to the near edge of the oval. Keep three attached legs on each side.
Ladybug drawing skills · Easy
- Easy drawing practice. One oval, separate spots and paired bent lines make a flat insect.
- Try the picture again. Try another ladybug and vary the size of the spots while keeping three on each wing.
Ladybug printing help
- Choose US Letter for 8.5 × 11 inch paper.
- Choose A4 for 210 × 297 mm paper.
- Print at actual size on matching paper. Use “Fit to page” if your printer needs more margin.
- Choose your guide. The detailed PDFs each have 5 pages. The practice reference is one page. The complete phone guide has 13 screen pages.
Review all 12 pictures
Build and divide the oval body

1. Start with a rounded oval.
- Leave room above for the head and around it for six legs.
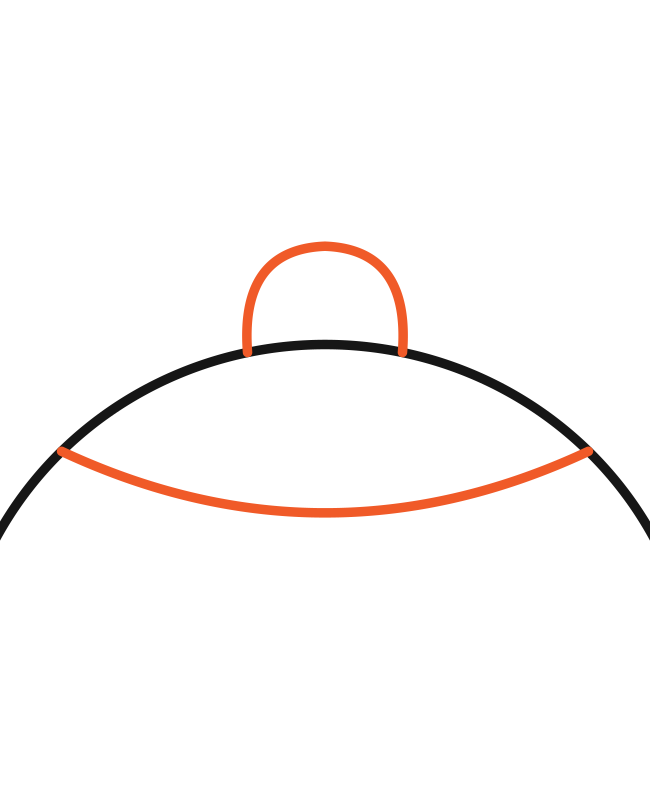
2. Add the neck and small head.
- Curve across the top.
- Add a rounded bump above the oval.
- Keep both lines.
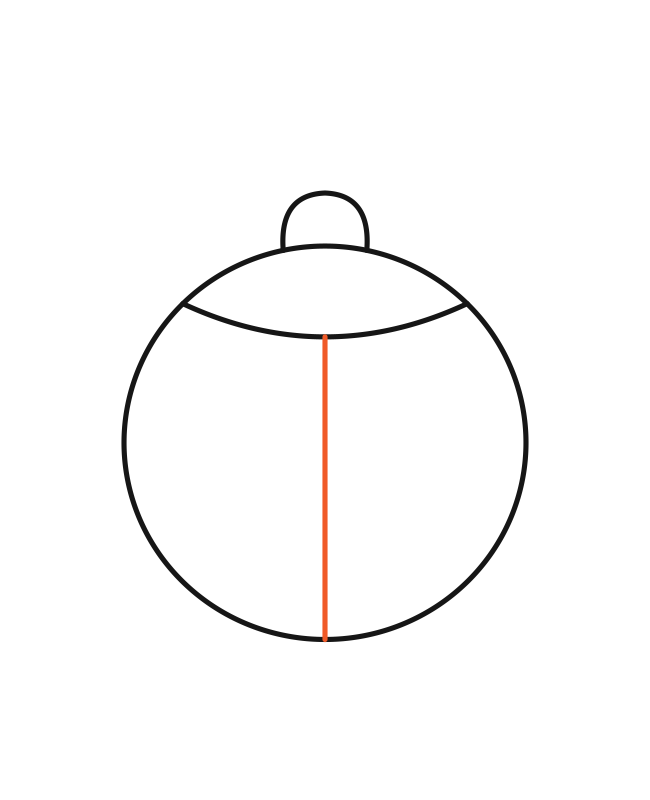
3. Divide the two wing covers.
- Start at the neck curve.
- Draw down to the bottom of the oval.
Add spots and curved antennae
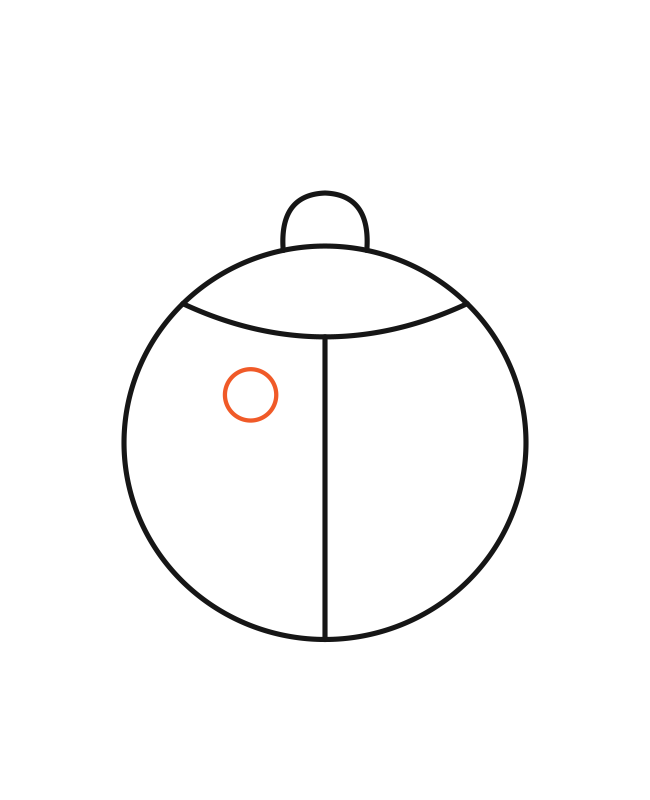
4. Draw the first round spot.
- Draw a small circle inside one wing.
- Leave space around it.
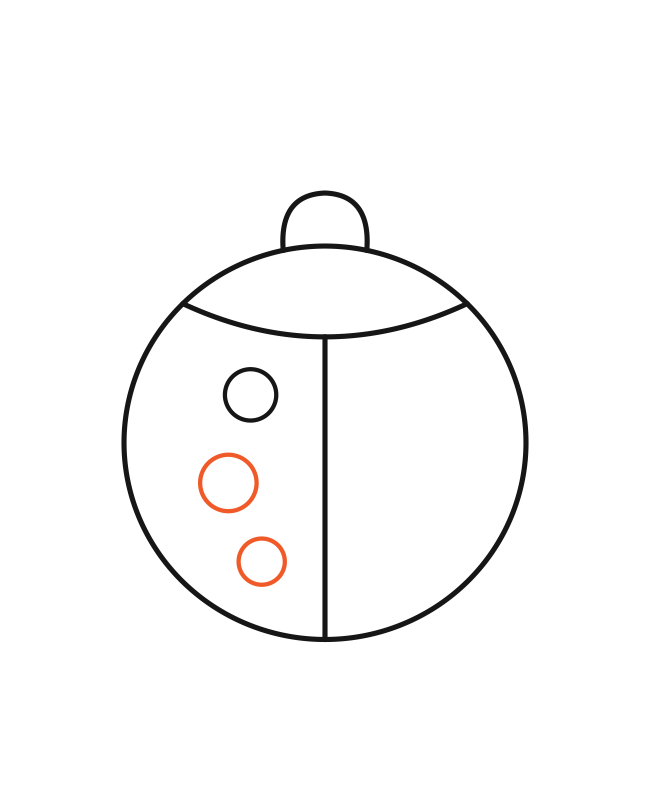
5. Add two more spots on the left.
- Place one below the first, then one near the bottom.
- Keep space between them.
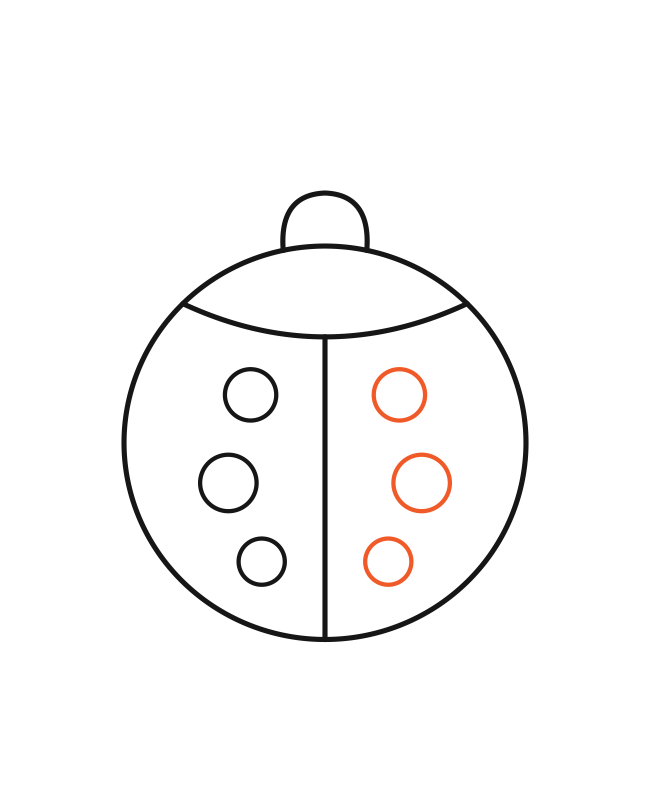
6. Add three spots on the right.
- Repeat three circles on the other wing.
- Keep them clear of the center line.
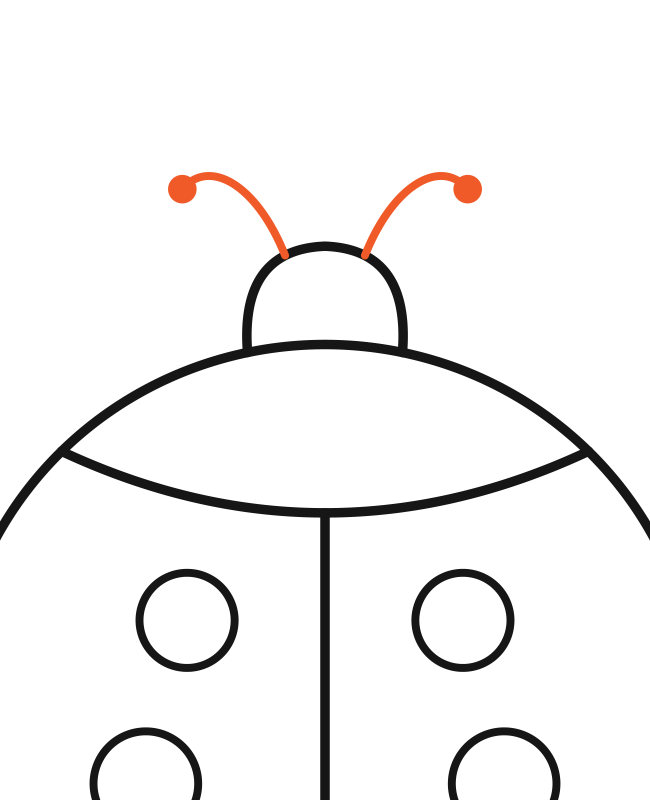
7. Add two curved antennae.
- Curve up from the head.
- Finish each antenna with a small round tip.
Attach three pairs of legs
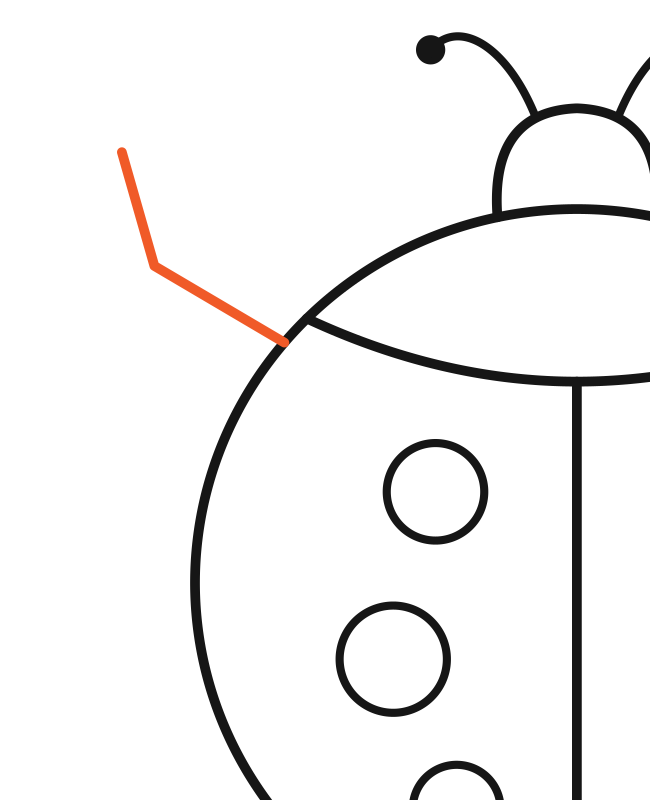
8. Make one bent front leg.
- Start at the oval edge.
- Go outward, bend, then point forward.
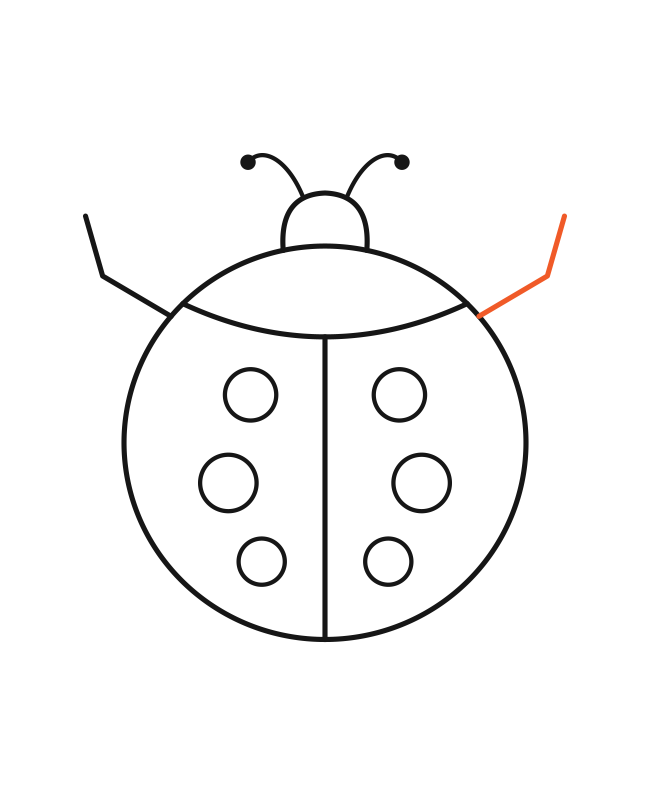
9. Add its partner.
- Repeat the bend on the other side.
- Both front legs point forward.
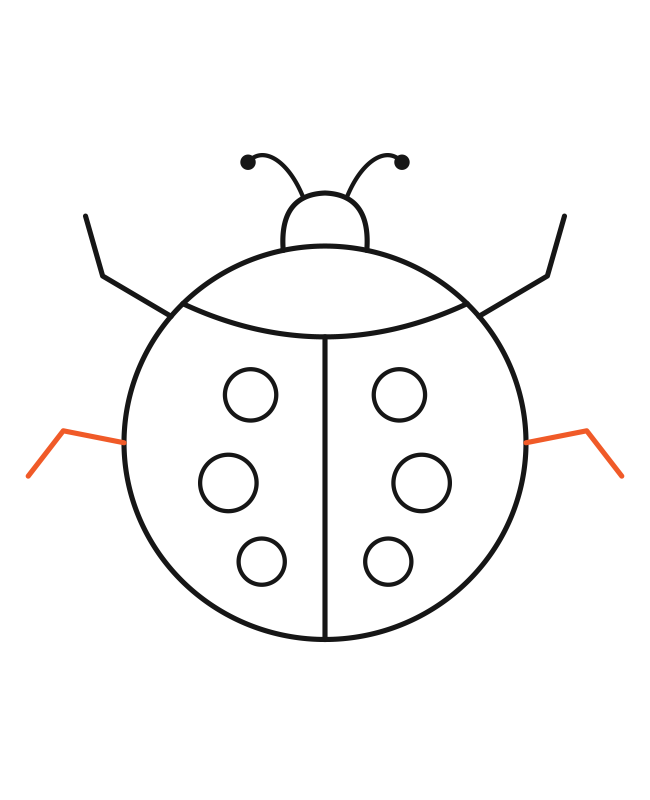
10. Add the middle pair.
- Start at each side.
- Bend these two legs a little backward.
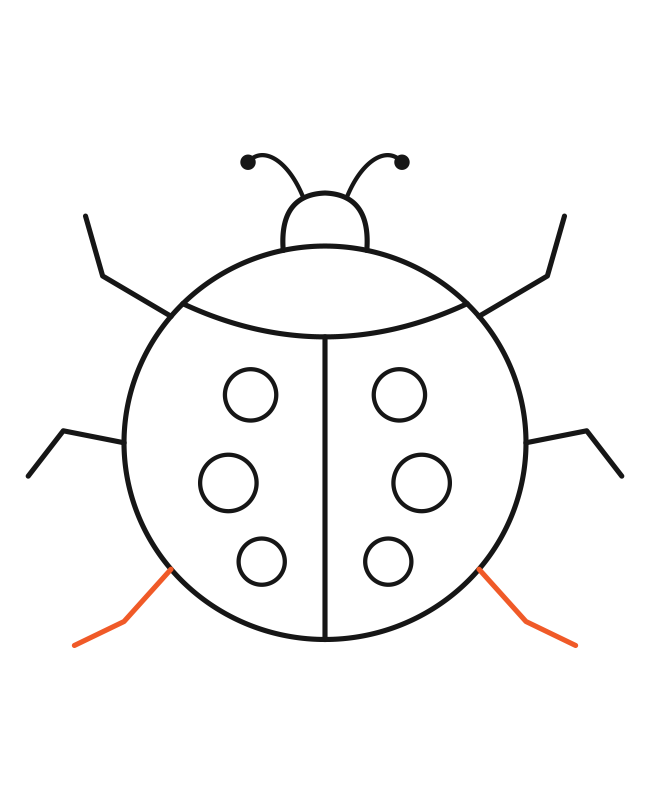
11. Add the back pair.
- Start lower on each side.
- Bend the last two legs backward.
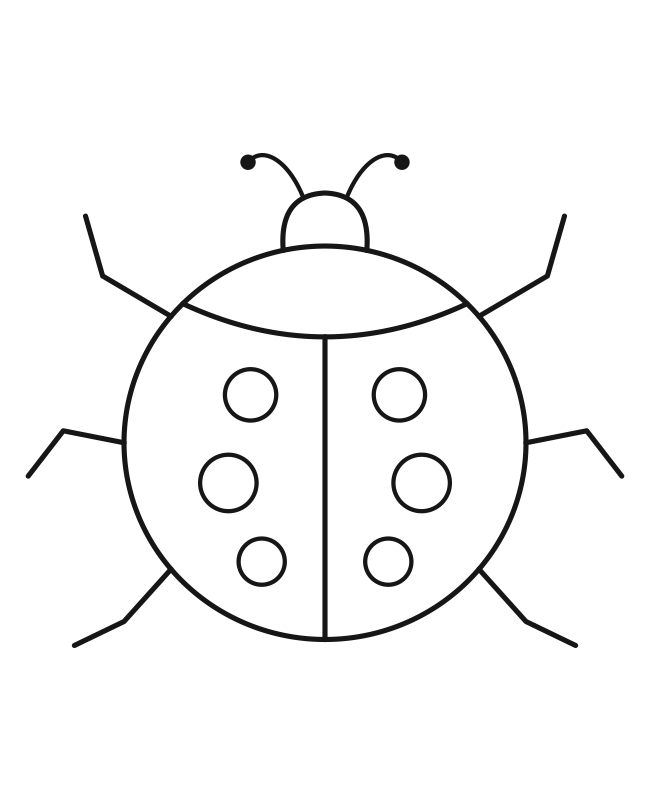
12. Check the joins and count.
- Keep every line.
- Check three attached legs on each side and three spots on each wing.
FREE LADYBUG DRAWING GUIDES
Find your favorite way to draw
Enjoy the full walkthrough, keep a handy one-page reminder, or follow the pictures on your phone. Every option is free—choose what suits your drawing time.
One-page reference
Keep the key pictures beside your sketch.
6 checkpoints for repeat practice. Use the complete lesson for every construction action.
Complete lesson
Print every drawing picture and instruction.
Follow all 12 pictures in order and use the printed practice spaces.
Phone guide
Work through the pictures on your screen.
Follow all 12 pictures and instructions, one picture at a time. Includes a cover.
The one-page reference supports the detailed lesson and repeat practice. Choose the complete lesson or phone guide for every beginner instruction.