Free drawing lesson · medium
How to draw a Christmas stocking
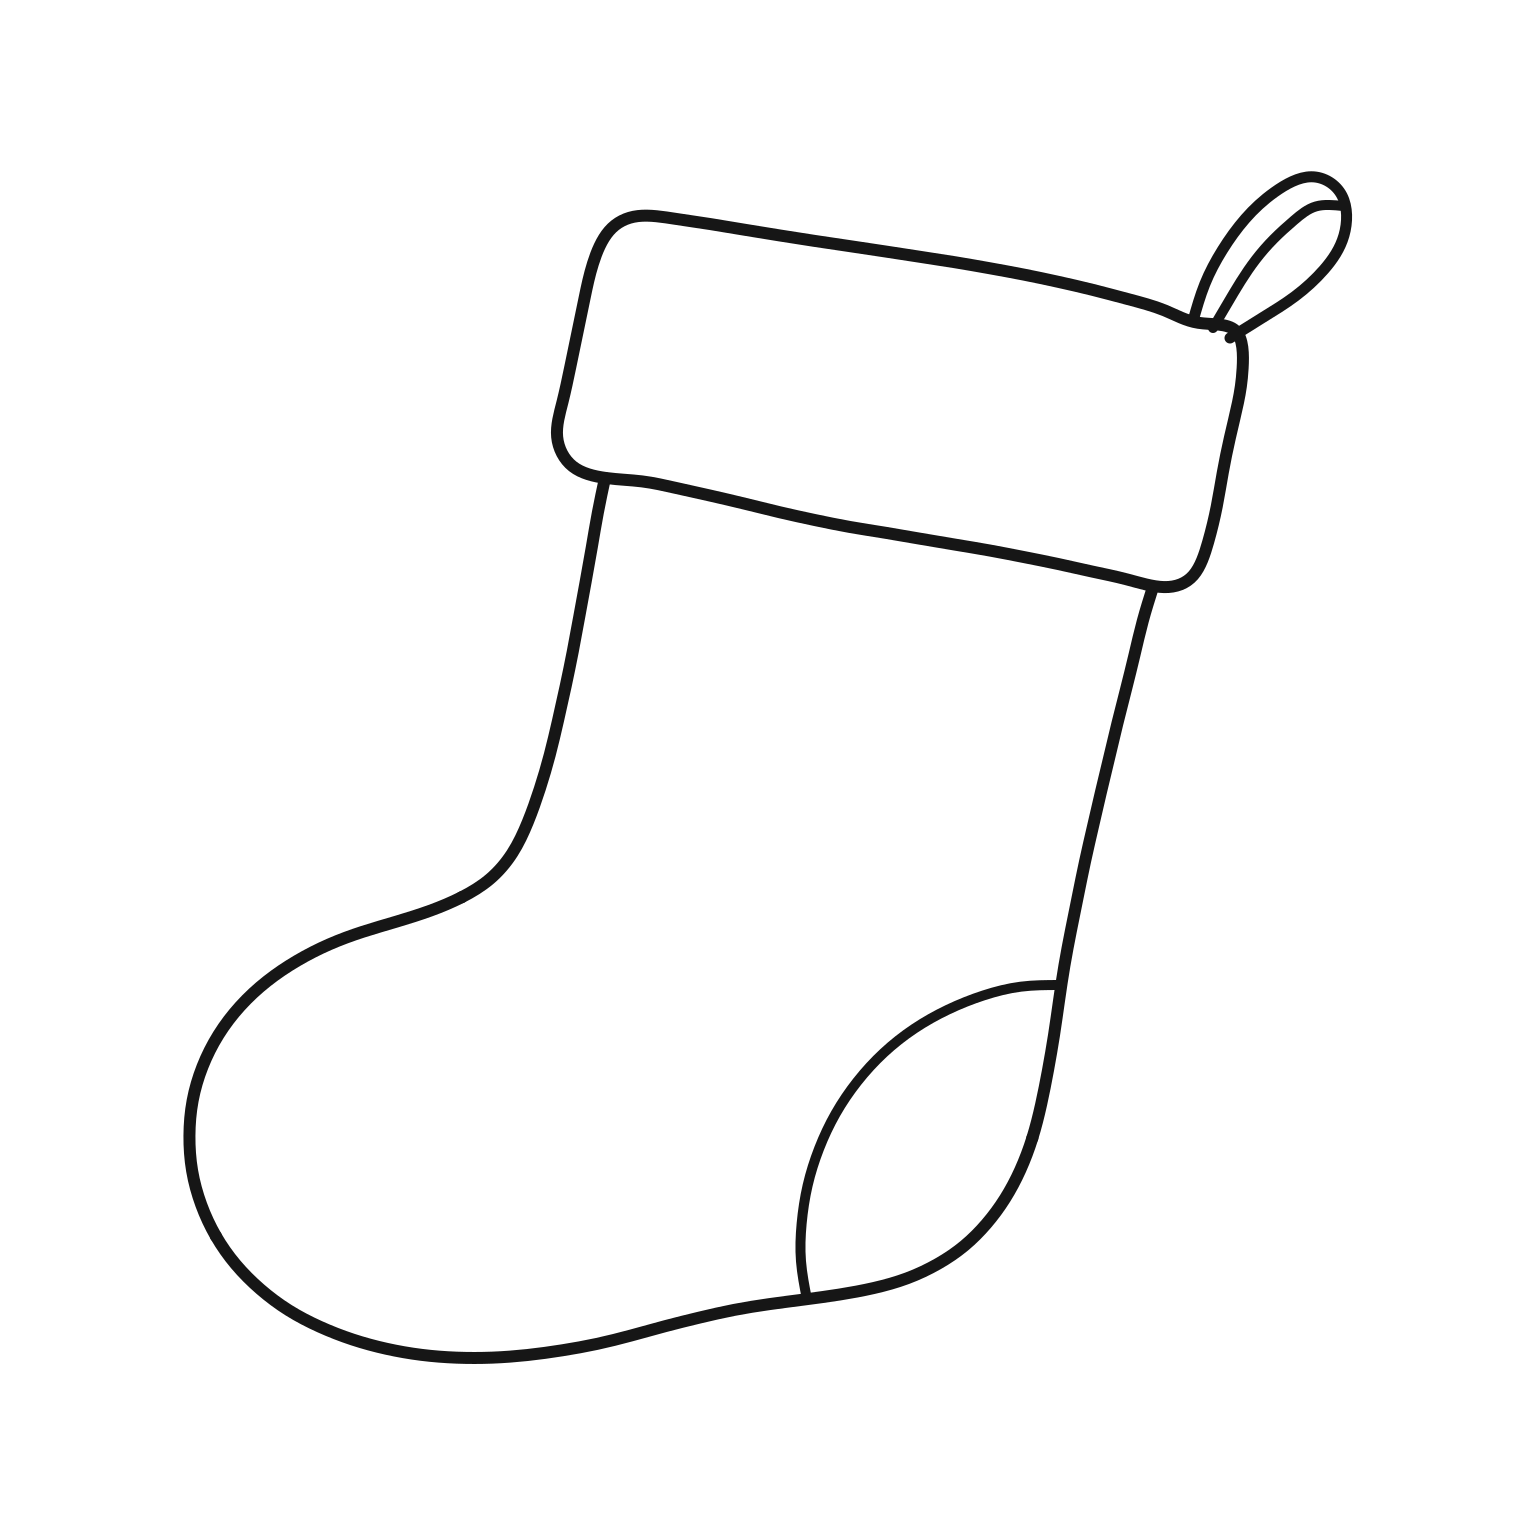
Turn a box and oval into a Christmas stocking, then add a heel patch and hanging loop.
9 picture steps · 4 pages per PDF · No signup
Finished drawing
Paper · Pencil · EraserNew marksKeep linesErase only the named gray guides
Stage 1 of 3 · Shapes0 of 3 pictures completed0 of 9 completed overallProgress stays here while this page is open.
Stocking drawing tips
- Leave room below the cuff for the leg and foot.
- Sketch lightly when drawing the leg box and foot oval.
- Keep the cuff as you connect the outside outline.
- Erase only the guides named in picture 6.
Stocking skills · Medium
- Place the cuff above a slanted leg guide.
- Overlap the oval with the leg box to plan the foot.
- Connect the outline around the heel, toe and ankle.
- Erase the light guides while keeping the cuff and outer edge.
Stocking printing help
- Choose US Letter for 8.5 × 11 inch paper.
- Choose A4 for 210 × 297 mm paper.
- Print at actual size on matching paper.
- Use “Fit to page” if your printer needs more margin.
How to draw a Christmas stocking: picture walkthrough
Draw the Christmas stocking cuff and guides
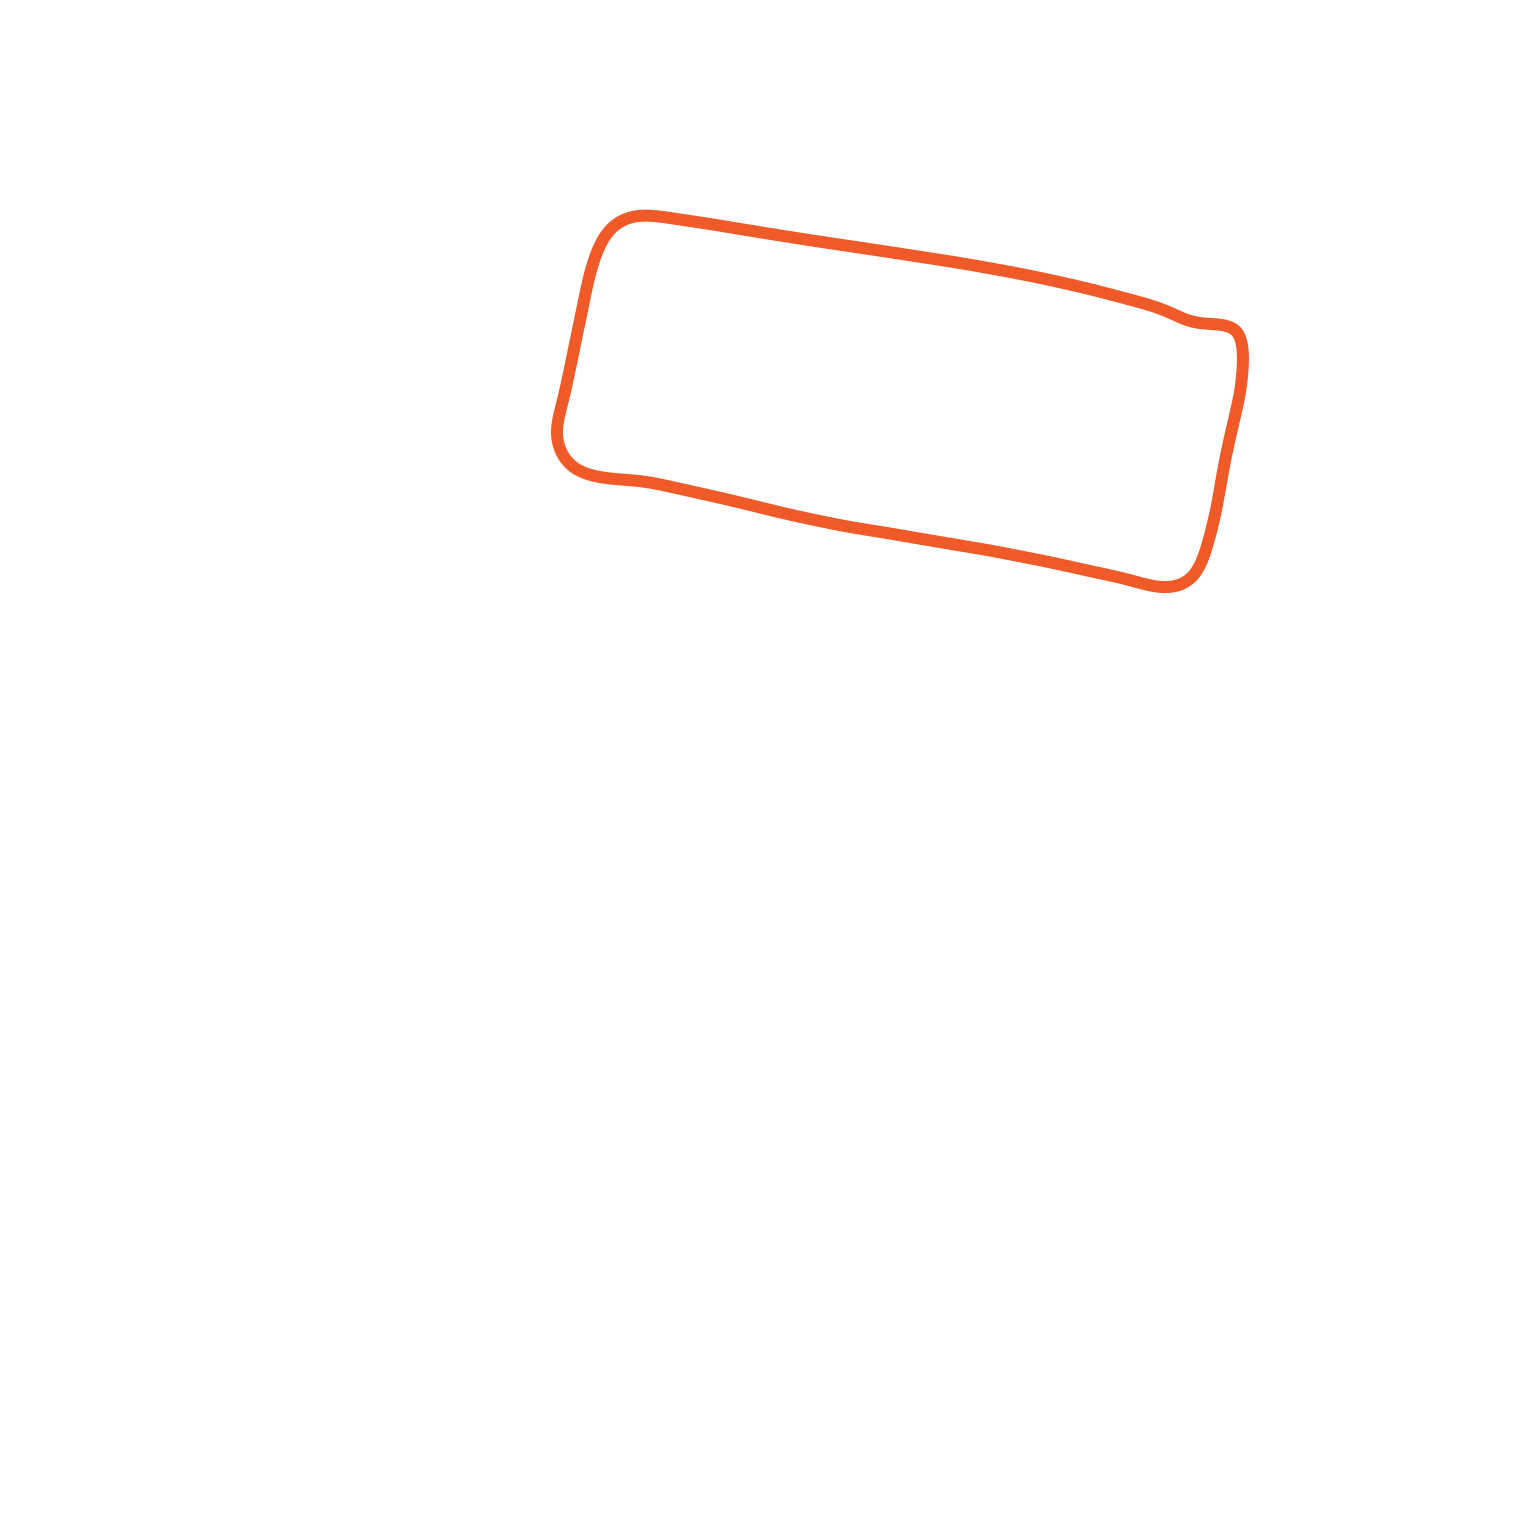
1. Start with a rectangle.
- Draw a wide rectangle near the top, tilting it down to the right.
- Round its corners.
- This is the cuff; keep these lines.
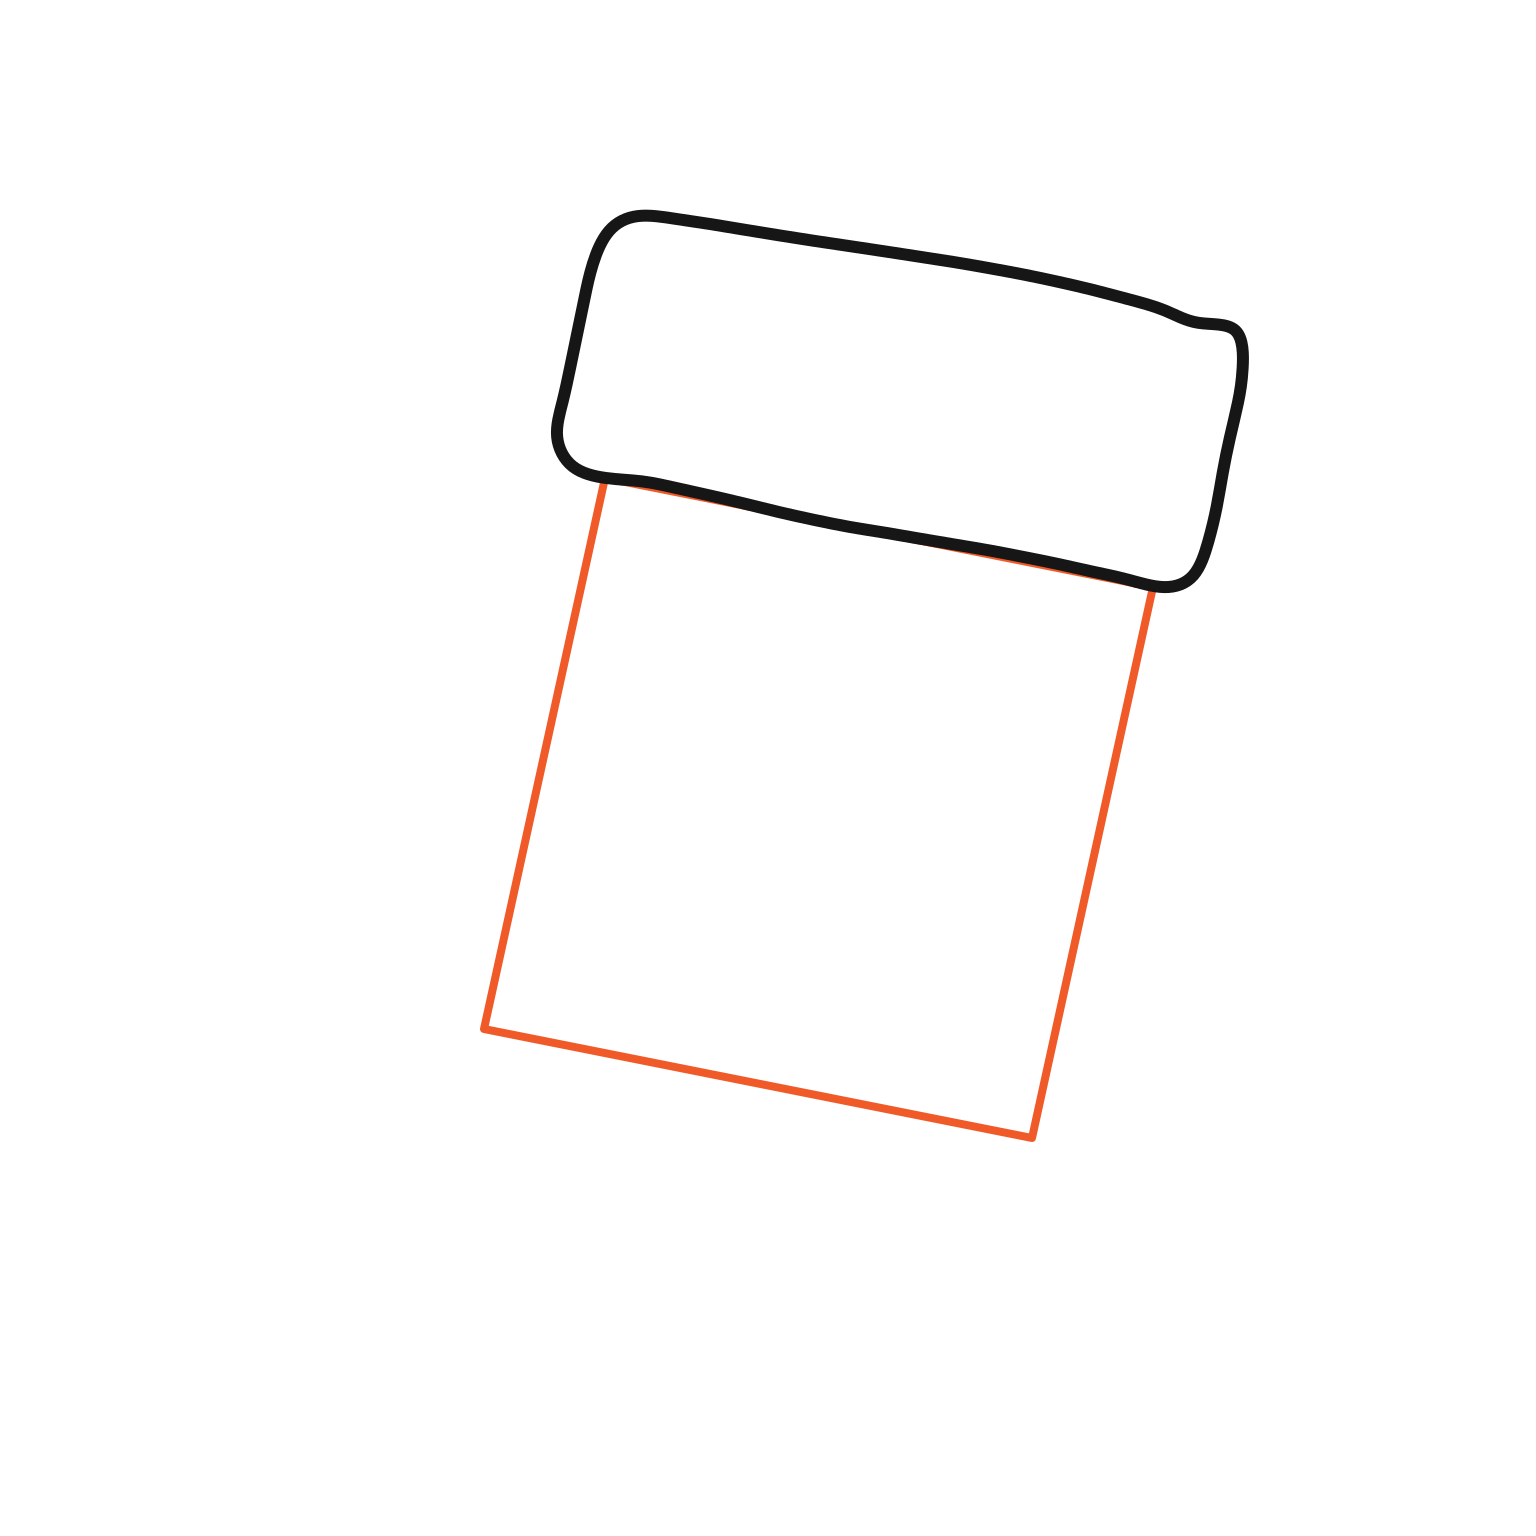
2. Plan the long leg.
- Lightly draw a slanted rectangle below the cuff, about twice the cuff’s height.
- Its sides show the leg’s direction.
- These light lines are guides to erase later.
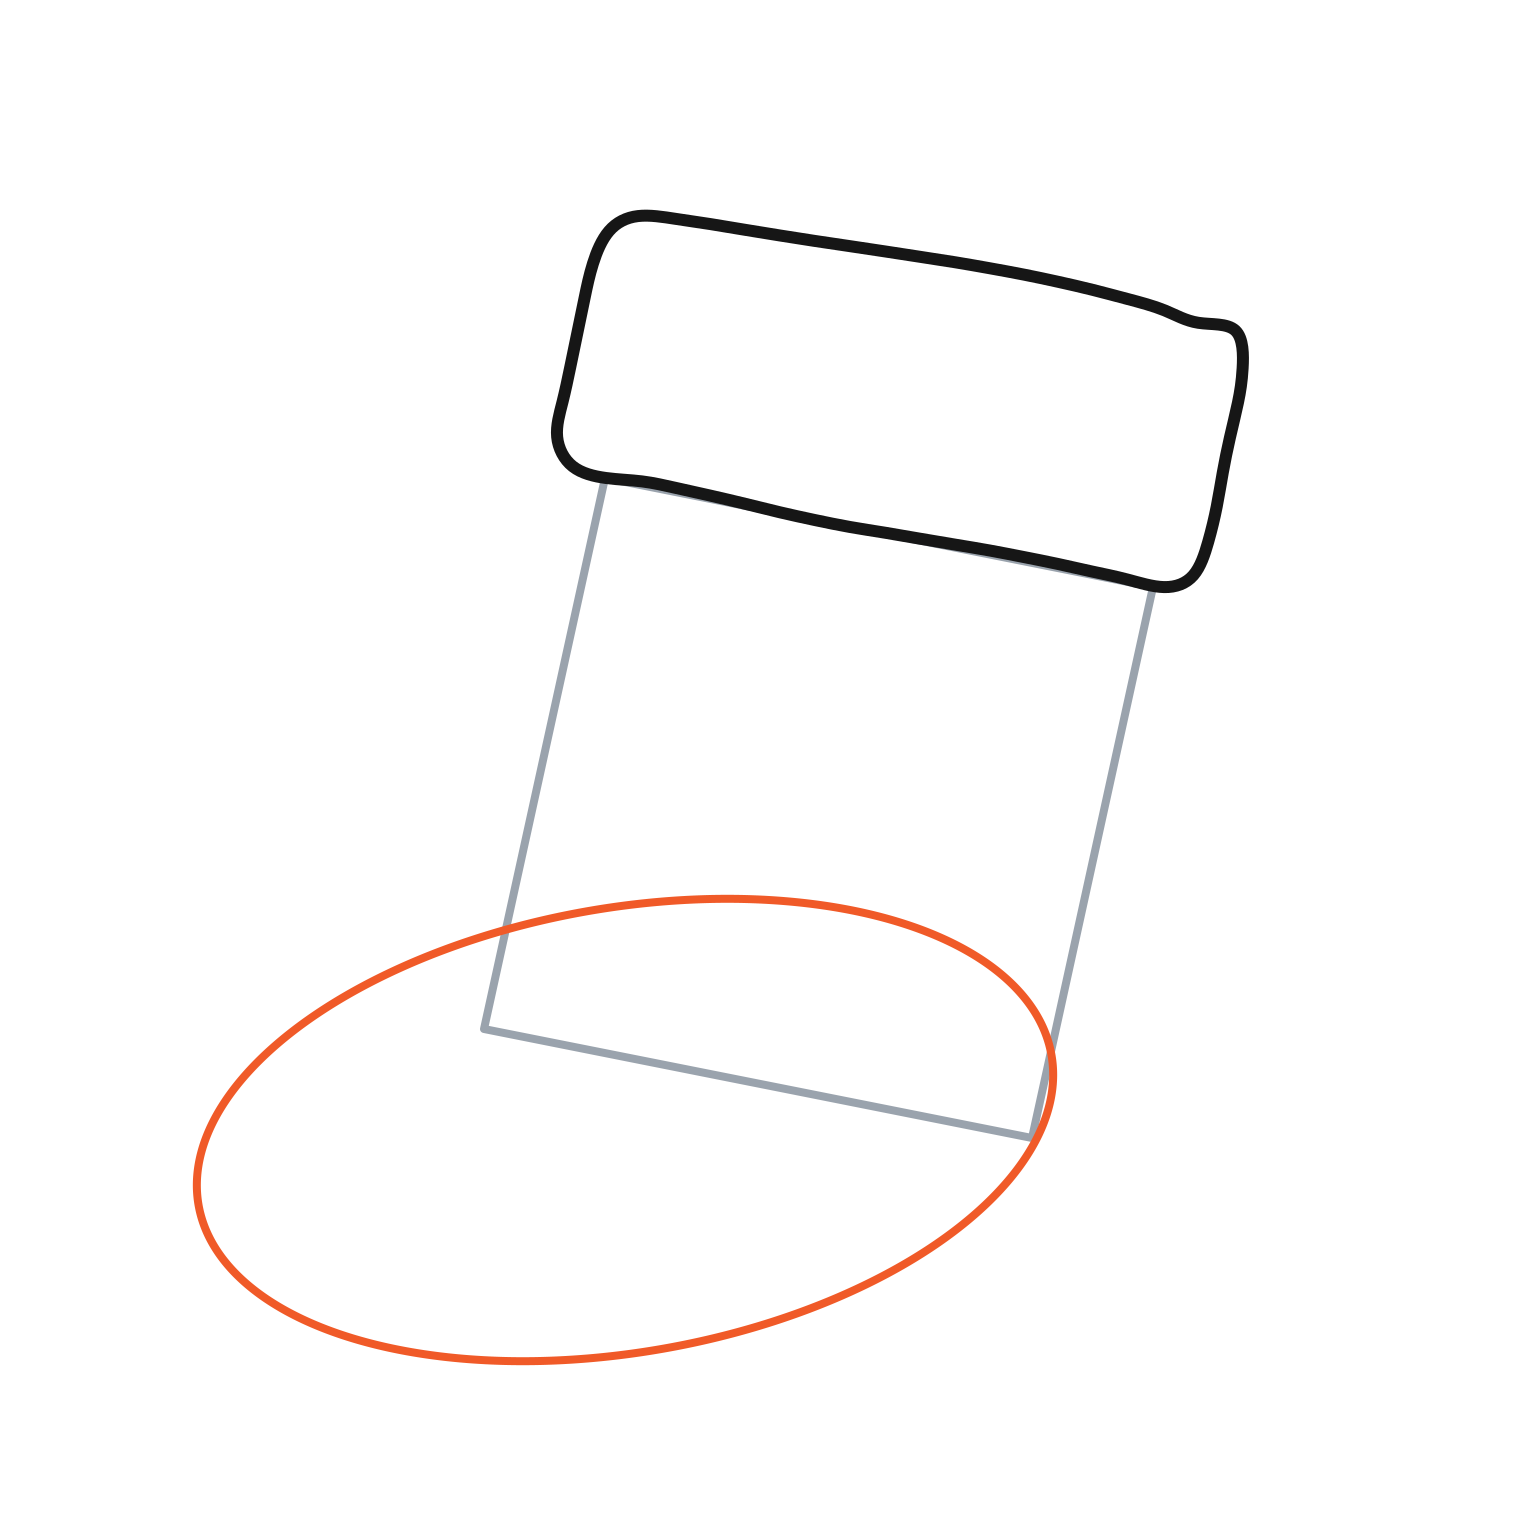
3. Plan the rounded foot.
- Lightly draw a wide oval across the bottom of the leg box.
- Extend it left to make the toe.
- Overlap the two shapes so the foot joins the leg.
Draw the stocking outline and erase guides
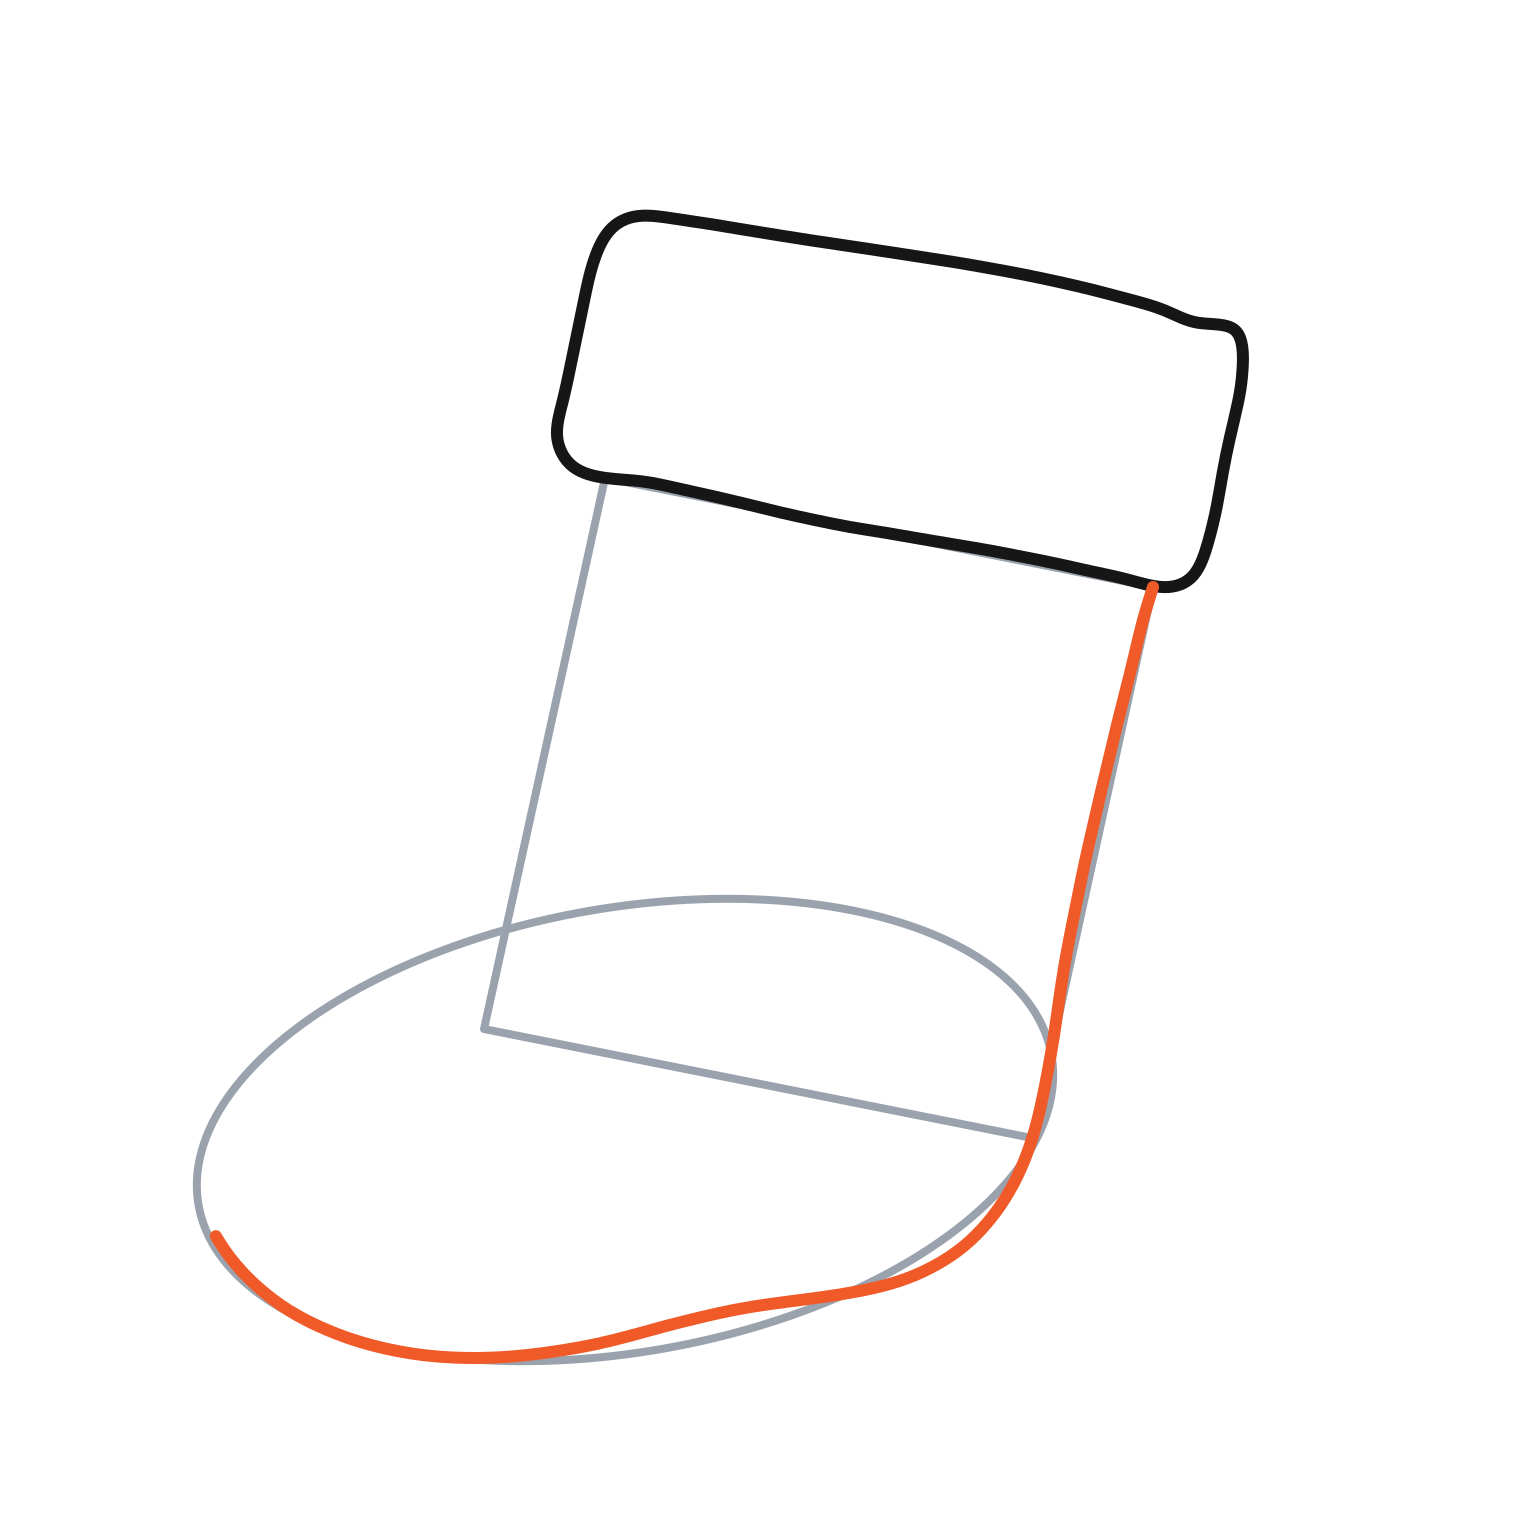
4. Round the heel and sole.
- Start at the cuff’s lower-right corner.
- Follow the leg’s outer side down, round the heel, and continue left along the bottom of the oval.
- Keep this smooth outline.
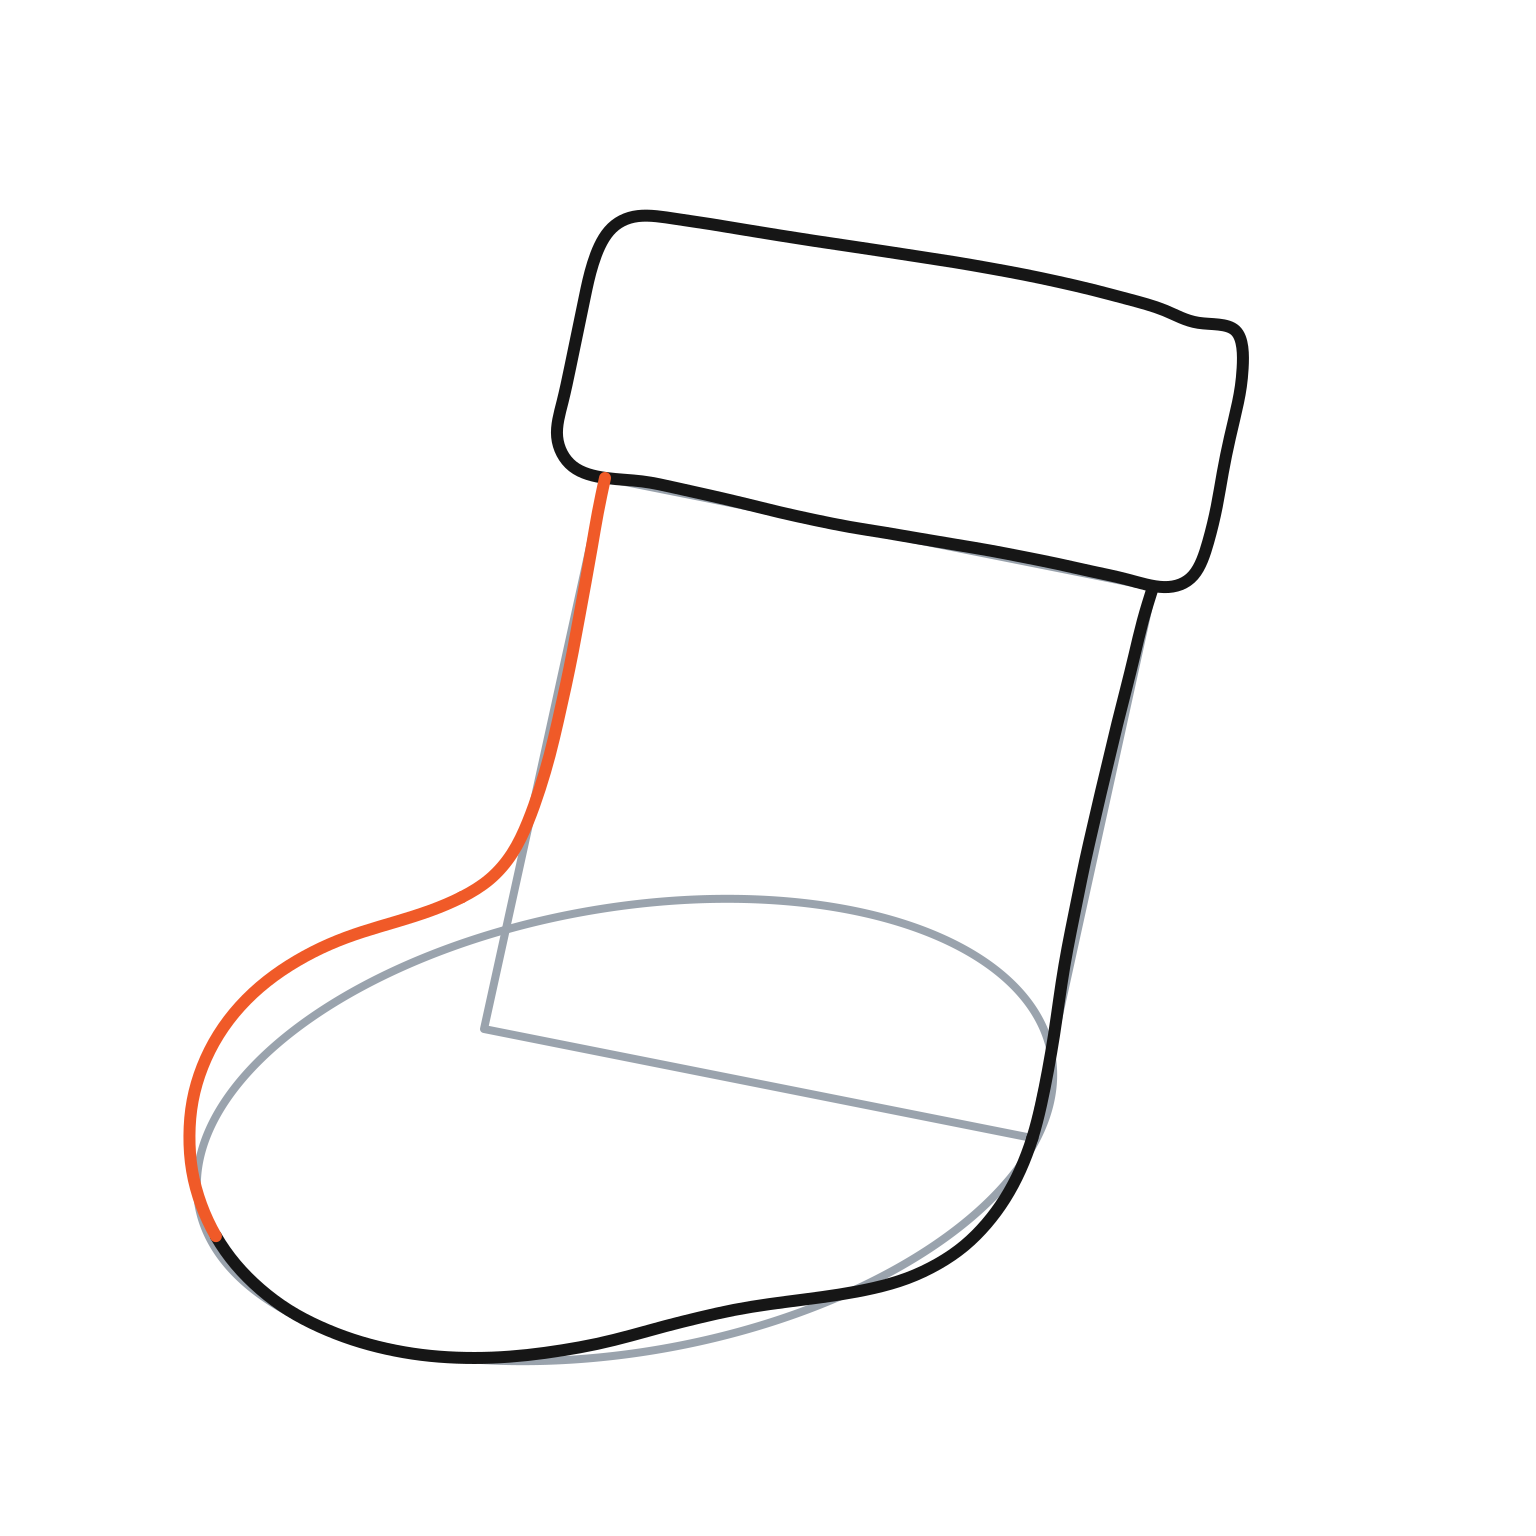
5. Join the toe to the cuff.
- Continue around the oval’s left end for the toe.
- Curve right across its top, then bend upward through the ankle to meet the cuff’s lower-left corner.
- Skip the guide edges inside the stocking.
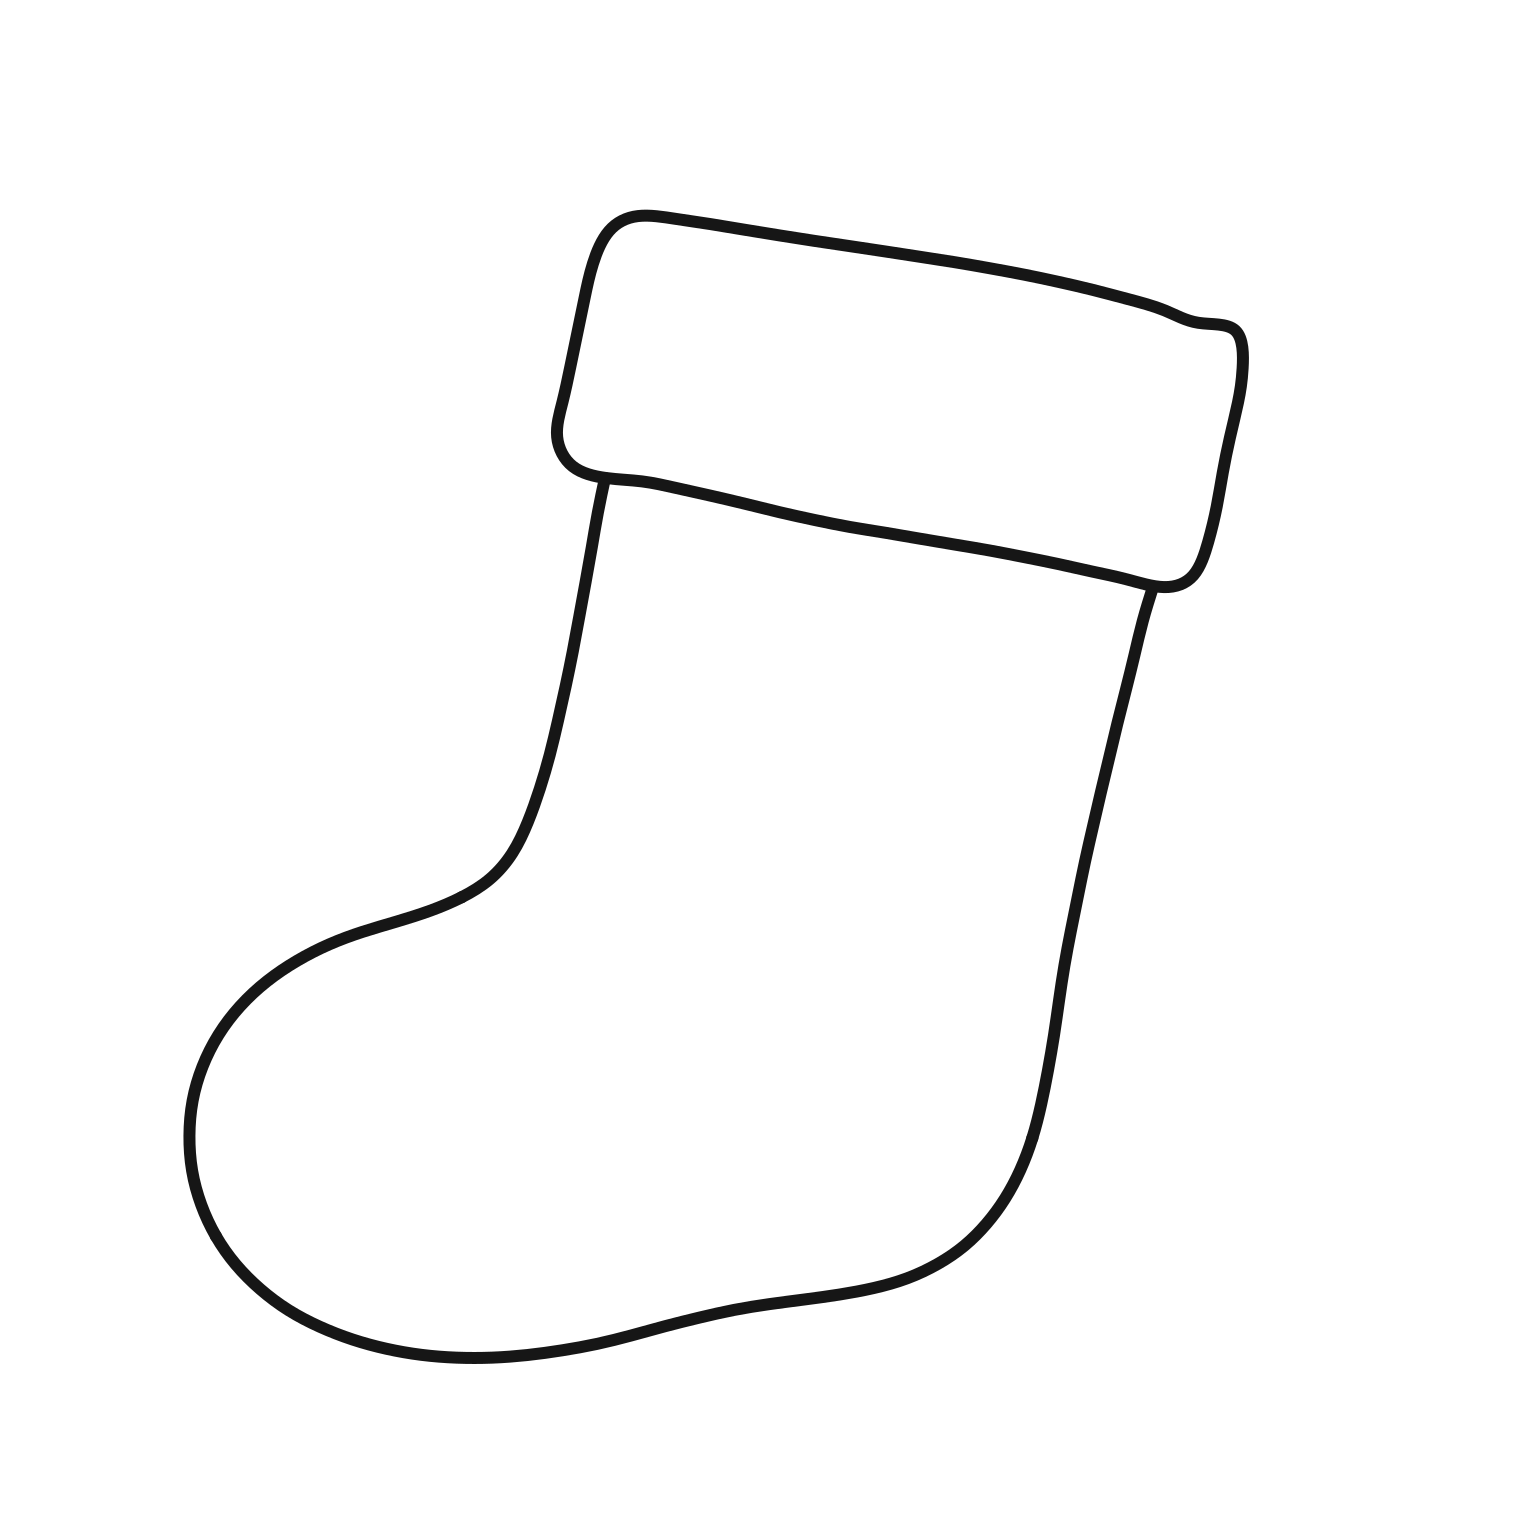
6. Erase the light guides.
- Erase the light leg box and oval, including their overlapping lines inside the stocking.
- Keep the cuff and the smooth outside outline.
Draw the stocking heel patch and loop
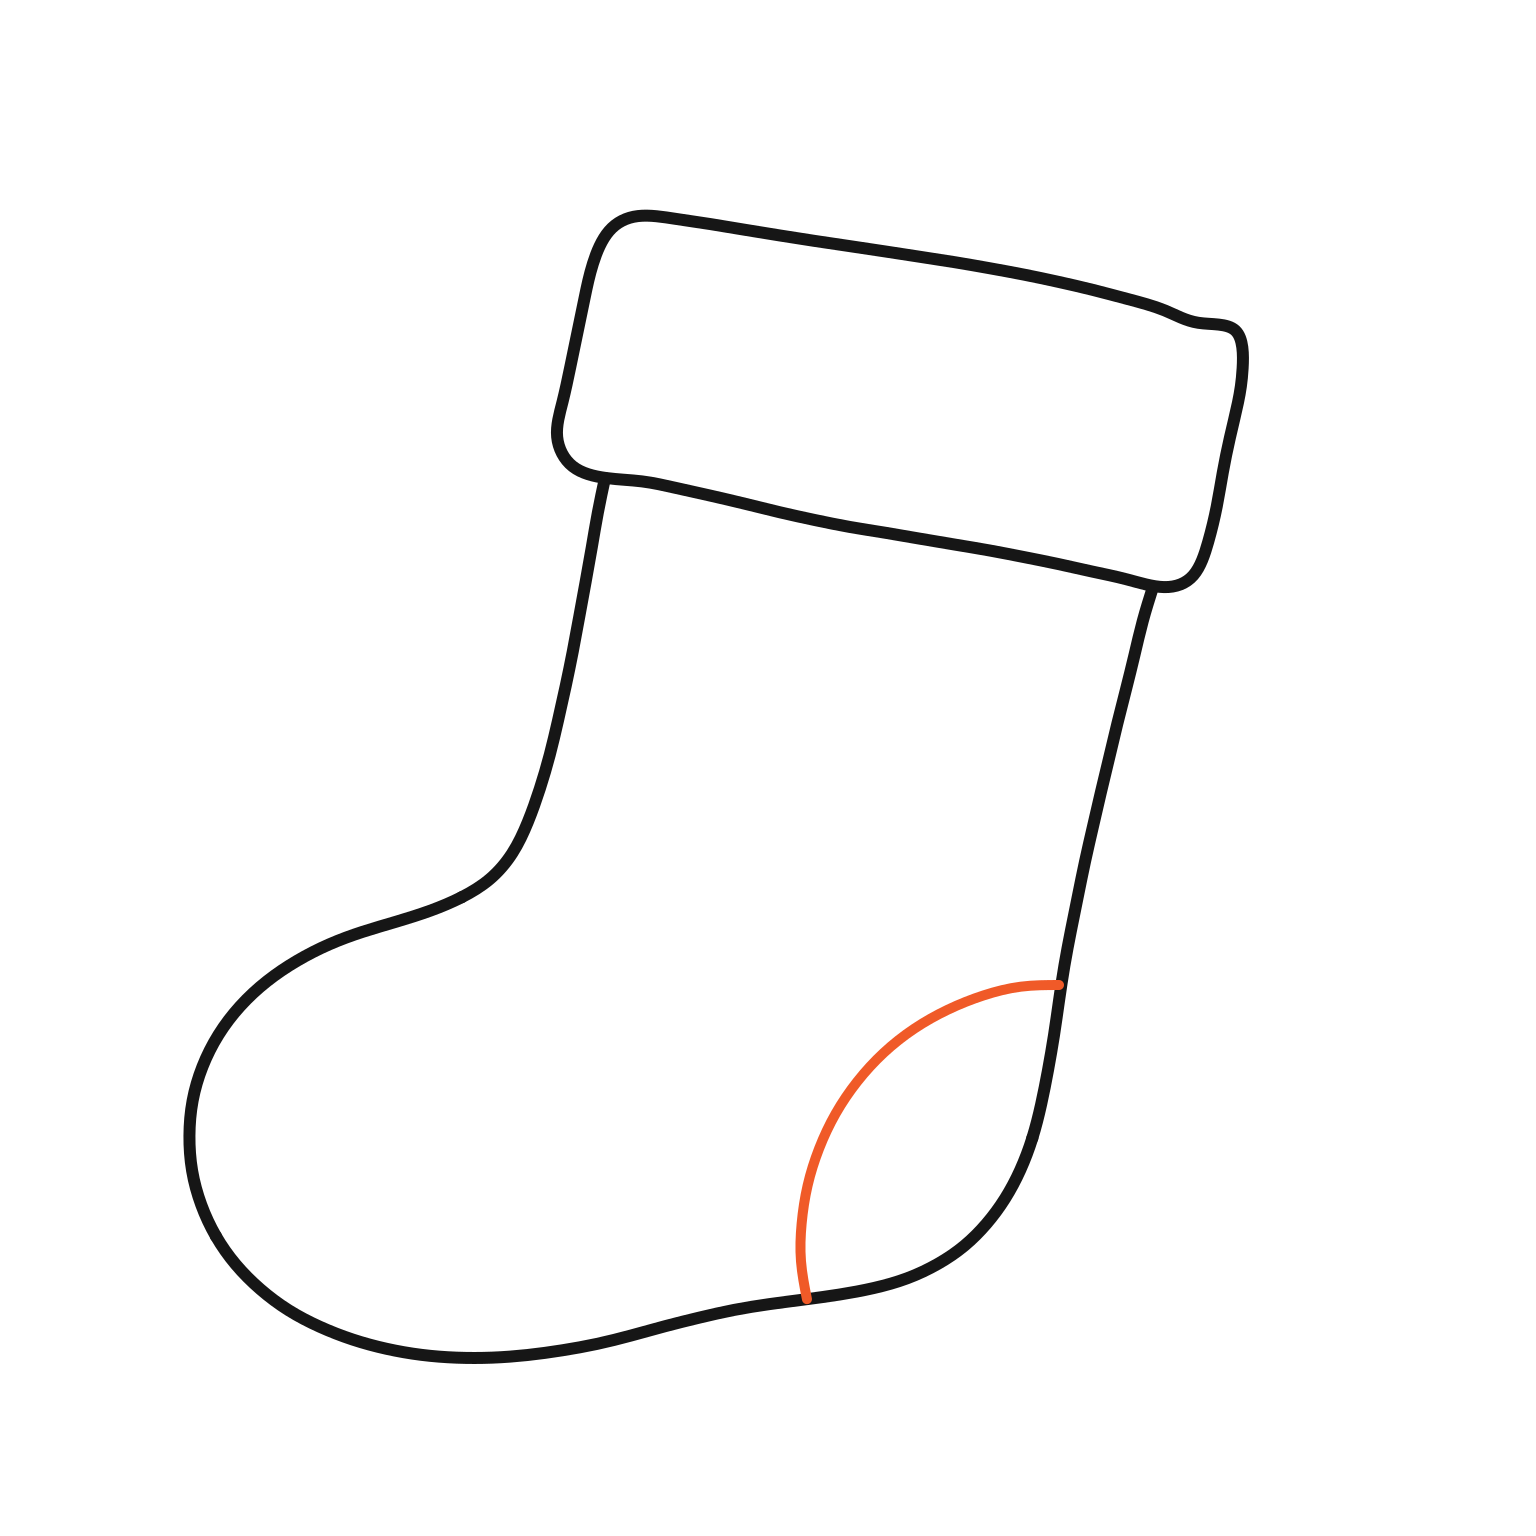
7. Add the heel patch.
- Start on the right side above the heel.
- Curve left and down to meet the sole, making one broad heel patch.
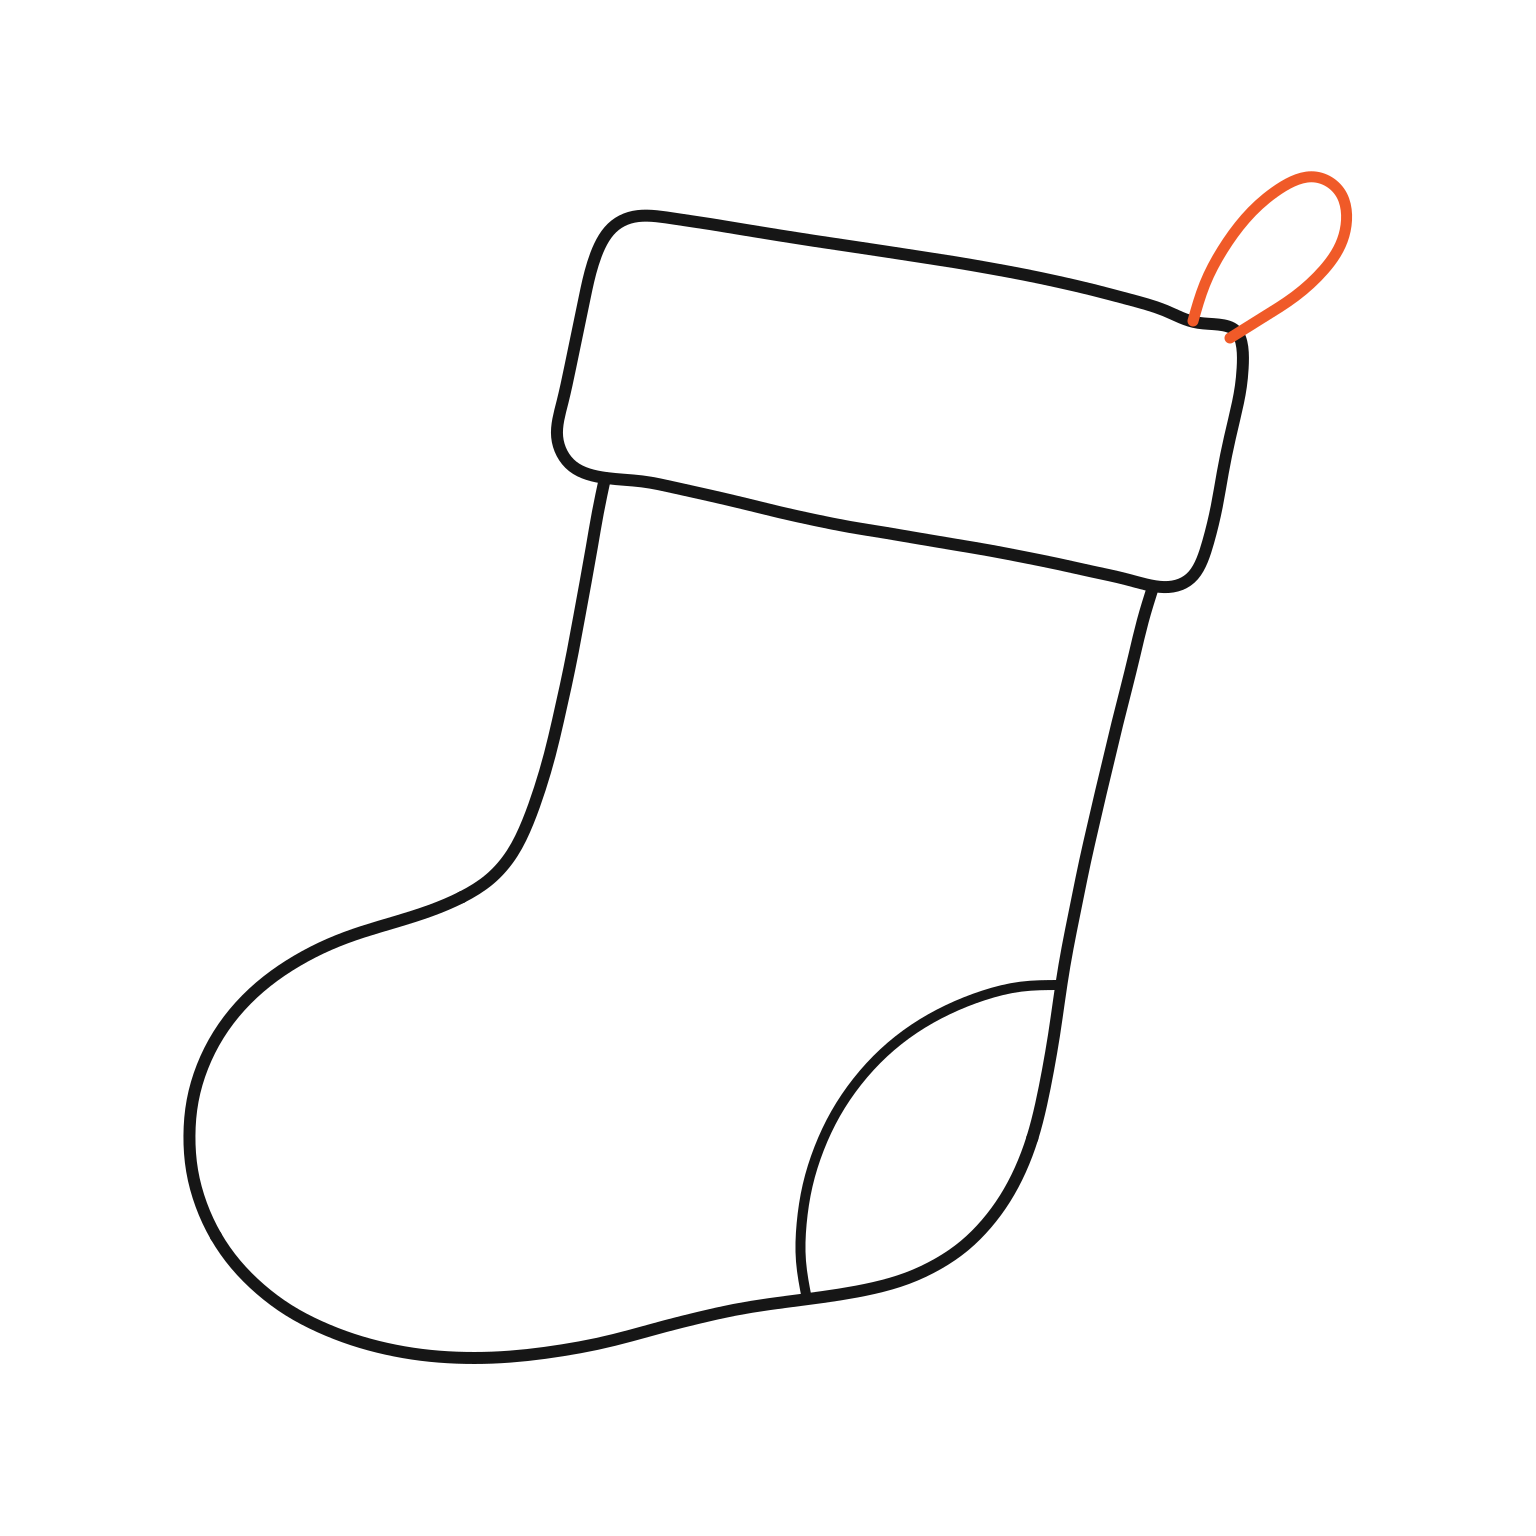
8. Make a hanging loop.
- Start near the cuff’s upper-right corner.
- Curve up and right, round the top, and return to the cuff to make a narrow hanging loop.
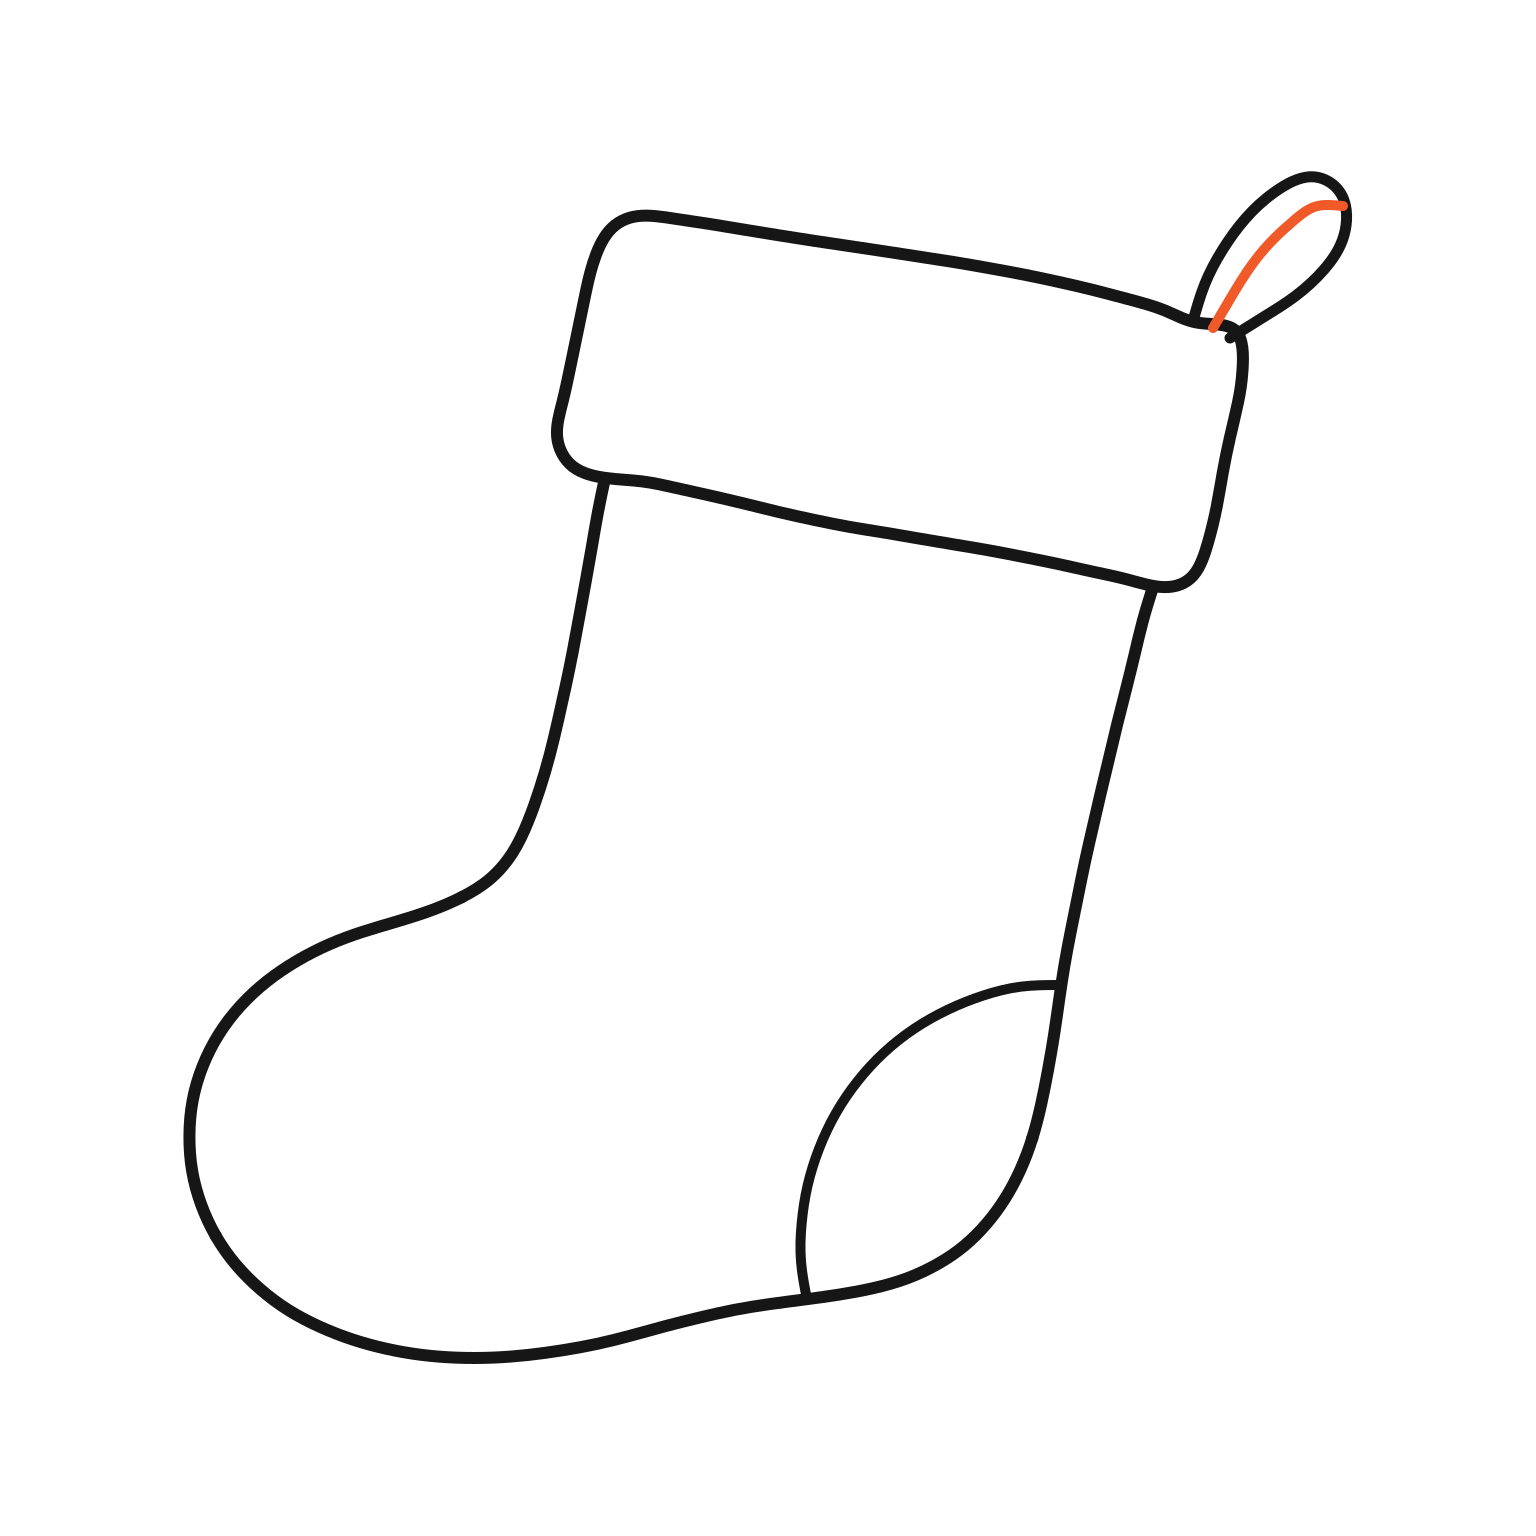
9. Finish inside the loop.
- Start beside the loop’s lower-left end.
- Curve up inside it to meet the top-right bend.
- Keep the spaces inside the loop open.
Free pages · No signup
Free Christmas coloring pages
Pick Santa, a snowman or a gingerbread friend. Print your favorite and make it your own.
Browse free pages →